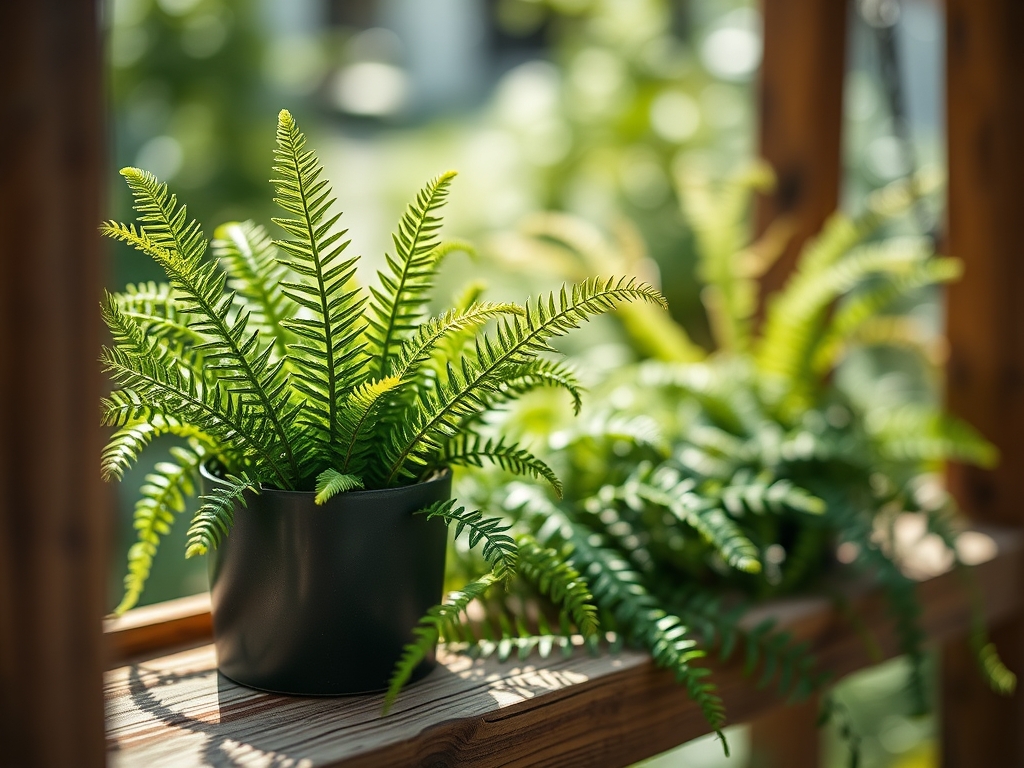
9 Shady Steps to Prepare a Plant Shelf for Indoor Ferns
Success in the understory begins with the scent of damp humus and the tactile resistance of high turgor pressure within a frond. When learning how to prepare a plant shelf for ferns, you must move beyond aesthetics and treat the shelf as a calibrated microclimate. Indoor environments typically suffer from low relative humidity and stagnant air, which leads to rapid desiccation of the delicate pinnules. A successful setup mimics the forest floor by managing light intensity, moisture gradients, and substrate stability. Ferns do not tolerate the erratic cycles of drought and saturation that common succulents endure. Instead, they require a steady state of capillary action within the rhizosphere. By focusing on the physics of the shelf environment, you ensure that the vascular system of the plant remains fully pressurized. This guide provides the technical framework to transform a standard shelving unit into a high-performance botanical habitat.
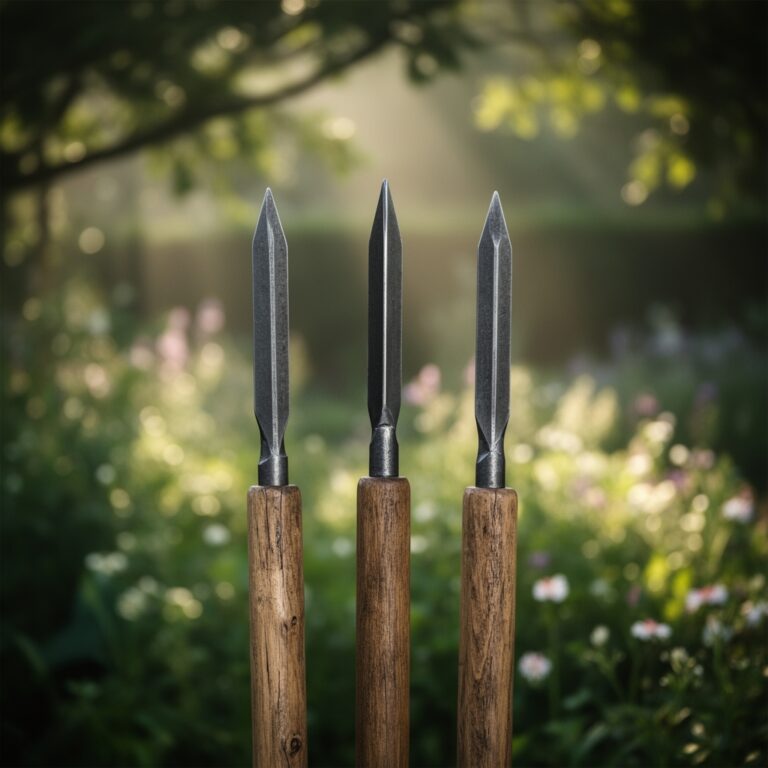
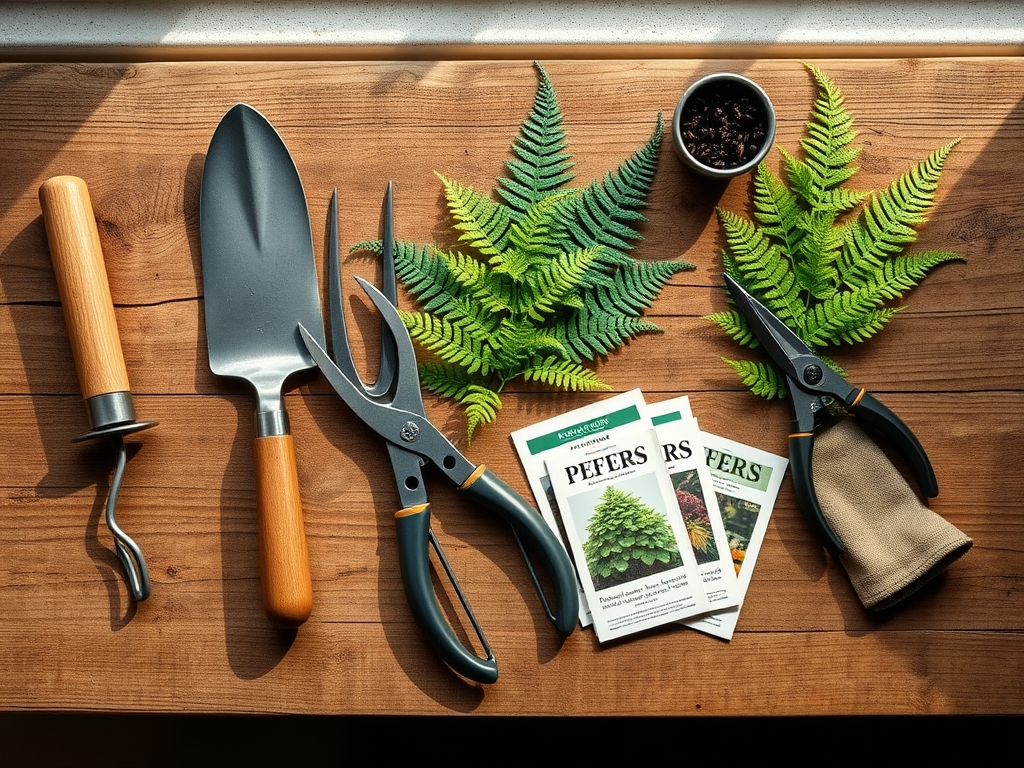
Materials:
The substrate is the foundation of the shelf system. Ferns generally prefer an acidic to neutral environment with a **pH range of 5.5 to 6.5**. For epiphytic species like the Staghorn (Platycerium), the Cation Exchange Capacity (CEC) is less critical than the porosity. However, for terrestrial ferns like the Maidenhair (Adiantum), a friable loam with high organic matter is essential.
Use a custom blend consisting of 40 percent milled peat or coco coir, 30 percent perlite for aeration, and 30 percent composted pine bark. This creates a porous medium that prevents anaerobic conditions. For nutrition, integrate a slow-release fertilizer with an NPK ratio of 10-5-5 or 12-6-6. Ferns are foliage-heavy and require higher Nitrogen levels to maintain chlorophyll production, but they are sensitive to salt buildup. Ensure the substrate has a low electrical conductivity (EC) to avoid root burn.
Timing:
While indoor shelves are sheltered from external Hardiness Zones (typically 1 through 13), the biological clock of the fern is still influenced by the external photoperiod. In Zones 5 through 7, the transition from winter dormancy to the vegetative growth phase occurs as daylight exceeds 12 hours.
The ideal window for shelf preparation and repotting is late winter or early spring, approximately two to four weeks before the last frost date in your region. This aligns with the plant's natural surge in auxin production. During this period, the fern moves from a state of senescence into active cellular division. Preparing the shelf during this window allows the root system to colonize the new substrate before the high-evaporation demands of summer begin.
Phases:

Sowing and Propagation
Most indoor fern enthusiasts work with spores rather than seeds. Sowing occurs on a sterilized, saturated brick of peat moss. Maintain a constant temperature of 70 to 75 degrees Fahrenheit. The shelf must be equipped with a humidity dome to keep relative humidity above 90 percent during the prothallus stage.
Pro-Tip: Maintain high humidity to facilitate the movement of flagellated sperm cells. Without a thin film of water on the gametophyte surface, fertilization cannot occur; this is the biological necessity of the "alternation of generations" lifecycle.
Transplanting
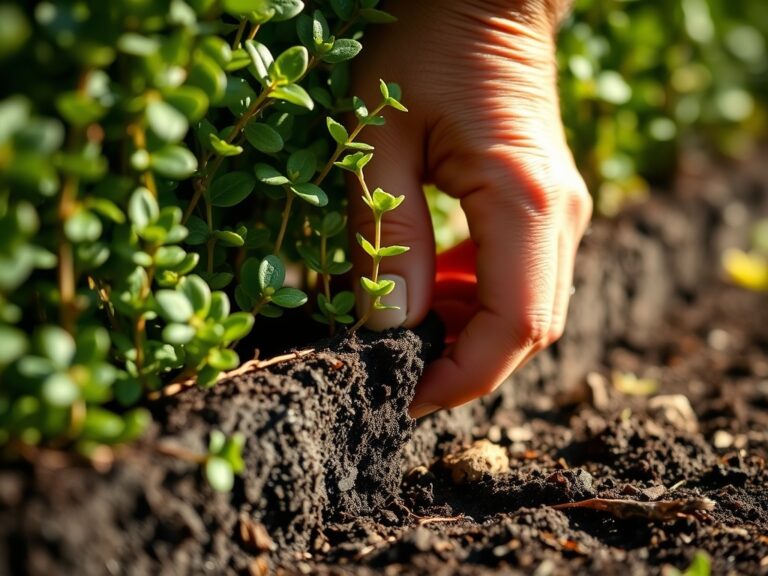
When moving a fern to the shelf, ensure the crown sits exactly at the soil line. Deep planting leads to crown rot, while shallow planting exposes the delicate rhizomes to air, causing desiccation. Use a soil moisture meter to verify that the root ball is hydrated to a level of 7 or 8 on a 10-point scale before moving.
Pro-Tip: Avoid disturbing the root hairs during the move. These microscopic extensions are the primary site for water and mineral uptake; damaging them triggers an immediate drop in turgor pressure and induces transplant shock.
Establishing
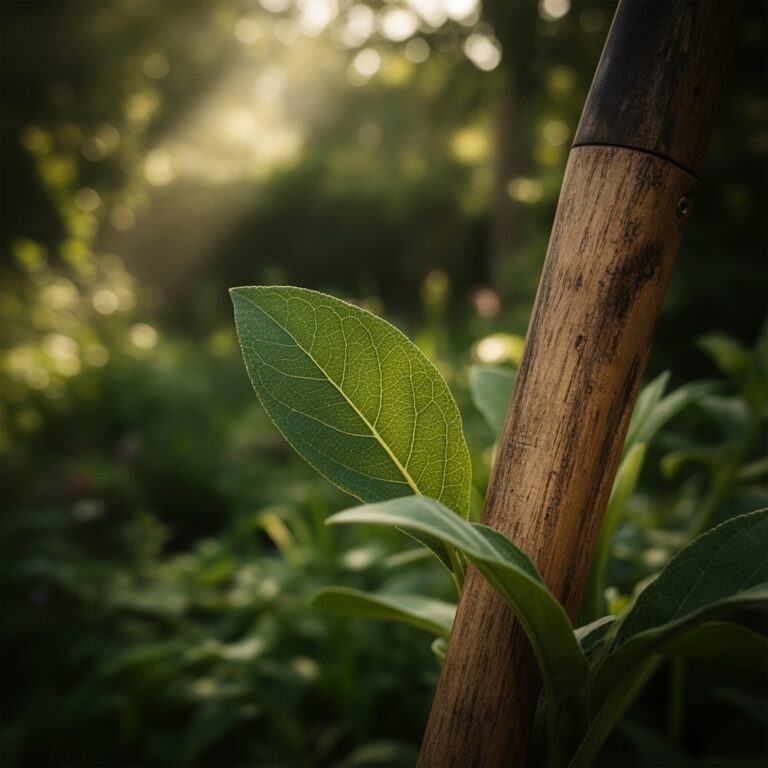
Once positioned, the shelf must provide "bright indirect light," which translates to 100 to 400 foot-candles on a light meter. Use a pebble tray or an ultrasonic humidifier to maintain a localized humidity zone of at least 50 percent. Air circulation is vital to prevent fungal pathogens, but avoid direct drafts from HVAC vents.
Pro-Tip: Utilize the principle of phototropism by rotating the pots 90 degrees every week. This prevents the uneven distribution of auxins, which would otherwise cause the plant to lean and develop a weak, asymmetrical vascular structure.
The Clinic:
Physiological disorders in ferns are often mistaken for pests. Accurate diagnosis requires looking at the cellular response to environmental stressors.
Symptom: Tip burn or "crispy" margins on new fronds.
Solution: Increase relative humidity and check for salt accumulation. Flush the substrate with distilled water until the runoff is clear. This reduces the osmotic pressure that prevents roots from absorbing water.
Symptom: Yellowing of lower fronds (Nitrogen Chlorosis).
Solution: Apply a liquid kelp or fish emulsion at half-strength. Nitrogen is a mobile nutrient; the plant will pull it from old growth to support new pinnules if the substrate is deficient.
Symptom: Leaf drop or sudden wilting despite wet soil.
Solution: This indicates root rot (Phytophthora). The rhizosphere has become anaerobic. Improve drainage by adding perlite and reduce watering frequency to allow the top 0.5 inches of soil to dry.
Fix-It for Magnesium Deficiency: If interveinal chlorosis appears, dissolve one teaspoon of Epsom salts in a gallon of water. Magnesium is the central atom in the chlorophyll molecule; without it, photosynthesis halts.
Maintenance:
Precision maintenance is the difference between a surviving fern and a thriving one. Ferns require approximately 1.0 to 1.5 inches of water per week, delivered consistently. Never allow the soil to go completely dry. Use a soil moisture meter daily until you understand the evaporation rate of your shelf.
For pruning, use bypass pruners to remove spent fronds at the base. This improves airflow and directs energy to the developing fiddleheads. If a fern becomes root-bound, use a hori-hori knife to slice through the outer inch of the root mass before up-sizing the pot. This mechanical wounding stimulates the growth of new, more efficient lateral roots. Clean the shelf surfaces monthly with a mild vinegar solution to prevent the buildup of algae or mineral scales that can harbor pathogens.
The Yield:
While most ferns are grown for biomass rather than fruit, the "yield" is measured in the successful development of spores or the division of rhizomes. For ferns like the Ostrich Fern (Matteuccia struthiopteris), fiddleheads are harvested when they are two to six inches tall and still tightly coiled.
To maintain day-one freshness, submerge harvested fiddleheads in ice-cold water immediately. This slows the metabolic rate and prevents the lignification of the stems. For ornamental ferns, "harvesting" involves taking divisions. Use a sharp blade to ensure a clean cut through the rhizome, ensuring each section has at least three healthy fronds and a robust root system.
FAQ:
How much light does my fern shelf need?
Ferns require 100 to 400 foot-candles of light. Avoid direct midday sun, which causes cellular collapse and bleaching. North or East facing windows are ideal for maintaining the consistent, low-intensity light levels required for optimal photosynthesis.
What is the best way to increase humidity?
Use a dedicated ultrasonic humidifier to maintain 50% to 70% relative humidity. Grouping plants together creates a communal transpiration zone, while pebble trays provide a localized moisture gradient without saturating the roots or causing fungal issues on the foliage.
When should I fertilize my indoor ferns?
Fertilize only during the active growing season, typically from March through September. Use a balanced, water-soluble fertilizer at half-strength every four weeks. Avoid fertilizing in winter when the plant's metabolic rate slows and salt buildup becomes a risk.
Why are my fern's leaves turning yellow?
Yellowing, or chlorosis, usually indicates overwatering or nitrogen deficiency. If the soil is soggy, it is root rot. If the soil is correct, the plant lacks the nutrients needed for chlorophyll. Check the pH to ensure nutrient availability.