7 Clear Steps to Prepare a Tool Organization Manual
The scent of decomposing organic matter and the distinct metallic tang of wet stone signal the transition from active growth to structural maintenance. A plant maintains its structural integrity through turgor pressure; the internal fluid pressure against cell walls keeps stems rigid. When this pressure drops, the garden loses its architectural form. Mastering the logistics of your workspace is essential for long-term yield. Learning how to prepare a garden for a tool organization manual requires a systematic audit of both the biological environment and the mechanical assets used to manage it. This process ensures that the transition between seasonal cycles remains efficient. By documenting the specific needs of your rhizosphere alongside your inventory of blades and handles, you create a protocol that prevents equipment degradation and soil compaction. Efficiency in the field is born from a rigorous understanding of where the tool meets the earth.
Materials:
Successful garden preparation relies on a substrate with high Cation Exchange Capacity (CEC). This measurement dictates how well your soil holds onto essential nutrients like potassium and magnesium. The ideal substrate is a **friable loam** consisting of roughly **40 percent sand, 40 percent silt, and 20 percent clay**.
For vegetative growth, maintain a soil pH between 6.2 and 6.8 to ensure nutrient bioavailability. Use an NPK ratio of 10-10-10 for general maintenance; however, for heavy feeders, transition to a 5-10-10 formula to encourage root development over excessive foliage. You will need a digital pH probe and a stainless steel soil sampler to gather data for your manual. High-quality steel tools require a cleaning station equipped with 90 percent isopropyl alcohol and mineral oil to prevent the spread of soil-borne pathogens like Fusarium or Phytophthora.
Timing:
Hardiness Zones provide the baseline for your operational calendar. In Zones 5 through 7, the window for preparing your manual begins exactly four weeks before the first projected frost date. This timing aligns with the plant's biological clock as it moves from the vegetative stage to senescence. During this phase, deciduous plants withdraw carbohydrates from their leaves and store them in their root systems.
Monitoring the photoperiod is critical. When daylight drops below 12 hours, plant metabolism slows significantly. You must complete your tool audit before the soil temperature drops below 40 degrees Fahrenheit. Working with tools in frozen soil causes micro-fractures in wooden handles and can chip high-carbon steel blades. Aligning your manual preparation with these thermal shifts ensures that your equipment is serviced exactly when the garden enters its dormant state.
Phases:
Sowing and Soil Preparation
Before any seed hits the dirt, the soil must be aerated to a depth of 8 to 10 inches. Use a broadfork to lift the soil without flipping the horizons; this preserves the delicate fungal networks. Record the exact dimensions of your beds in your manual to calculate precise seed spacing.
Pro-Tip: Maintaining soil structure protects mycorrhizal symbiosis. These fungi extend the root system's reach, allowing for greater phosphorus uptake that a plant cannot achieve alone.
Transplanting and Inventory
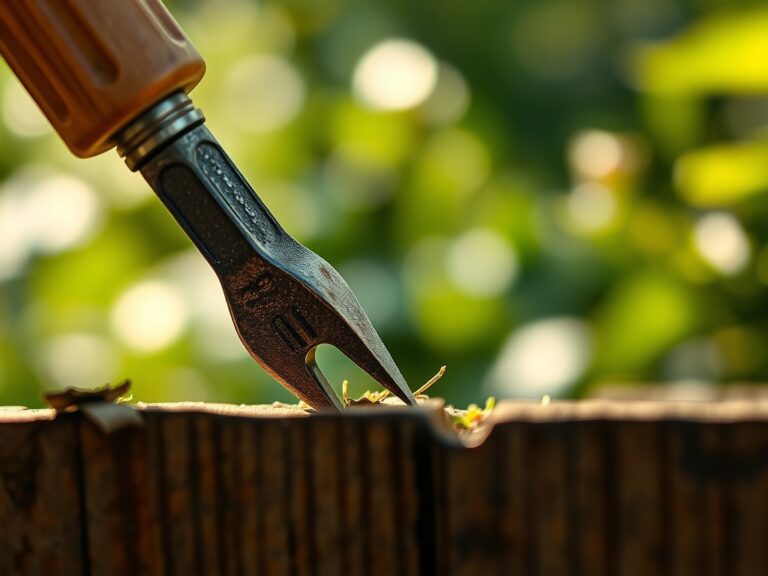
When moving seedlings, ensure the root ball remains moist to prevent desiccation. Use a hori-hori knife to cut through circling roots in container-bound plants. This is the time to document which tools are used for specific plant types, noting the blade edge required for different stem densities.
Pro-Tip: Use a transplant shock recovery solution high in Vitamin B1. This helps maintain auxin levels at the root tips, which are responsible for triggering new cellular division after the trauma of moving.
Establishing and Tool Calibration
As the garden takes hold, monitor the vertical growth. Use bypass pruners for clean cuts on living tissue; anvil pruners should be reserved for dead wood as they crush the vascular cambium. Your manual should include a sharpening schedule based on the number of cuts made per season.
Pro-Tip: Always prune just above a lateral bud at a 45-degree angle. This utilizes apical dominance, redirecting growth hormones to the remaining buds and preventing water from pooling on the wound, which reduces the risk of fungal infection.
The Clinic:
Physiological disorders often mimic disease but are usually the result of environmental stress or nutrient imbalance.
- Symptom: Interveinal chlorosis in new leaves.
Solution: This indicates Iron deficiency. Check soil pH immediately; if pH is above 7.0, iron becomes insoluble. Lower pH using elemental sulfur. - Symptom: Blossom end rot in tomatoes.
Solution: This is a Calcium transport issue. It is often caused by inconsistent moisture rather than a lack of calcium in the soil. Maintain steady irrigation. - Symptom: Leaf margins appearing scorched or "burnt."
Solution: This suggests Potassium deficiency or salt buildup. Flush the soil with 3 inches of water to leach excess salts and apply a high-potash fertilizer. - Symptom: Purpling of older leaves and stems.
Solution: This is a classic sign of Phosphorus deficiency, often occurring in cold soils where microbial activity is low.
Fix-It: For general Nitrogen chlorosis (yellowing of older leaves), apply a quick-release blood meal or fish emulsion to provide an immediate nitrogen boost to the rhizosphere.
Maintenance:
Precision is the difference between a surviving garden and a thriving one. Plants require exactly 1.5 inches of water per week, delivered directly at the drip line to ensure deep root penetration. Use a soil moisture meter to verify that moisture has reached a depth of 6 inches before ceasing irrigation.
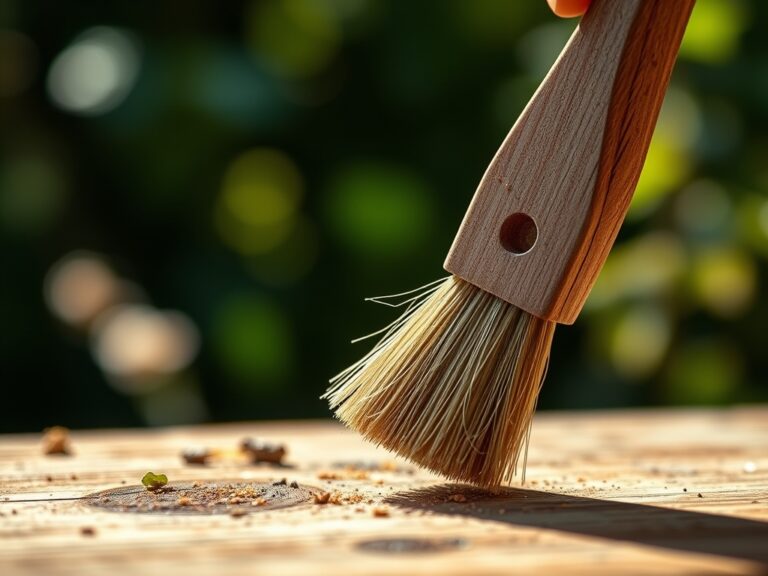
Your tool kit must be maintained with the same rigor. After every use, scrub your hori-hori knife and bypass pruners with a stiff brush to remove sap and soil. Sharpen blades using a 1000-grit whetstone, following the factory bevel. Store tools in a bucket filled with a mixture of dry sand and biodegradable lubricant to prevent oxidation. Documenting these steps in your manual ensures that the mechanical interface of your gardening remains seamless.
The Yield:
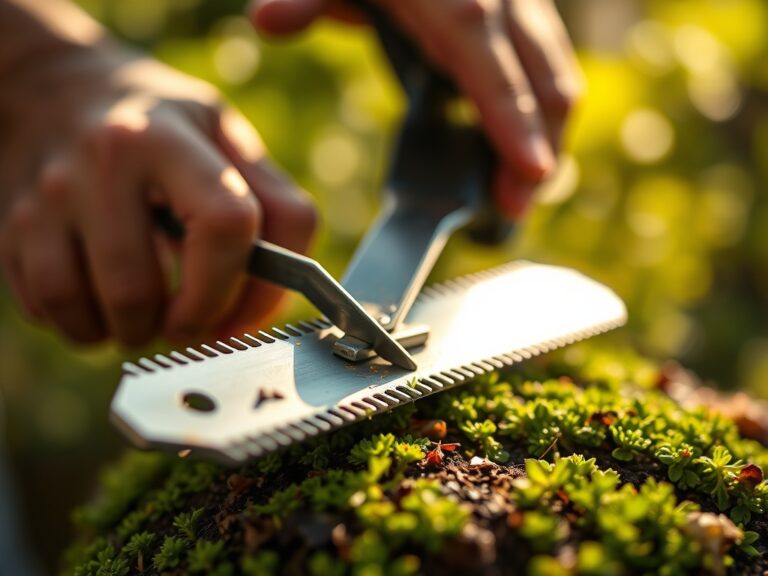
Harvesting is a biological surgery. For leafy greens, harvest in the early morning when turgor pressure is at its peak. This ensures the cells are fully hydrated, providing a crisp texture. Use a sharpened linoleum knife or specialized harvest shears to make a single, clean incision.
For fruiting bodies, monitor the "Abscission Layer"—the point where the fruit stem meets the branch. When this layer begins to cork over, the fruit is reaching peak maturity. Post-harvest, immediately move produce to a shaded, cool environment to reduce the "field heat." This slows down the rate of respiration and senescence, preserving the sugars and volatile oils for maximum flavor and shelf life.
FAQ:
How do I test my soil for the manual?
Use a stainless steel probe to take 10 core samples at a depth of 6 inches. Mix them in a clean plastic bucket and send a sub-sample to a certified lab to determine NPK and CEC levels.
What is the best way to clean rusty tools?
Soak the metal components in white vinegar for 24 hours, then scrub with steel wool. Neutralize the acid with a baking soda and water solution before drying thoroughly and applying a protective coat of mineral oil.
Why is soil pH so important for tool prep?
High acidity or alkalinity affects the rate of oxidation on metal tools contact. More importantly, pH dictates the solubility of nutrients; if the pH is off, no amount of fertilizer or tool precision will produce healthy plants.
How often should I sharpen my bypass pruners?
Sharpen your blades every 10 to 15 hours of active use. If you notice the pruners are tearing the bark rather than slicing it, the blade has lost its edge and requires immediate honing with a whetstone.