8 Professional Steps to Prepare a Tool Maintenance Manual
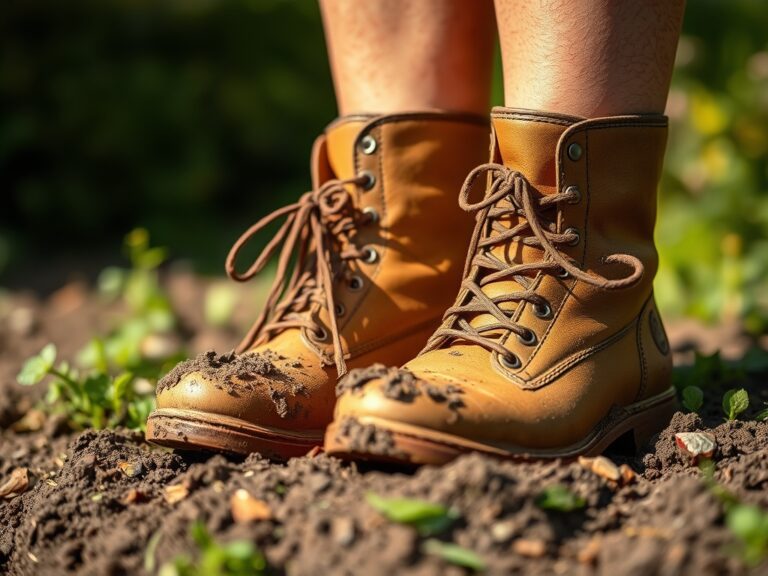
Crushed basalt and the sharp scent of damp humus signal a garden in peak metabolic function. When cellular turgor remains high, stems stand rigid and leaves maintain a deep chlorophyll saturation. Achieving this level of physiological health requires more than casual observation; it demands a structured operational framework. Understanding how to prepare a garden for a tool maintenance manual begins with documenting the physical interaction between steel and soil. Every cut made with a blade and every plunge of a spade affects the rhizosphere. A manual ensures that the mechanical interface remains precise, preventing jagged tissue tears that invite pathogens. By formalizing these procedures, you transition from reactive maintenance to a proactive biological strategy. This documentation stabilizes the environment, ensuring that the soil structure and plant health remain consistent across seasons. Precision in tool care directly correlates to the precision of the garden's growth cycle.
Materials:
The foundation of a high-performance garden is a friable loam with a Cation Exchange Capacity (CEC) above 15 meq/100g. This texture allows for optimal gas exchange and moisture retention. For general vegetative growth, target a soil pH between 6.2 and 6.8. Use a balanced NPK ratio of 10-10-10 for initial bed preparation. If transitioning to fruit or flower production, shift to a 5-10-15 ratio to prioritize phosphorus and potassium over nitrogen. Incorporate organic matter to achieve a bulk density of approximately 1.1 to 1.3 grams per cubic centimeter. This density provides enough resistance for root anchorage while allowing delicate root hairs to penetrate the substrate without mechanical impedance.
Timing:
Successful garden management follows the Hardiness Zones defined by the USDA. In Zones 5 through 7, the primary planting window opens after the last spring frost, typically between April 15 and May 15. Monitoring the biological clock is essential as plants transition from the vegetative stage to the reproductive stage. This shift is triggered by the photoperiod; as day length increases, the plant redirects energy from leaf production to bud initiation. For cool-season crops, soil temperatures must reach a consistent 50 degrees Fahrenheit. For warm-season species, wait until the substrate hits 65 degrees Fahrenheit at a depth of 4 inches.
Phases:
Sowing
Direct sow seeds at a depth exactly three times the diameter of the seed. Ensure the seed-to-soil contact is absolute to facilitate imbibition, the process where the seed absorbs water to activate metabolic enzymes.
Pro-Tip: Maintain consistent moisture to prevent the desiccation of the radicle. The biological why involves turgor pressure; if the emerging seedling loses water, the cell walls collapse, leading to irreversible damping-off.
Transplanting
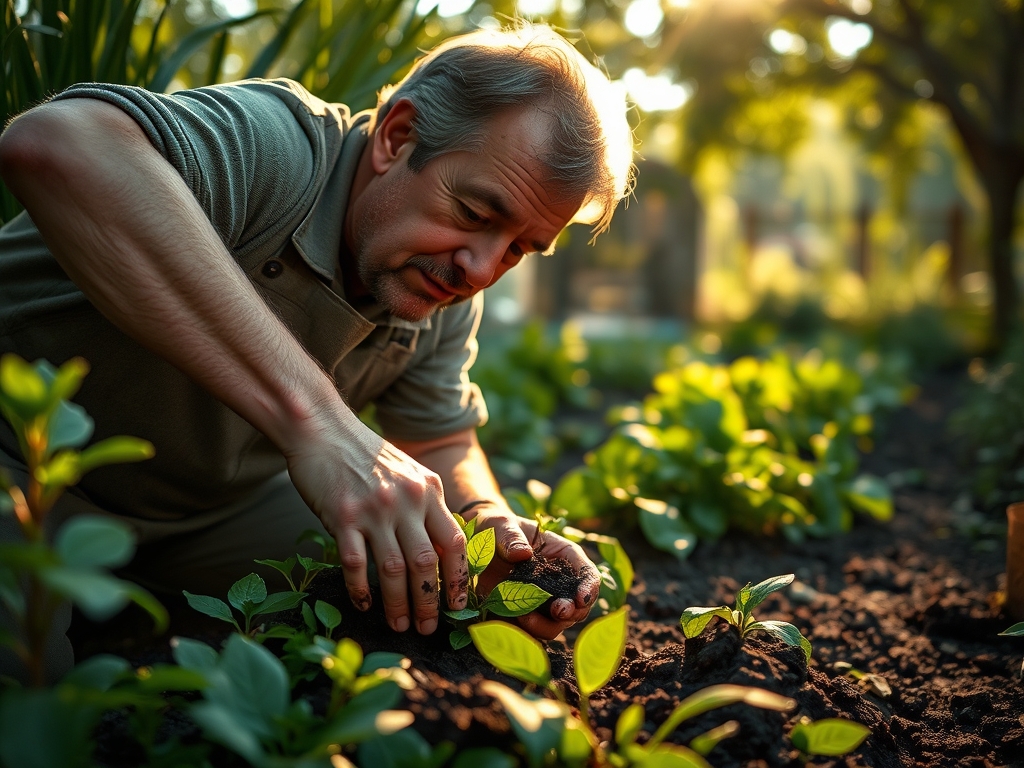
When moving starts from flats to the field, minimize root exposure to UV light and air. Dig a hole twice the width of the root ball. Position the plant so the crown sits flush with the soil surface to prevent stem rot.
Pro-Tip: Dust the root zone with endomycorrhizal fungi. The biological why is mycorrhizal symbiosis; these fungi extend the root system's reach, increasing the surface area for phosphorus uptake by up to 100 times.
Establishing
During the first 21 days, focus on root development rather than upward growth. Avoid high-nitrogen fertilizers during this window to prevent "leggy" stems that lack structural integrity.
Pro-Tip: Pinch off early flower buds. The biological why is auxin suppression; by removing the apical dominance of the flower, the plant redirects hormonal energy to lateral root expansion and structural lignification.
The Clinic:
Physiological disorders often mimic infectious diseases but result from environmental or nutritional stress.
- Symptom: Interveinal chlorosis on young leaves.
- Solution: This indicates an Iron (Fe) deficiency, often caused by a pH above 7.0. Apply chelated iron and lower pH with elemental sulfur.
- Symptom: Blossom end rot in fruit.
- Solution: This is a Calcium (Ca) transport issue. Ensure consistent irrigation to facilitate the movement of calcium through the xylem.
- Symptom: Purpling of older foliage.
- Solution: Phosphorus (P) deficiency. Apply a high-phosphate fertilizer (e.g., 0-20-0) to the root zone.
Fix-It for Nitrogen Chlorosis: If older leaves turn uniform pale yellow, the plant is scavenging nitrogen for new growth. Apply a quick-release liquid fertilizer with a 5-1-1 ratio to restore nitrogen levels immediately.
Maintenance:
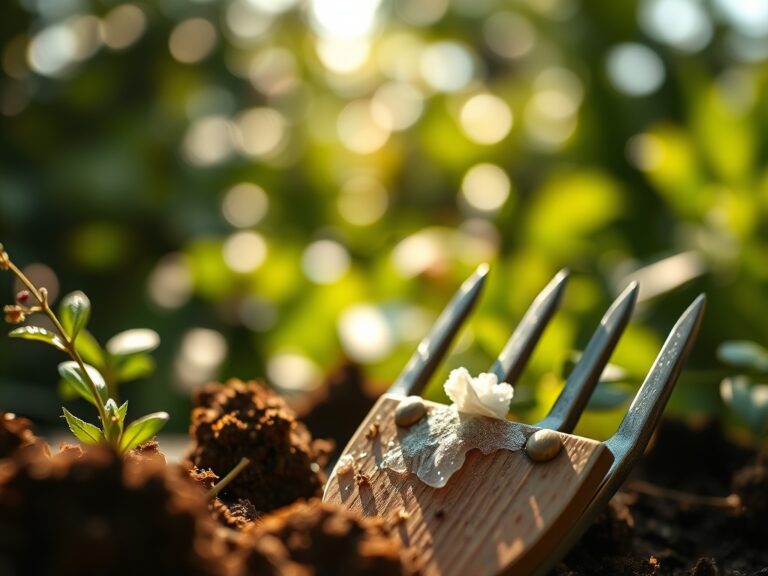
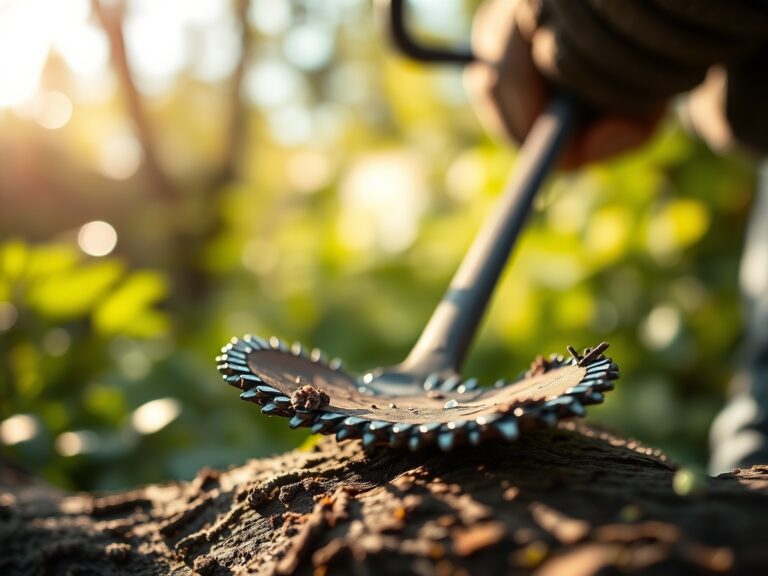
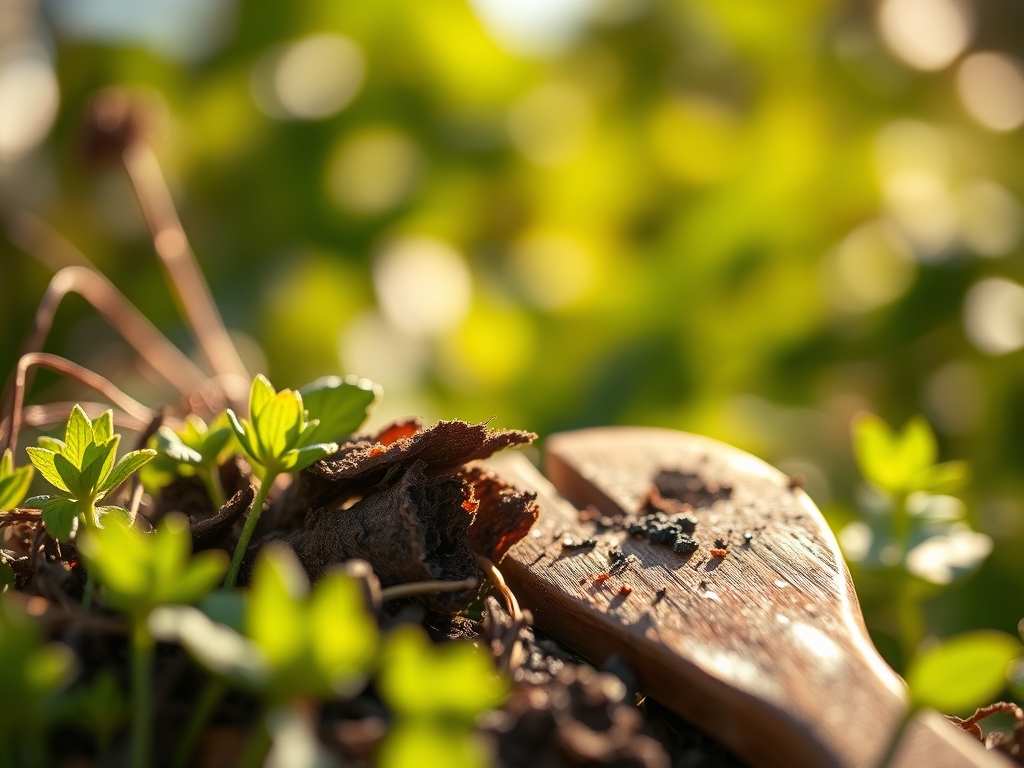
Precision irrigation is the cornerstone of plant health. Deliver 1.5 inches of water per week at the drip line. Avoid overhead watering to prevent the spread of fungal spores. Use a soil moisture meter to verify that the moisture has penetrated 6 to 8 inches deep. For pruning, utilize bypass pruners for living tissue to ensure a clean, scissor-like cut that heals quickly. Use a hori-hori knife for weeding and planting; its serrated edge slices through compacted soil and roots without causing excessive disturbance to the surrounding soil profile. Observe the root structure in the step-by-step photos below to identify healthy, white root tips versus brown, necrotic tissue.
The Yield:
Harvesting is a critical physiological intervention. For leafy greens, harvest in the early morning when cell turgidity is at its peak. Use a sharpened blade to make clean cuts, reducing the surface area for moisture loss. For fruiting bodies, wait for "vine-ripe" indicators, which signal that the plant has completed the translocation of sugars. Post-harvest, immediately lower the temperature of the produce to slow the rate of senescence and respiration. This "field cooling" preserves the nutritional density and structural crispness of the harvest.
FAQ:
How do I clean tools to prevent disease spread?
Wipe blades with 70 percent isopropyl alcohol or a 10 percent bleach solution between every cut. This kills pathogens like Fusarium and Botrytis before they enter the plant's vascular system through the fresh wound.
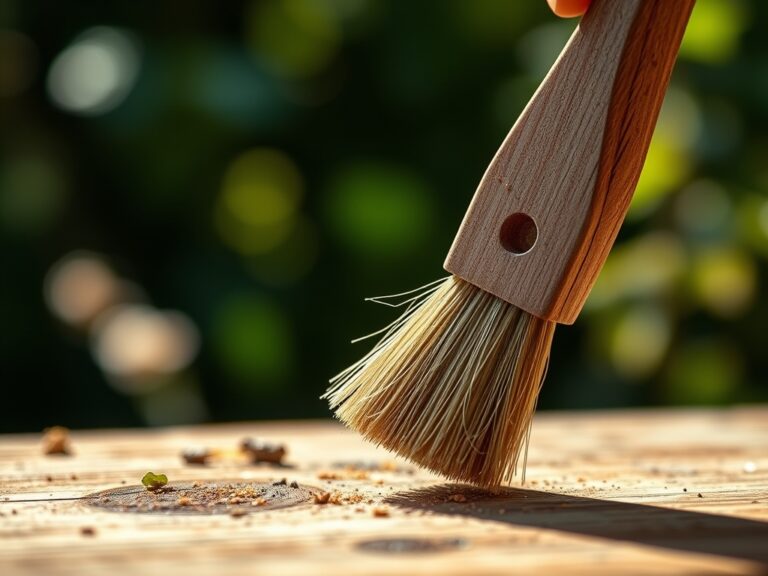
What is the best way to prevent tool rust?
After use, remove all organic debris with a stiff brush. Dry the metal surfaces completely and apply a thin layer of mineral oil. This creates a hydrophobic barrier that prevents oxidation and maintains the integrity of the steel.
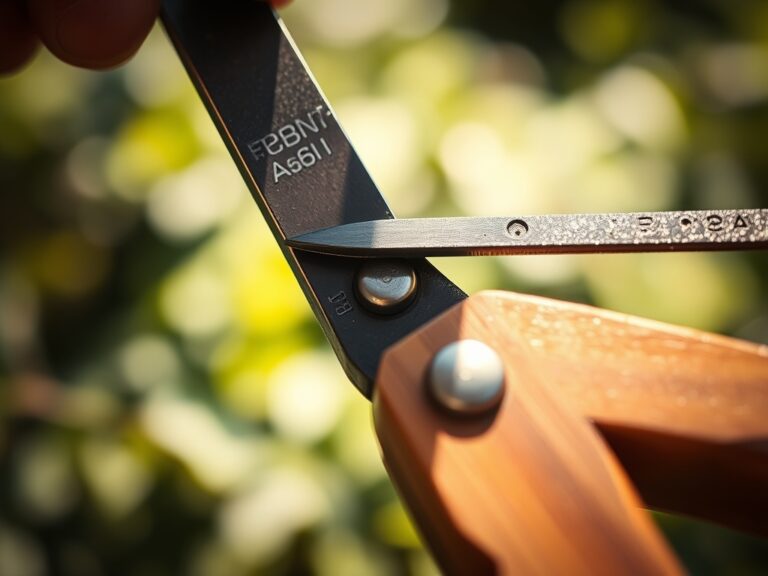
How often should I sharpen my bypass pruners?
Sharpen the cutting blade every 50 to 100 cuts or whenever you notice the tool crushing rather than slicing the tissue. A sharp blade ensures rapid wound closure and prevents the entry of opportunistic pathogens.
Why is soil pH important for tool maintenance?
Highly acidic soils (below 5.5 pH) are corrosive to metal tools. If working in acidic conditions, rinse tools immediately after use to prevent pitting and structural degradation of the spade or hoe.