10 Simple Steps to Install Paver Stones
Damp earth exhales a sharp, mineral scent as the spade breaks the surface tension of the soil. This smell, known as geosmin, indicates a healthy microbial population within the rhizosphere. Maintaining structural integrity in a landscape requires more than aesthetic placement; it demands an understanding of soil compaction and drainage mechanics. When you follow the professional steps to install paver stones, you are essentially engineering a multi-layered system that prevents soil subsidence while managing hydrostatic pressure. A successful installation ensures that the surrounding flora maintains high turgor pressure because water is directed toward root zones rather than pooling on impermeable surfaces. Proper execution prevents the anaerobic conditions that lead to root rot in adjacent garden beds.
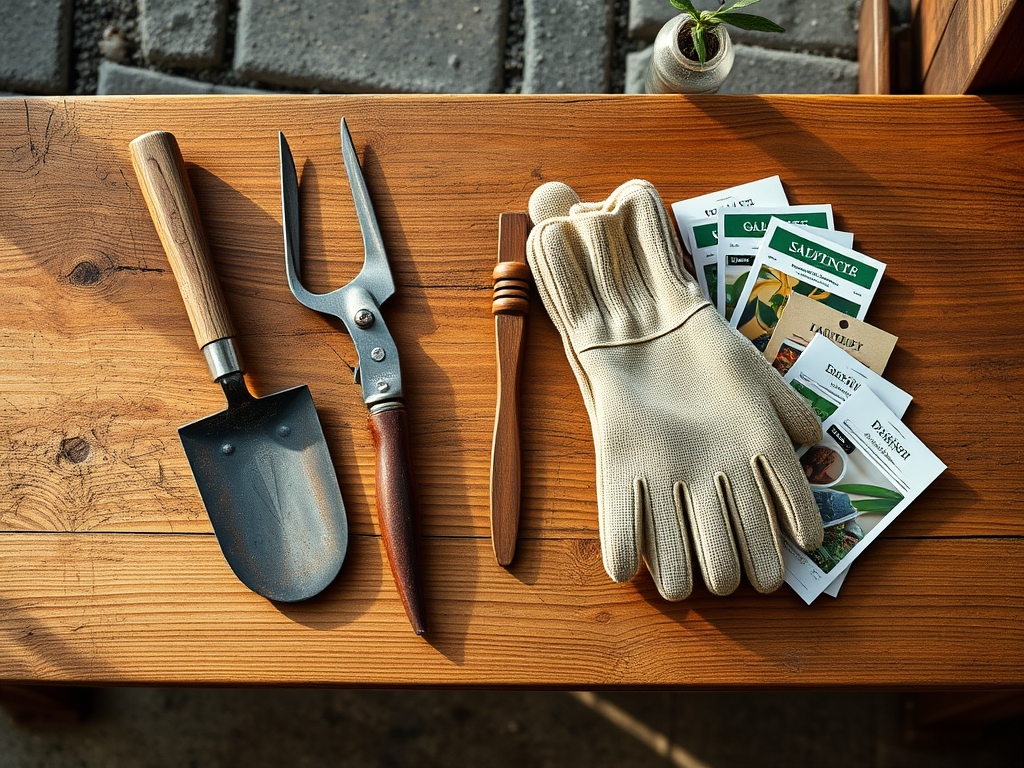
Materials:
The foundation of any hardscape project begins with the substrate. For areas adjacent to heavy plantings, the soil should ideally be a friable loam with a pH between 6.0 and 7.0 to ensure nutrient availability. Before excavation, test the Cation Exchange Capacity (CEC) of your soil; a higher CEC indicates a better ability to hold onto essential cations like Calcium (Ca2+) and Magnesium (Mg2+).
You will require:
- Crushed Stone Base: 3/4-inch minus aggregate for a stable, well-draining foundation.
- Bedding Sand: Coarse washed concrete sand, not play sand.
- Paver Units: High-density concrete or natural stone.
- Polymeric Sand: For joint stabilization and weed suppression.
- Fertilizer: A starter NPK ratio of 5-10-5 for surrounding turf recovery.
- Geotextile Fabric: To separate the subgrade from the aggregate base.
Timing:
Hardiness Zones 3 through 7 require strict adherence to the frost-date window. Hardscape installation should occur when the ground is not frozen and the soil moisture content is below the plastic limit. Attempting to compact saturated soil leads to "pumping," where water is forced to the surface, destroying the structural load-bearing capacity.
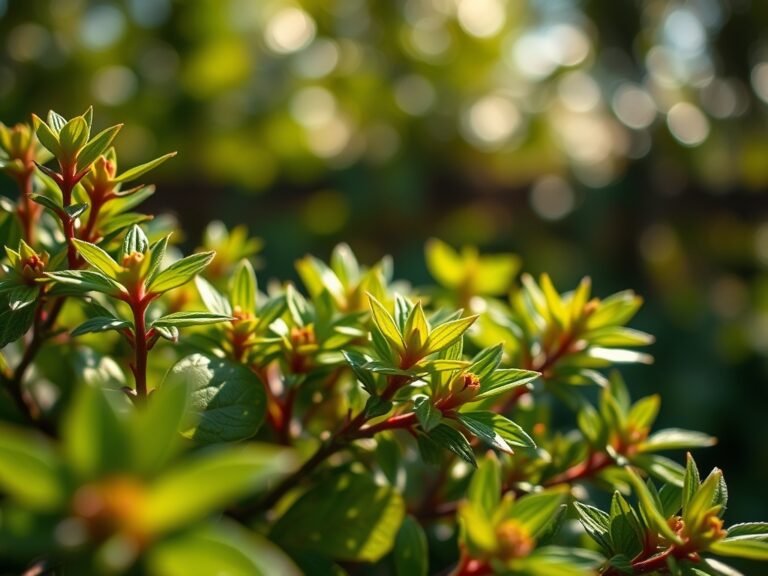
The biological clock of your surrounding perennials dictates the schedule. Aim for late spring or early autumn. During these windows, plants transition from vegetative growth to root-heavy development. Installing pavers during the peak of summer heat can induce moisture stress and senescence in nearby plants due to the thermal mass of the stones increasing localized soil temperatures.
Phases:

Sowing the Foundation
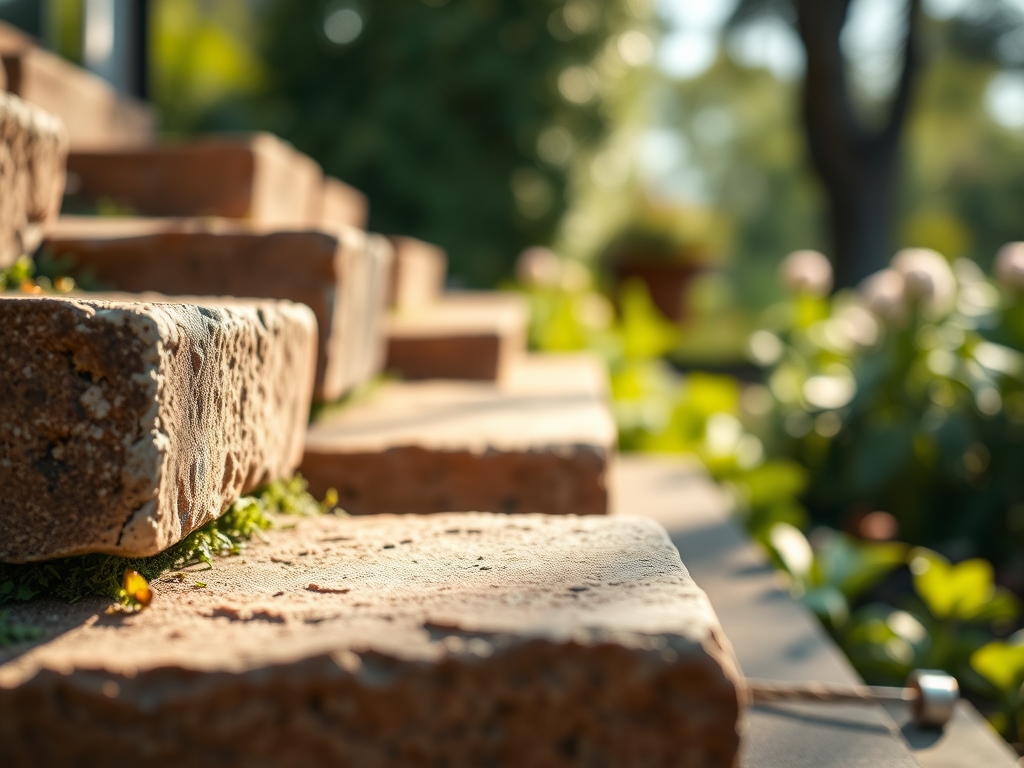
Excavate to a depth of 7 to 9 inches. This allows for 4 inches of compacted gravel, 1 inch of sand, and the thickness of the paver. Ensure a 2 percent slope away from any structures to manage runoff.
Pro-Tip: Use a plate compactor to reach 95 percent Proctor density. Biological Why: High compaction at the base prevents shifting that could shear the fine lateral roots of nearby trees, protecting the plant's ability to uptake water through osmosis.
Transplanting the Materials
Lay the geotextile fabric over the compacted subgrade. Spread the aggregate in 2-inch lifts, compacting each layer. Screed the bedding sand to a uniform 1-inch thickness using 1-inch O.D. pipes as guides.
Pro-Tip: Do not walk on the screeded sand. Biological Why: Footprints create uneven density, which leads to "birdbaths" or low spots. These spots collect stagnant water, fostering algae growth and pathogenic fungi that can migrate to the rhizosphere of your ornamental plants.
Establishing the Surface
Place pavers in your desired pattern, keeping joints between 1/16 and 1/8 inch wide. Once the field is laid, install edge restraints to prevent lateral migration. Sweep polymeric sand into the joints and vibrate the pavers with a padded plate compactor.
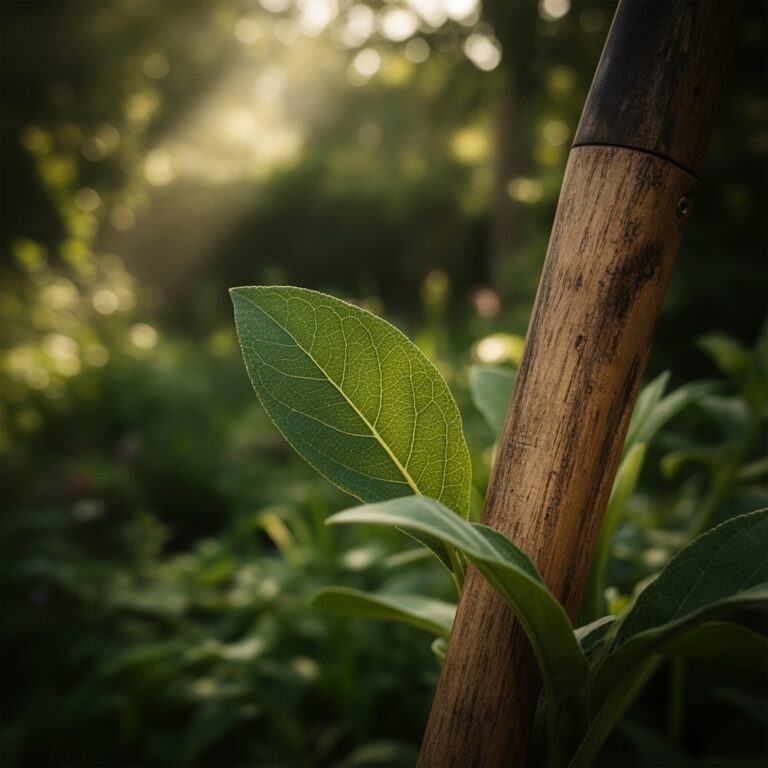
Pro-Tip: Mist the polymeric sand lightly to activate the binding polymers. Biological Why: Properly sealed joints prevent the germination of anemochorous (wind-dispersed) seeds. This reduces competition for nutrients like Nitrogen and Phosphorus, leaving more for your primary cultivars.
The Clinic:
Physiological disorders often appear in the vegetation surrounding a new paver installation.
Symptom: Interveinal chlorosis (yellowing leaves with green veins).
Solution: This often indicates an iron deficiency caused by high alkalinity. Concrete pavers can leach lime, raising the pH. Apply chelated iron to the soil.
Symptom: Marginal leaf scorch.
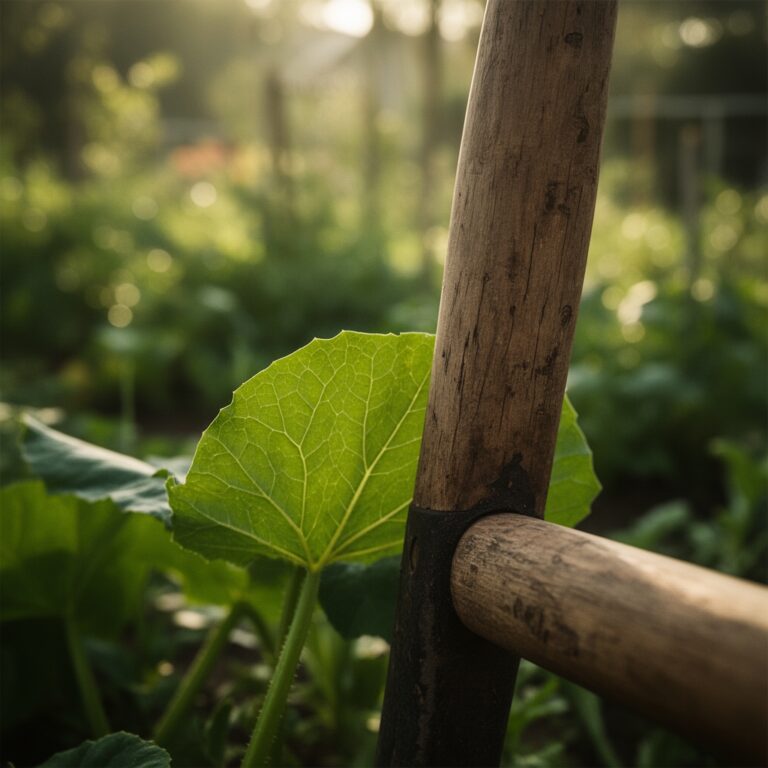
Solution: Excessive heat radiation from the pavers is causing rapid transpiration. Increase irrigation frequency or install heat-tolerant groundcovers at the stone edge.
Symptom: Stunted growth and wilting despite wet soil.
Solution: Soil compaction during construction has eliminated macropores, leading to hypoxia. Use a garden fork to aerate the soil 12 inches beyond the paver edge.
Fix-It for Nitrogen Chlorosis: If surrounding grass turns pale green, apply a 21-0-0 Ammonium Sulfate fertilizer at a rate of 1 pound of actual Nitrogen per 1,000 square feet to jumpstart chlorophyll production.
Maintenance:
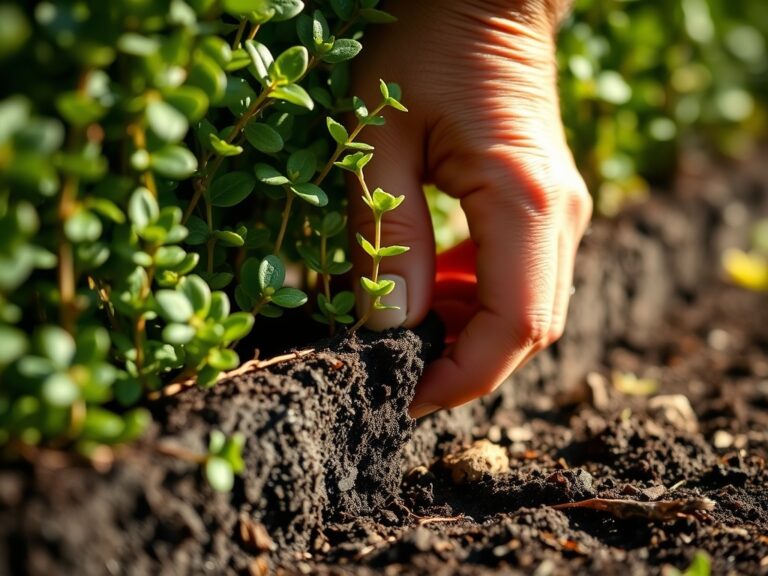
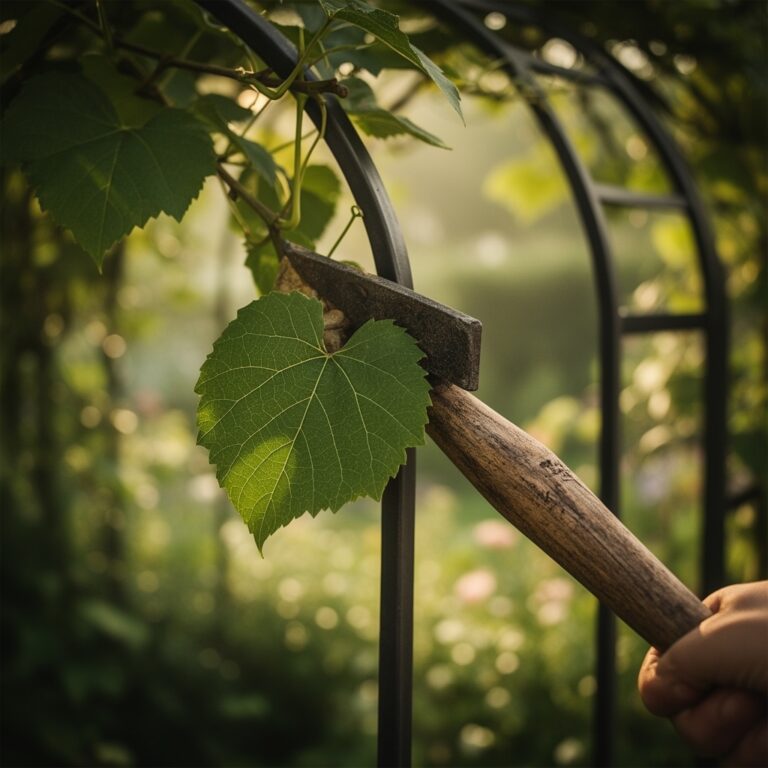
Hardscape longevity depends on moisture management. Ensure the surrounding garden receives 1.5 inches of water per week at the drip line, measured with a soil moisture meter. Use a hori-hori knife to remove any opportunistic weeds that manage to penetrate the edge restraints.
Inspect the joints annually. If the polymeric sand has eroded, replenish it to prevent water from infiltrating the base and causing frost heave in colder Hardiness Zones. Use bypass pruners to keep overhanging foliage from dropping organic debris onto the stones; decomposing tannins can stain the surface and alter the surface pH.
The Yield:
If your pavers border a kitchen garden, timing the harvest around the thermal properties of the stone is beneficial. The pavers act as a heat sink, extending the growing season for Mediterranean herbs like rosemary or thyme. Harvest herbs in the early morning when essential oil concentration is highest. Use sharp shears to prevent crushing the vascular tissue. Place harvested stems immediately in cool water to maintain turgor pressure and preserve "day-one" freshness for culinary use.
FAQ:
How deep should I dig for a paver walkway?
Excavate 7 to 9 inches deep. This accommodates 4 to 6 inches of compacted aggregate base, 1 inch of bedding sand, and the paver thickness. Proper depth ensures structural stability and prevents frost heave in most climates.
What is the best sand for installing pavers?
Use coarse, washed concrete sand for the bedding layer. It maintains its sharp edges under pressure, providing better interlock than rounded play sand. For the joints, use polymeric sand to prevent weed growth and erosion.
Can I lay pavers directly on dirt?
No. Placing pavers on raw soil leads to uneven settling and rapid failure. Soil lacks the drainage and load-bearing capacity of an aggregate base. Without a proper base, stones will shift, crack, and allow weed infestation.
How do I prevent weeds between my pavers?
Use polymeric sand in the joints and install a geotextile fabric beneath the gravel base. The fabric prevents soil migration, while the hardened sand creates a physical barrier that inhibits seed germination and prevents ants from excavating the bedding sand.