9 Expert Ways How to Design a Backyard Patio
The scent of anaerobic decomposition in waterlogged soil serves as a warning that your landscape lacks structural integrity. When the turgor pressure of your surrounding flora begins to fail due to poor drainage or root compaction, you must reconsider the architectural footprint of your outdoor space. Learning how to design a backyard patio is not merely a task of aesthetics; it is an exercise in soil mechanics and hydrological management. A well-engineered patio acts as a thermal mass that regulates the microclimate of the immediate rhizosphere while providing a stable foundation for human activity. You must account for the sub-base compaction levels and the slope of the land to ensure that runoff does not induce erosion or root rot in your high-value perennials. By integrating hardscape with botanical science, you create a symbiotic environment where the built and biological worlds coexist. Success requires a meticulous understanding of your local geology and the physiological needs of the surrounding plant life.
Materials:
The foundation of any patio design begins beneath the surface with the soil profile. For the surrounding planting beds, aim for a **friable loam** with a **Cation Exchange Capacity (CEC) of 15 to 25 cmol/kg**. This ensures the soil can retain and exchange essential cations like calcium and magnesium. The ideal soil pH for a mixed-use patio border is **6.2 to 6.8**, which optimizes nutrient availability.
When prepping the sub-base, use a crushed limestone or 3/4-inch minus gravel compacted to a 95 percent Proctor density. For the biological components, integrate a slow-release fertilizer with an NPK ratio of 5-10-5 into the surrounding soil. This lower nitrogen content prevents excessive vegetative growth that can become leggy, while the higher phosphorus levels support robust root development near the patio edge. The physical texture should allow for a bulk density of approximately 1.3 g/cm3 to permit gas exchange within the root zone.
Timing:
Hardscape construction and integrated planting must align with your specific USDA Hardiness Zone. In Zones 5 through 7, the ideal window for patio installation is late spring or early autumn when the soil temperature is between 55 and 65 degrees Fahrenheit. This avoids the extreme thermal expansion and contraction of materials seen in mid-summer.
The biological clock of your surrounding plants dictates the timing of the "softscape" elements. You must transition plants from their vegetative stage to a settled state before the first frost date. In Zone 6, this typically means completing all transplanting by October 15th. This allows for sufficient root establishment before the plant enters dormancy and senescence. Monitoring the photoperiod is essential; as day length decreases, the plant shifts energy from foliage production to root carbohydrate storage.
Phases:

Sowing and Site Preparation
Begin by stripping the organic layer to reach the mineral soil. Excavate to a depth of 8 to 12 inches depending on the thickness of your chosen pavers. For the surrounding green space, sow cover crops like clover if the area will remain fallow during construction to prevent nitrogen leaching.
Pro-Tip: Utilize the principle of geotropism when grading the site. Ensure a 2 percent slope away from all structures to direct water flow. This prevents hydrostatic pressure from building up against the foundation and protects the root systems of nearby trees from drowning.
Transplanting
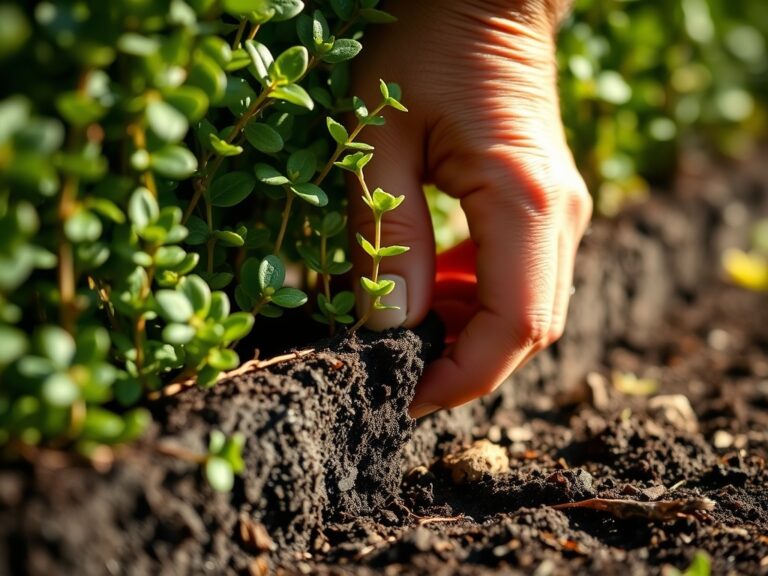
When installing plants around the patio perimeter, dig holes twice as wide as the root ball but no deeper. This encourages lateral root expansion into the loosened soil. Ensure the root flare is visible at the soil surface to prevent stem girdling.
Pro-Tip: Minimize transplant shock by maintaining high turgor pressure. Water the plants deeply 24 hours before moving them. This ensures the cells are fully hydrated, allowing the plant to better manage the temporary loss of fine root hairs during the transition.
Establishing
The first 21 days are critical for the establishment of both the pavers and the plants. Use a plate compactor on the stone surfaces and provide consistent moisture to the surrounding soil. Monitor the soil moisture meter daily to ensure levels stay between 60 and 80 percent of field capacity.
Pro-Tip: Encourage mycorrhizal symbiosis by avoiding high-phosphorus synthetic fertilizers during the first month. Instead, use organic matter to stimulate the growth of beneficial fungi. These fungi extend the root system's reach, improving water uptake and nutrient absorption through a biological network.
The Clinic:
Physiological disorders often manifest at the intersection of hardscapes and living plants.
- Symptom: Interveinal chlorosis (yellowing leaves with green veins) in new growth.
- Solution: This indicates an Iron (Fe) deficiency, often caused by high pH levels from concrete runoff.
- Fix-It: Apply chelated iron and incorporate elemental sulfur to lower the pH to 6.5.
- Symptom: Marginal leaf burn or scorching on established shrubs.
- Solution: This is frequently a result of Salt Toxicity from de-icing agents used on patio stones.
- Fix-It: Flush the soil with 2 inches of water to leach the sodium ions below the root zone.
- Symptom: Stunted growth and purplish tint on the underside of leaves.
- Solution: This represents a Phosphorus (P) deficiency, common in cold, compacted soils.
- Fix-It: Aerate the soil using a garden fork and apply a 0-20-0 superphosphate amendment at the drip line.
Maintenance:
Precision is the hallmark of a professional landscape. Apply exactly 1.5 inches of water per week at the drip line of your patio-side plants. Use a soil moisture meter to verify that the moisture has penetrated 6 inches deep into the soil profile.
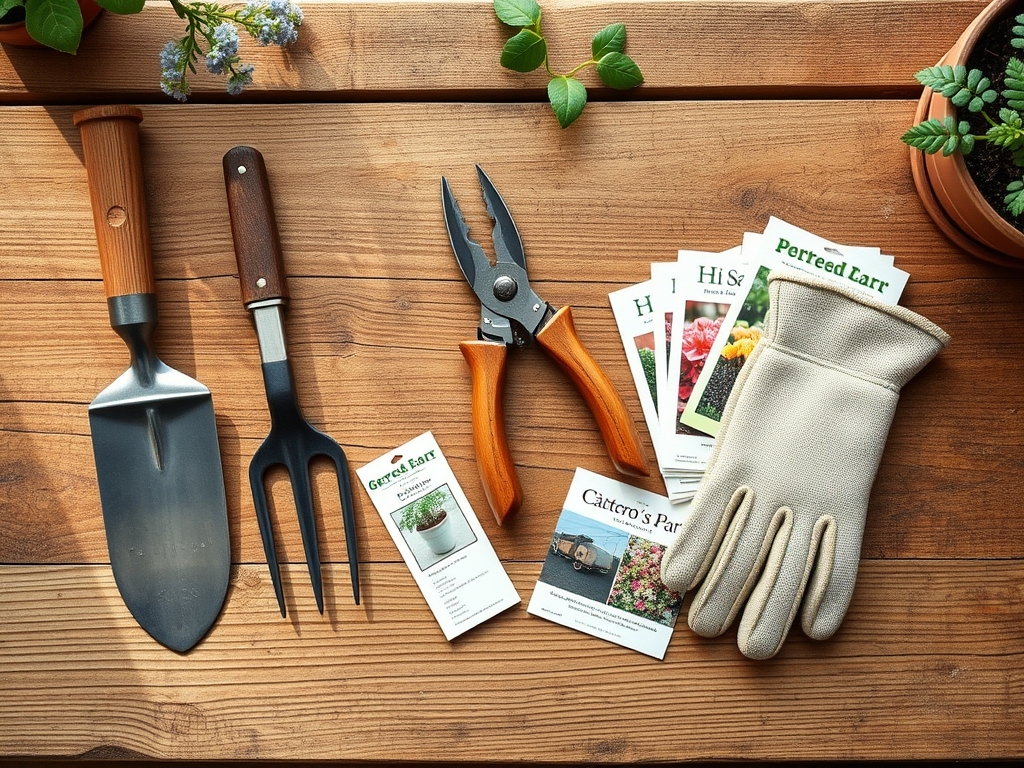
For pruning, use bypass pruners to make clean, slanted cuts that allow water to shed, preventing fungal pathogens. When weeding near the patio edge, a hori-hori knife is essential for extracting taproots without disturbing the leveling sand beneath the pavers. Inspect the polymeric sand joints annually; if gaps exceed 1/8 inch, replenish the sand to prevent weed seeds from germinating in the substrate.
The Yield:
If your patio design includes an integrated kitchen garden or "potager," timing the harvest is vital for nutrient density. Harvest leafy greens when the dew point is high in the early morning. This ensures maximum turgor and prevents wilting. For woody herbs like rosemary or thyme, harvest before the plant reaches the flowering stage to ensure the highest concentration of essential oils. Post-harvest, submerge the stems in 40-degree Fahrenheit water to remove field heat and maintain "day-one" freshness for up to seven days.
FAQ:
What is the best slope for a backyard patio?
A 2 percent grade is the industry standard. This translates to a 1/4-inch drop for every foot of length. This slope ensures efficient hydraulic drainage away from your home's foundation while remaining level enough for furniture stability.
How do I prevent weeds between patio pavers?
Use polymeric sand to fill the joints. This material contains additives that harden when misted with water, creating a semi-permanent barrier. Maintaining a soil pH of 6.5 in the surrounding beds also reduces the pressure of acid-loving weed species.
Can I build a patio over tree roots?
Doing so risks root asphyxiation and structural failure. If you must build near a tree, use a permeable paver system and a "no-dig" base. This allows for essential gas exchange and water infiltration into the rhizosphere.
What is the ideal base thickness for a patio?
For pedestrian traffic, a 4-inch layer of compacted gravel topped with 1 inch of bedding sand is sufficient. For areas with heavy clay or high freeze-thaw cycles, increase the gravel base to 6 or 8 inches to prevent heaving.