7 Best Gravel for Garden Paths
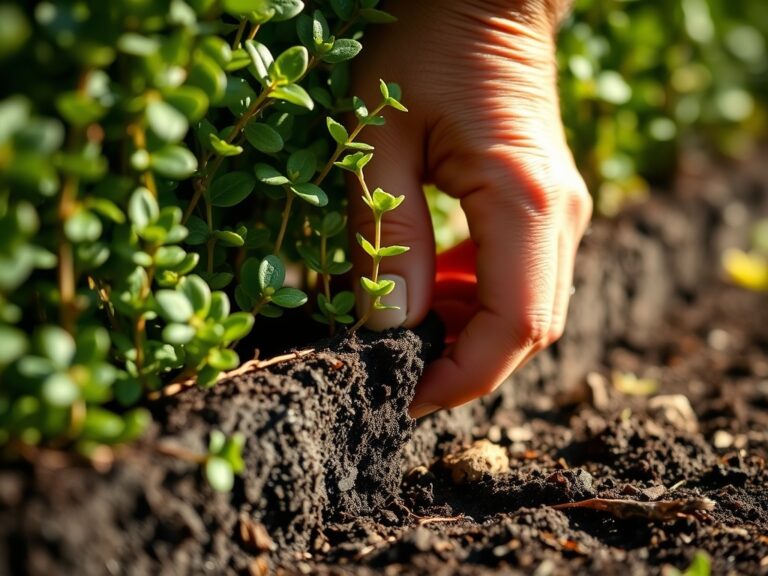
The scent of damp humus and the sharp tang of bruised mint underfoot signal a garden in peak metabolic activity. Maintaining this environment requires more than just biological care; it demands a stable infrastructure to manage foot traffic without compacting the rhizosphere. Selecting the best gravel for garden paths is a structural necessity that prevents the anaerobic conditions caused by soil compression. When soil pores collapse, oxygen cannot reach the root zone, leading to a drop in turgor pressure and eventual plant senescence. A well-engineered path provides a permeable surface that allows water to infiltrate the subsoil at a controlled rate, maintaining the delicate balance of moisture and aeration required for high-performance horticulture.
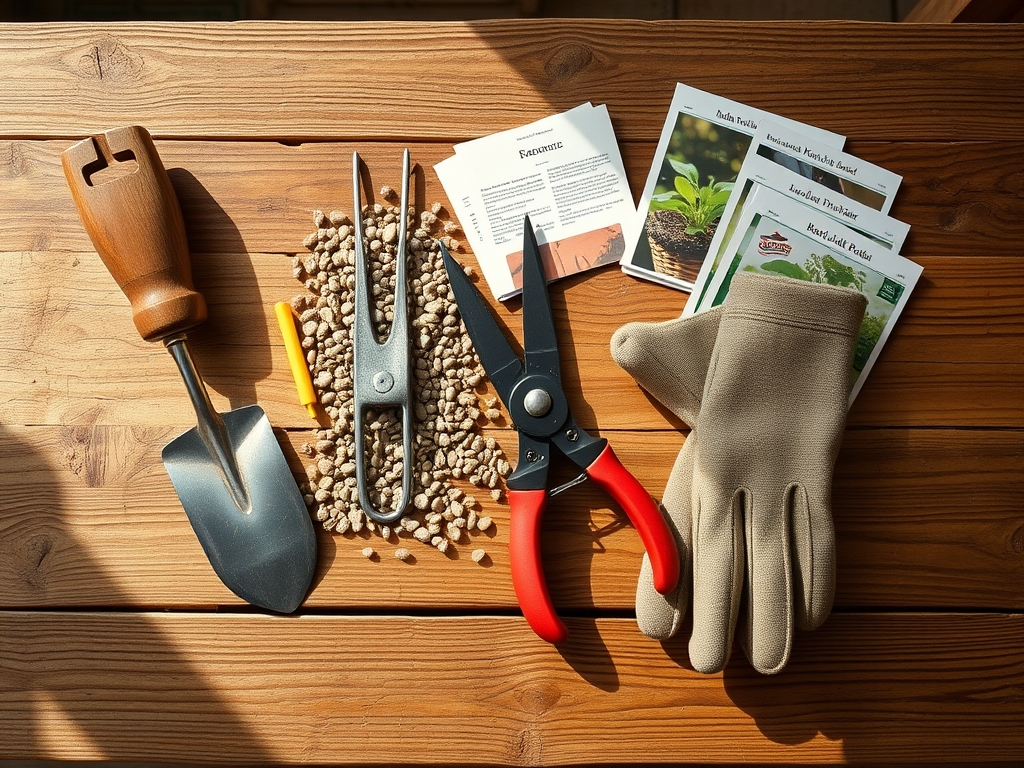
Materials:
Before laying stone, evaluate the underlying substrate. The ideal base is a **friable loam** with a high **Cation Exchange Capacity (CEC)**, typically ranging from **15 to 25 meq/100g**. This allows the soil to retain essential nutrients like ammonium, potassium, and magnesium. If your path borders heavy feeders, ensure the adjacent soil maintains an **NPK ratio of 10-10-10** for general maintenance or **5-10-10** for root crops to avoid excessive vegetative growth. The pH of your gravel choice is critical; limestone screenings will leach calcium carbonate, raising the pH of the surrounding soil to **7.5 or higher**. Conversely, granite or river rock remains chemically inert, preserving a slightly acidic environment of **pH 6.0 to 6.5** which is optimal for nutrient bioavailability.
Timing:
Path construction should align with your regional Hardiness Zone and local frost cycles. In Zones 4 through 7, the ideal window for installation is late autumn after the first killing frost or early spring before the soil reaches a consistent 50 degrees Fahrenheit. Installing during the "Biological Clock" transition from vegetative to reproductive stages ensures that heavy machinery or foot traffic does not interfere with the high energy demands of flowering or fruiting. Avoid construction during the spring thaw when the soil is at its highest moisture content; working wet soil destroys its structure, leading to permanent compaction and reduced microbial activity within the top 6 inches of the soil profile.
Phases:
Sowing the Foundation
Excavate the path to a depth of 4 to 6 inches. The base layer must be compacted using a plate compactor to ensure a stable subgrade. Line the trench with a professional grade geotextile fabric to prevent the migration of soil fines into the gravel layer. This separation layer is vital for drainage and weed suppression.
Pro-Tip: Proper drainage prevents the "bathtub effect" where water sits at the root level. This avoids root hypoxia, a condition where roots cannot perform cellular respiration due to a lack of oxygen in saturated soils.
Transplanting the Aggregate
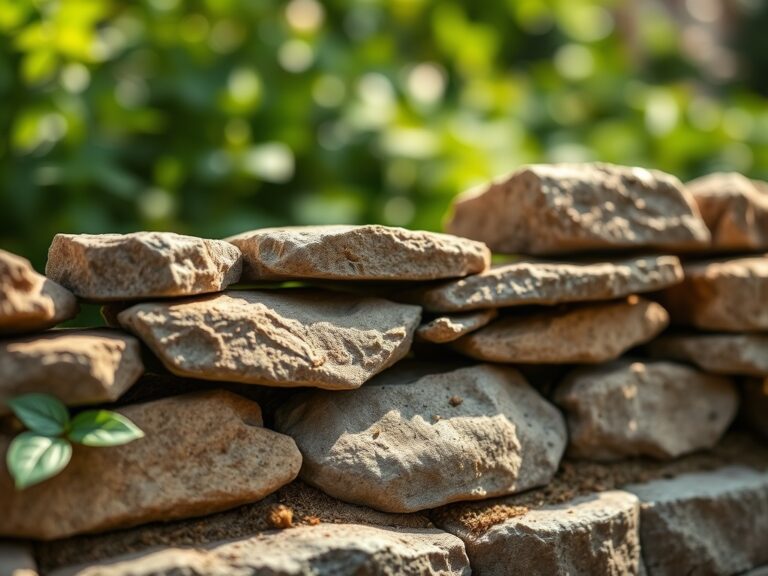
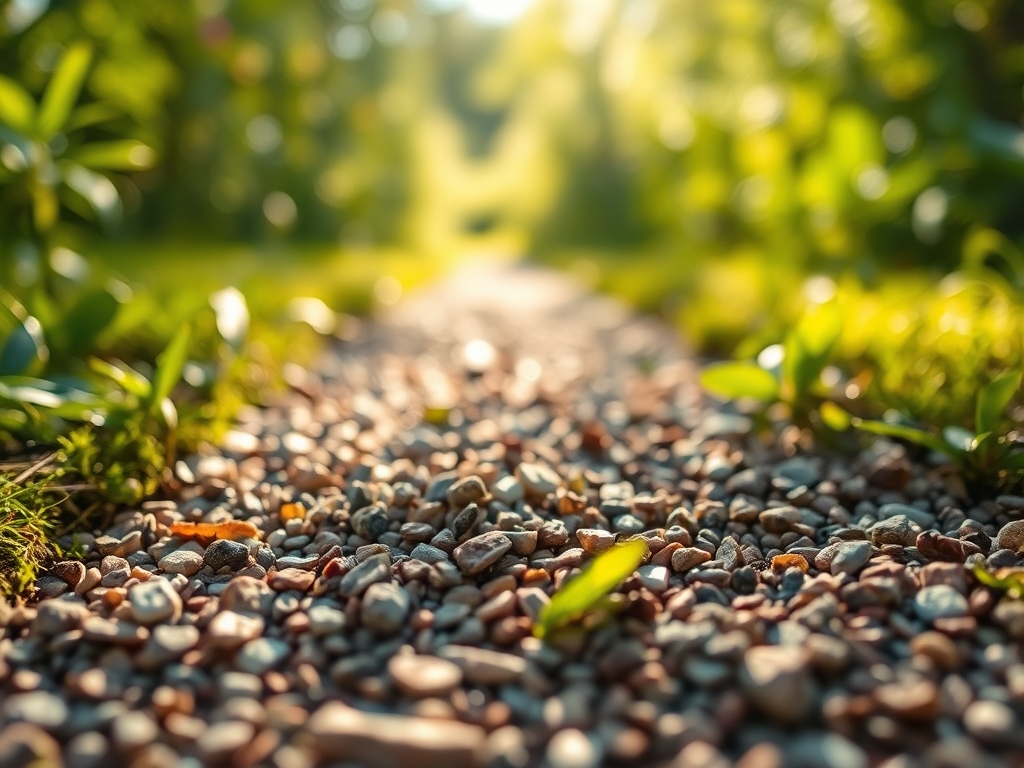
Fill the first 3 inches with a jagged, "crusher run" or 3/4-inch minus angular stone. Angular stones lock together under pressure, creating a firm walking surface. For the top dressing, select from the following seven best gravels: Decomposed Granite (DG) for a natural look; Pea Gravel for a soft feel; Crushed Limestone for high-traffic durability; River Pebbles for drainage; Slate Chips for a modern aesthetic; Lava Rock for lightweight applications; and Quartzite for high visibility.
Pro-Tip: Use angular gravel rather than rounded stones for the base layer. Angular surfaces increase friction and stability; this mimics the structural integrity of a well-aggregated soil crumb, providing a firm surface that does not shift under load.
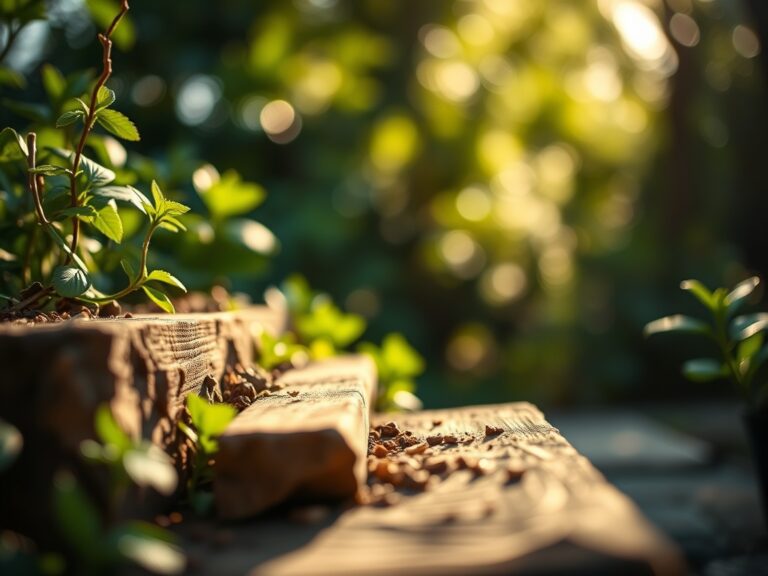
Establishing the Border
Edge the path with steel, brick, or pressure-treated timber to contain the aggregate. The edging should sit 0.5 inches above the gravel surface to prevent spillover. Once the stone is in place, use a soil moisture meter to check the hydration levels of the plants bordering the new path. The presence of stone can increase local soil temperatures through thermal mass, accelerating the evapotranspiration rate of nearby foliage.
Pro-Tip: Monitor the phototropism of border plants. The reflective properties of light-colored gravels like white quartz can increase the light intensity on the undersides of leaves, potentially causing "sunscald" or altering the plant's growth direction toward the reflected light source.
The Clinic:
Physiological disorders often manifest at the intersection of hardscaping and softscaping. Observe your plants for these specific symptoms.
Symptom: Interveinal chlorosis on new growth (yellowing leaves with green veins).
Solution: This is often Iron Deficiency caused by high pH levels from limestone gravel. Apply chelated iron or elemental sulfur to lower the pH to 6.2.
Symptom: Marginal leaf burn or necrosis.
Solution: This indicates Salt Toxicity or drought stress. Stone paths can trap heat; increase irrigation frequency to 2 inches per week during peak summer to compensate for the increased ambient temperature.
Symptom: Stunted growth and purplish leaves.
Solution: Phosphorus Deficiency. Cold, compacted soil under path edges prevents phosphorus uptake. Aerate the soil adjacent to the path using a garden fork to improve gas exchange.
Fix-It: Nitrogen Chlorosis
If plants bordering a new path turn a uniform pale green, they are likely suffering from nitrogen deficiency. The construction process often disturbs the soil, causing a temporary nitrogen tie-up as microbes work to break down organic matter. Apply a liquid 20-20-20 fertilizer at half strength to provide immediate bioavailability.
Maintenance:
A high-performance garden path requires active management to prevent organic matter buildup. Use a leaf blower or stiff broom to remove leaf litter before it decomposes into the gravel; decomposing organic matter creates a seedbed for weeds. Check the path level twice a year. If low spots develop, fill them immediately to prevent water pooling.
For the surrounding flora, use a hori-hori knife to remove weeds at the root, ensuring you do not disturb the geotextile layer. Prune encroaching branches with bypass pruners to maintain a clear 36-inch walking width. Ensure the plants receive 1.5 inches of water per week at the drip line, measuring with a rain gauge to ensure accuracy. If the gravel feels excessively hot to the touch, deep-water the path edges in the early morning to create a cooling buffer through evaporation.
The Yield:
When harvesting herbs or flowers along your path, timing is everything. Harvest in the early morning when turgor pressure is at its highest; this ensures the stems are rigid and the essential oils are concentrated. Use a sharp, sterilized blade to make clean cuts at a 45-degree angle, which maximizes the surface area for water uptake.
Immediately plunge the stems into room temperature water (approximately 68 degrees Fahrenheit). For woody perennials, strip the lower 2 inches of leaves to prevent bacterial growth in the water. This post-harvest handling maintains "day-one" freshness by slowing the rate of senescence and preventing the vascular system of the plant from air-locking.
FAQ:
What is the best gravel size for a stable walking surface?
For maximum stability, use 1/4-inch to 1/2-inch angular gravel. Smaller stones pack more tightly, reducing the "shifting sand" effect. Avoid large, rounded river rocks for primary walking paths as they do not interlock and create an unstable footing.
How deep should I lay the gravel for a garden path?
A total depth of 4 inches is standard. This includes a 2-inch to 3-inch base of compacted structural stone and a 1-inch to 2-inch top layer of decorative gravel. Any deeper and the path will feel spongy and difficult to traverse.
Does gravel affect the soil pH of my garden beds?
Yes, certain stones like limestone and marble are alkaline and will raise soil pH over time. For acid-loving plants like blueberries or azaleas, use chemically inert materials such as granite, slate, or basalt to maintain an acidic rhizosphere.
How do I prevent weeds from growing through my gravel path?
Install a heavy-duty non-woven geotextile fabric beneath the gravel. This prevents weed seeds in the soil from germinating while allowing water to drain. Maintain the surface by removing organic debris, which provides a medium for wind-blown seeds to sprout.