7 Vital Steps to Plant a Boxwood Hedge
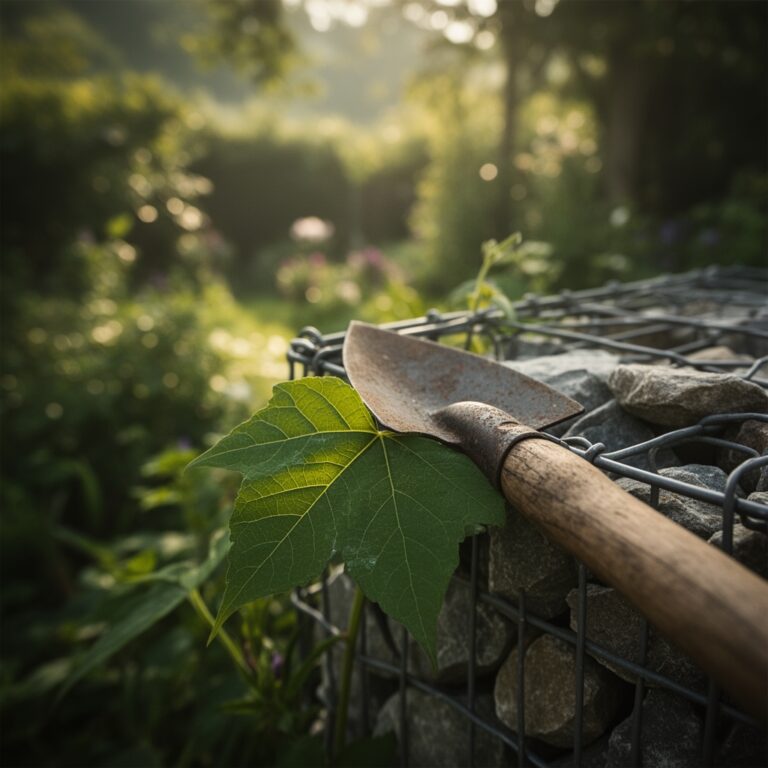
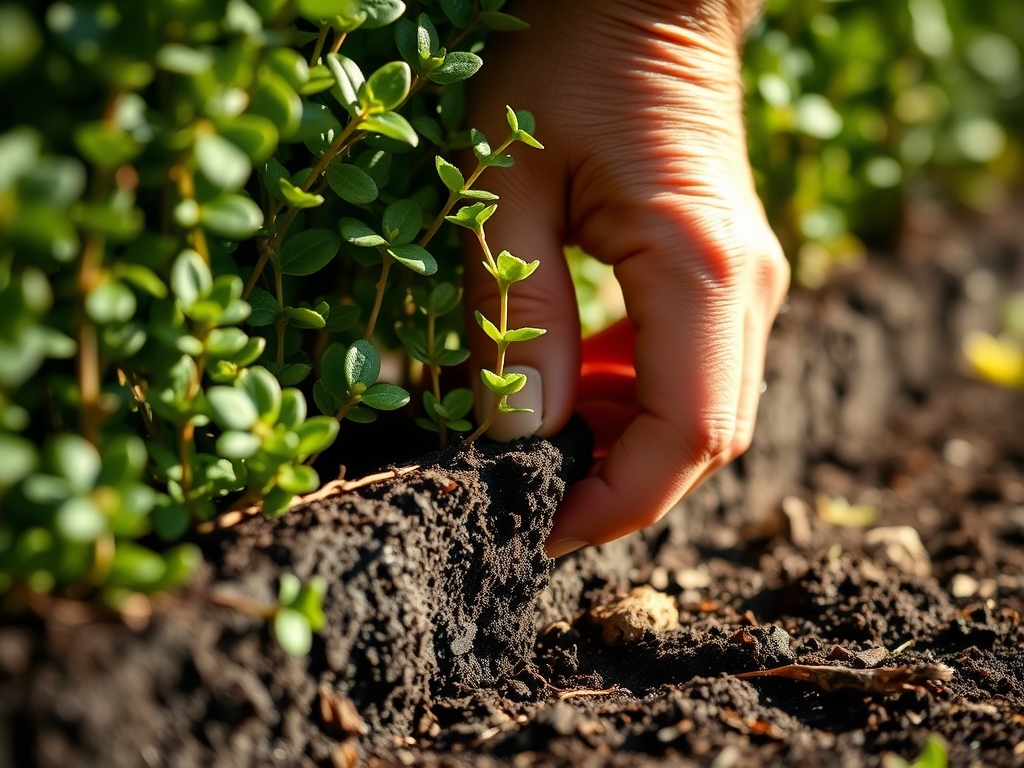
The smell of damp, acidic earth rising from a freshly turned trench signals the start of a landscape transformation. A healthy boxwood specimen exhibits high turgor pressure; its leaves feel firm and waxy rather than pliable or limp. Successful establishment depends on precise execution of the steps to plant a boxwood hedge to ensure long term structural integrity. You are not merely placing shrubs in a line; you are engineering a living wall that must withstand decades of environmental stress. Failure to account for drainage or root placement during these initial phases leads to stunted growth or root rot. By prioritizing soil physics and cellular health, you create a foundation for a dense, uniform hedge that maintains its deep emerald hue through the harshest winters.
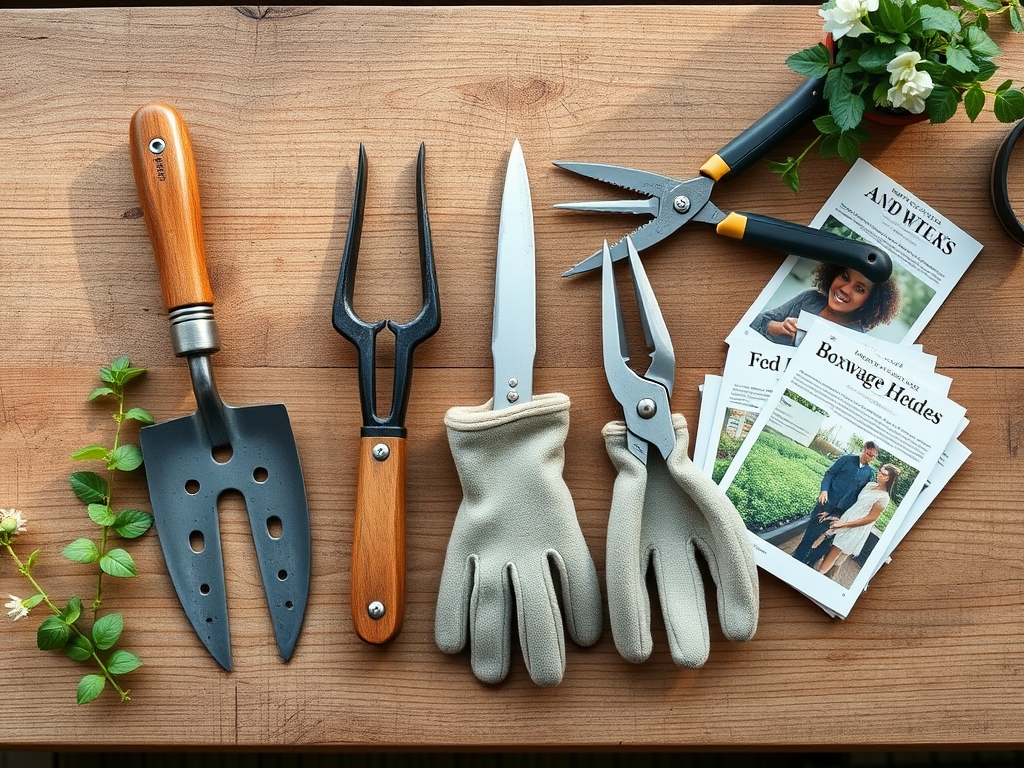
Materials:
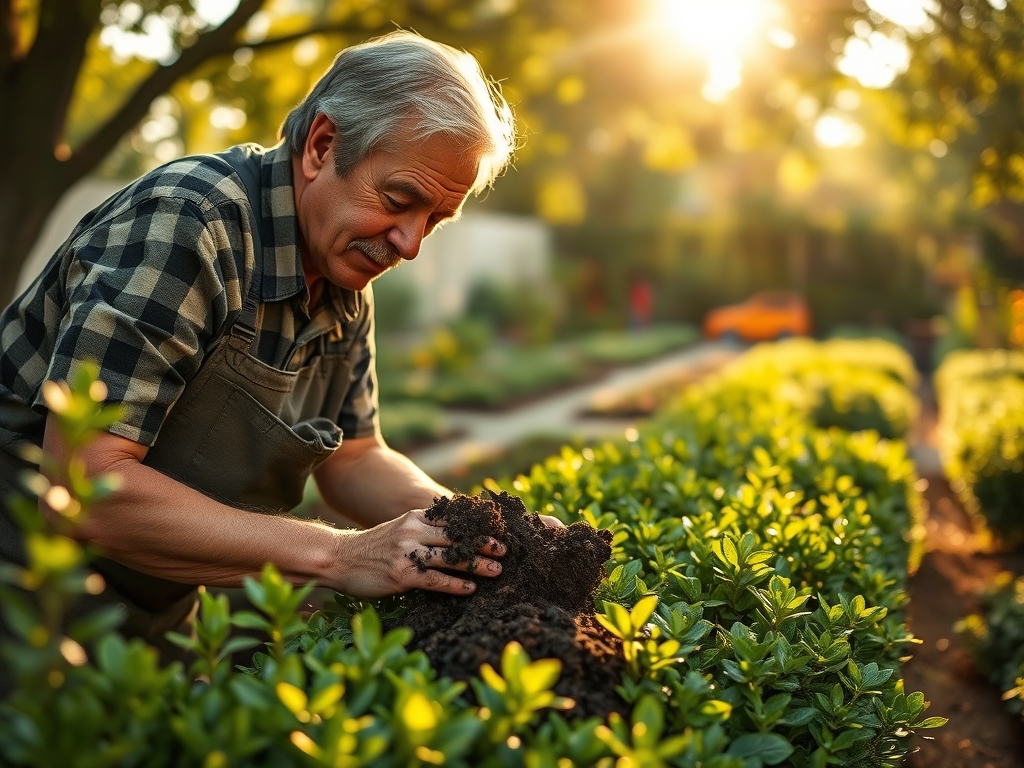
The biological success of Buxus species begins with the substrate. Boxwoods require a **friable loam** that allows for rapid gas exchange within the rhizosphere. The ideal soil texture consists of roughly 40 percent sand, 40 percent silt, and 20 percent clay. This balance ensures the **Cation Exchange Capacity (CEC)** is high enough to retain nutrients without sacrificing drainage.
Target a soil pH between 6.5 and 7.2. If your soil tests below 6.0, incorporate pelletized lime at a rate of 5 pounds per 100 square feet to neutralize acidity. For the initial planting phase, utilize a slow release fertilizer with an NPK ratio of 10-6-4. The higher nitrogen content supports early vegetative growth, while the phosphorus encourages robust root development. Avoid high-salt synthetic fertilizers that can dehydrate delicate root hairs through osmotic stress.
Timing:
Boxwoods are hardy across USDA Zones 5 through 9, but their biological clock is sensitive to temperature fluctuations. The optimal window for planting is late autumn or early spring. During these periods, the plant is in a state of reduced metabolic activity, which minimizes transplant shock.
In autumn, aim to plant at least six weeks before the first hard frost. This allows the root system to establish before the ground freezes, ensuring the plant can continue to uptake water to prevent winter desiccation. In spring, wait until the soil temperature reaches a consistent 45 degrees Fahrenheit. Planting during the transition from dormancy to the vegetative stage allows the boxwood to utilize the spring surge of auxins for rapid root expansion before the heat of summer increases evapotranspiration rates.
Phases:
Sowing and Site Preparation
While boxwoods are typically purchased as container-grown plants rather than seeds, site preparation is the "sowing" of your hedge's future. Excavate a trench two times wider than the root ball but no deeper than the existing soil line. Compacted soil must be fractured to allow the roots to penetrate the surrounding earth.
Pro-Tip: Incorporate endomycorrhizal fungi into the backfill. This creates a mycorrhizal symbiosis where the fungi extend the reach of the root system, increasing the surface area for phosphorus and water absorption by up to 100 times.
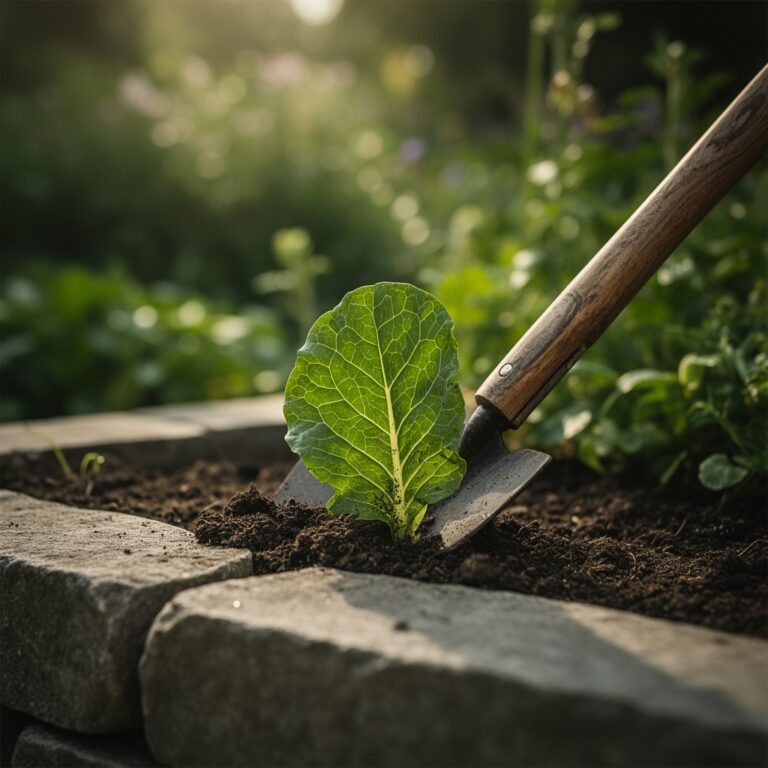
Transplanting
Remove the boxwood from its container and inspect the root architecture. If the plant is root-bound, use a hori-hori knife to make four vertical incisions around the root ball. This severs the circling roots and stimulates the production of lateral root branching. Place the plant in the trench so the top of the root ball sits 0.5 inches above the surrounding soil grade. This prevents water from pooling at the crown, which is a primary cause of fungal pathogens.
Pro-Tip: Align the plants with their most foliage-dense side facing the primary light source. This utilizes phototropism, ensuring the plant does not expend unnecessary energy reorienting its leaves toward the sun during the critical first weeks.
Establishing
Backfill the trench with the native soil and organic amendments, tamping down lightly to remove air pockets without crushing the soil structure. Apply a 2-inch layer of organic mulch, such as shredded hardwood, around the base. Ensure the mulch does not touch the main stem to prevent bark decay.
Pro-Tip: Apply a root-growth stimulant containing indole-3-butyric acid (IBA). This hormone triggers auxin suppression of terminal buds in favor of root elongation, forcing the plant to prioritize underground infrastructure over upward growth during the first season.
The Clinic:
Physiological disorders in boxwoods often manifest as visible foliage changes. Monitoring these symptoms allows for rapid intervention.
- Symptom: Interveinal chlorosis (yellowing between leaf veins).
Solution: This indicates a Manganese or Iron deficiency, often caused by high pH. Lower the pH with elemental sulfur to increase nutrient bioavailability. - Symptom: Bronzing or orange tinting in winter.
Solution: This is often winter desiccation caused by frozen soil and high winds. Apply an anti-transpirant spray in late autumn to reduce moisture loss through the stomata. - Symptom: Marginal leaf scorch.
Solution: This suggests Potassium deficiency or salt toxicity. Flush the soil with 2 inches of water and apply a balanced 10-10-10 fertilizer. - Symptom: Sudden wilting despite moist soil.
Solution: Likely Phytophthora root rot. Improve drainage immediately by amending with coarse sand or installing a French drain.
Maintenance:
Precision is the hallmark of professional boxwood care. Use a soil moisture meter to ensure the root zone remains consistently damp but never saturated. Boxwoods require approximately 1.5 inches of water per week delivered at the drip line. Overhead watering should be avoided to prevent moisture from lingering on the foliage, which invites fungal spores.
Pruning should be performed with sharp bypass pruners to ensure clean cuts that heal quickly. Avoid shearing the outer shell exclusively; instead, thin out small branches to allow light and air to penetrate the interior of the shrub. This prevents internal senescence, where the inner leaves die off due to lack of photosynthesis. Maintain a "bread-loaf" shape where the base is slightly wider than the top to ensure the lower branches receive adequate sunlight.
The Yield:
While boxwoods are not an edible crop, the "yield" is the architectural density of the hedge. To achieve a seamless look, time your major pruning for late spring after the first flush of new growth has hardened off. If you are using the clippings for floral arrangements, harvest them in the early morning when turgor pressure is at its peak. Submerge the cut ends in cool water immediately to maintain cellular hydration and prevent the leaves from curling.
FAQ:
How far apart should I space boxwoods for a hedge?
Space plants 18 to 24 inches apart measured from the center of each root ball. For a faster "fill-in," use the smaller measurement. This ensures the root systems overlap slightly, creating a continuous subterranean network for stability.
Why are my boxwood leaves turning yellow?
Yellowing, or chlorosis, typically stems from Nitrogen deficiency or improper soil pH. Test the soil to ensure a pH of 6.5 to 7.2. If the pH is correct, apply a nitrogen-rich fertilizer to restore chlorophyll production.
Can I plant boxwoods in full shade?
Boxwoods are adaptable but prefer dappled sunlight or partial shade. In deep shade, the plant will become "leggy" as it undergoes etiolation, stretching its internodes to find light, which results in a thin, unattractive hedge.
How deep should the planting hole be?
The hole must be no deeper than the root ball. Planting a boxwood too deep leads to oxygen deprivation in the rhizosphere and increases the risk of crown rot. The top of the root ball should be level with the soil.
When is the best time to prune a new hedge?
Wait until the second growing season to perform heavy pruning. Use bypass pruners to remove no more than one-third of the growth. This allows the plant to establish a strong root system before diverting energy to repairing pruned tissues.