6 Precise Steps to Sharpen Shears with a Mill File
The scent of bruised chlorophyll and damp earth signals the height of the pruning season; a time when the internal turgor pressure of a plant determines how cleanly a stem will yield to the blade. A jagged cut from a dull tool crushes the vascular cambium. This structural damage invites pathogens into the xylem. To maintain plant health, you must master the steps for sharpening a garden shears with a file to ensure every incision is surgical. Precision in the tool shed translates directly to success in the orchard or the perennial bed.
Materials:

While tool maintenance is mechanical, the environment where these tools operate is strictly chemical. Your garden substrate should ideally be a friable loam with a **pH between 6.2 and 6.8**. This acidity level optimizes the Cation Exchange Capacity (CEC), allowing the plant to uptake a balanced NPK ratio of **10-10-10** during the recovery phase after pruning. High-carbon organic matter improves the soil structure, ensuring that the root system can support the rapid callous formation required after you apply your sharpened shears to the woody tissue.
Timing:
Timing your maintenance and subsequent pruning requires an understanding of the USDA Hardiness Zones. In Zones 5 through 7, the ideal window for heavy pruning occurs during dormancy, typically between late January and early March, before the first frost-date window closes. This aligns with the biological clock of the plant as it transitions from dormancy to the vegetative stage. Pruning during the onset of senescence in autumn is generally avoided, as it can stimulate new growth that will succumb to winter kill. Monitor the photoperiod; as days lengthen, the plant prepares for a surge in auxin production.
Phases:
### Sowing
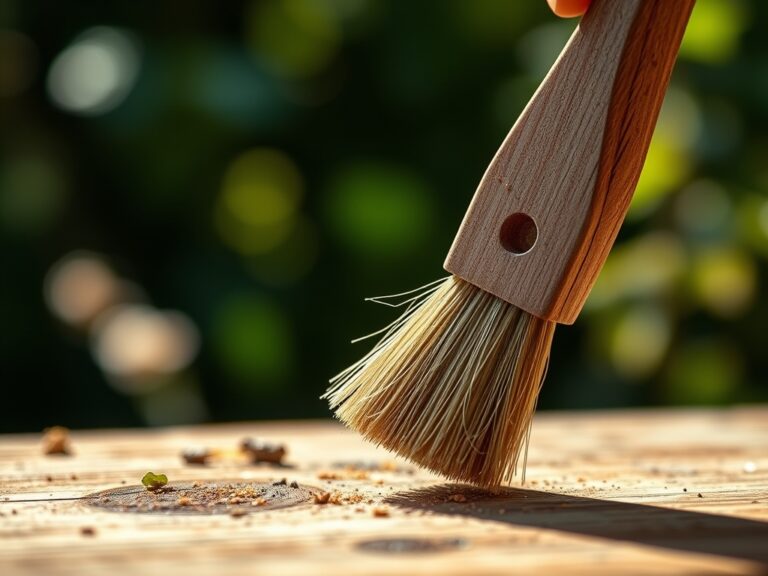
Before the first seed hits the soil, your tools must be ready. The first of the steps for sharpening a garden shears with a file involves cleaning. Use a wire brush to remove oxidized metal and dried sap. If sap remains, a solvent like isopropyl alcohol is required. This prevents the transfer of soil-borne pathogens into the rhizosphere of new seedlings.
Pro-Tip: Clean tools prevent the disruption of the rhizosphere. Mycorrhizal symbiosis is fragile; introducing pathogens via dirty blades can inhibit the fungal networks that provide phosphorus to the root system.
Transplanting
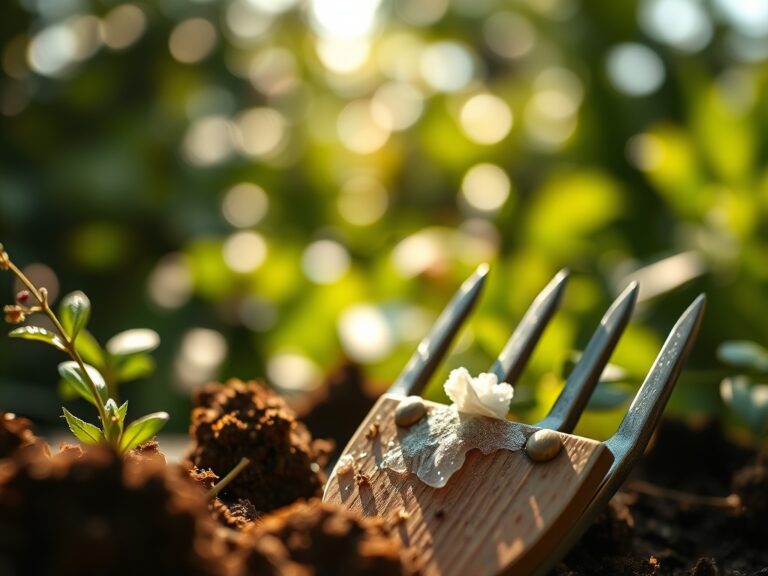
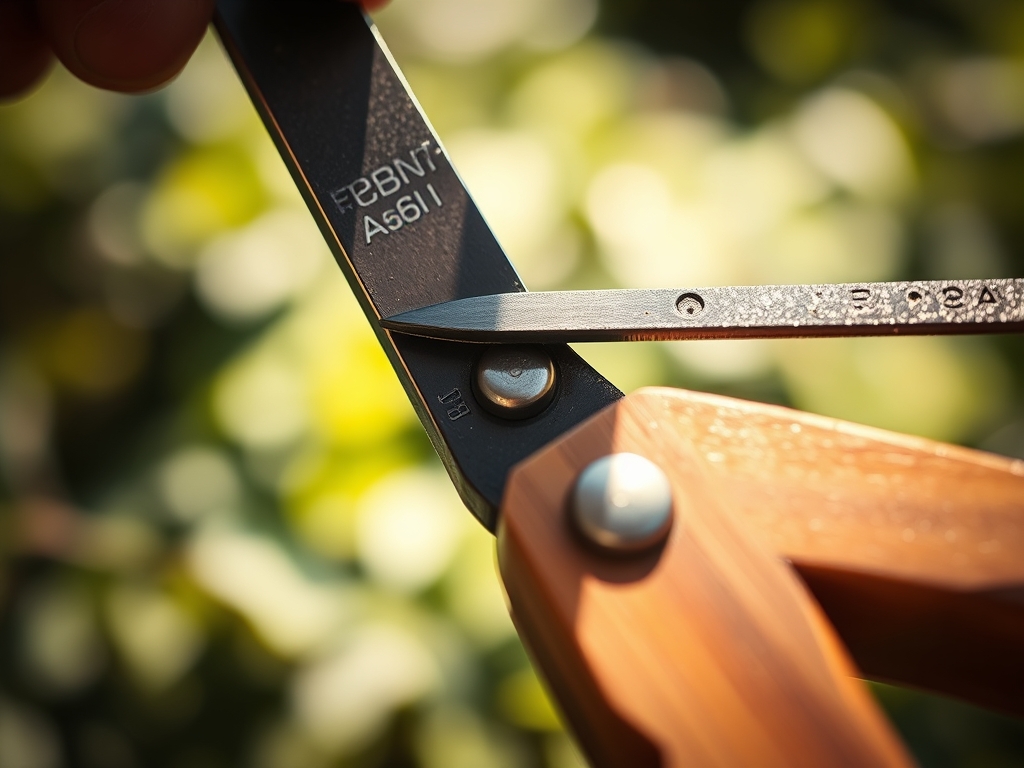
When moving a plant from a nursery pot to the field, use your sharpened shears to prune any circling or girdling roots. Hold the mill file at a 20-degree angle against the beveled edge of the cutting blade. Stroke the file away from your body in a single, smooth motion. Repeat this 5 to 10 times until a bright silver edge appears.
Pro-Tip: Clean root cuts stimulate the production of lateral roots through auxin suppression. By removing the root tip, you stop the downward flow of auxins, encouraging the plant to spread its root architecture horizontally for better stability.
Establishing
As the plant establishes itself, maintenance pruning of water sprouts or suckers is necessary. After sharpening the beveled side, flip the shears over. Lay the file flat against the back side of the blade and lighty stroke once to remove the "burr" or wire edge. This ensures the bypass mechanism clears the anvil without friction.
Pro-Tip: A sharp blade minimizes the wound surface area. This reduces the rate of transpiration at the cut site, allowing the plant to maintain higher turgor pressure and focus energy on structural lignification rather than wound repair.
The Clinic:
Even with sharp tools, physiological disorders can occur if the soil chemistry is imbalanced.
- Symptom: Interveinal chlorosis on young leaves. Solution: This indicates a lack of iron or manganese, often caused by a pH above 7.0. Lower the pH using elemental sulfur.
- Symptom: Necrosis at the leaf margins. Solution: Potassium deficiency. Apply a fertilizer with a high "K" value, such as 0-0-50, to regulate stomatal conductance.
- Symptom: Stunted growth and dark purple foliage. Solution: Phosphorus deficiency. This often occurs in cold, wet soils where Cation Exchange is sluggish.
- Fix-It: For general Nitrogen chlorosis (yellowing of older leaves), apply a quick-release nitrate at a rate of 1 pound of actual nitrogen per 1,000 square feet.
Maintenance:
Post-sharpening maintenance is as critical as the sharpening process itself. After every use, wipe the blades with an oily rag to prevent oxidation. In the field, monitor soil moisture using a soil moisture meter. Most woody perennials require 1.5 inches of water per week at the drip line to maintain the metabolic rates necessary for healing pruning wounds. For precision work, keep a hori-hori knife and a pair of bypass pruners in a leather holster to prevent blade dulling against rocks or grit. Check the tension nut on your shears frequently; a loose pivot point will cause the blades to "chew" the bark rather than slice it.
The Yield:
Harvesting is the ultimate test of your sharpening skills. For floral crops, harvest in the early morning when turgor pressure is at its peak. Use your sharpened shears to cut at a 45-degree angle, which maximizes the surface area of the xylem for water uptake. For edible crops like pome fruits, ensure the cut is flush to the branch collar but does not injure the collar itself. This promotes rapid "walling off" of the cut site. To maintain "day-one" freshness, immediately submerge the cut stems in 40-degree Fahrenheit water to slow the rate of respiration and cellular senescence.
FAQ:
What angle should I use to sharpen shears?
Hold the mill file at a 20-degree angle against the factory bevel. Maintain consistent pressure across the entire length of the blade. This angle provides the optimal balance between edge sharpness and metal durability for cutting woody plant tissue.
How do I know if my shears are sharp enough?
A properly sharpened blade should slice through a single sheet of paper without tearing. In the garden, the blade should cut through a 0.5-inch stem with minimal resistance, leaving a smooth, flat surface on the remaining wood.
Can I use a file on anvil pruners?
Yes, but you must sharpen both sides of the cutting blade. Unlike bypass shears, which have one beveled blade, anvil blades are often sharpened on both sides to a centered point. Ensure the blade meets the anvil perfectly flat.
How often should I sharpen my garden tools?
Sharpen every 10 to 15 hours of active use. If you encounter sandy soil or grit, sharpen more frequently. Dull tools increase physical strain on the gardener and cause jagged wounds that increase the risk of fungal infection in plants.