6 Easy Steps to Install Landscape Lighting
The smell of damp, decaying organic matter signals a healthy rhizosphere, where microbes break down carbon to fuel the turgor pressure of your specimen plants. Proper illumination ensures these botanical features remain visible after the photoperiod ends. Following the correct steps to install landscape lighting allows you to highlight structural integrity without disrupting the delicate biological cycles of your garden. You must integrate hardware with the physical constraints of the soil to avoid root compaction or drainage issues.
Materials:

Successful installation begins with understanding the substrate where your fixtures will reside. The ideal medium is a friable loam with a Soil Cation Exchange Capacity (CEC) between 15 and 25, ensuring the earth can hold necessary nutrients while providing stable anchoring. Before digging, verify your soil pH. Most ornamental landscapes thrive in a pH range of 6.0 to 7.0. If your soil is overly acidic, the aluminum and manganese toxicity can damage the root hairs of your plants during the trenching process.
For the surrounding vegetation, maintain a balanced nutrient profile. Use a 10-10-10 NPK ratio for general maintenance, or a 5-10-5 NPK ratio if you are working near phosphorus-hungry flowering shrubs. You will need a low-voltage transformer (12V-15V), 12-gauge or 14-gauge direct-burial cable, and LED fixtures. High-quality fixtures should be made of solid brass or copper to resist the corrosive nature of moist, high-CEC soils.
Timing:
Installation should occur when the soil is workable but not saturated. In Hardiness Zones 4 through 7, the optimal window is after the last spring frost but before the summer heat induces physiological stress. Avoid installation during the "Biological Clock" transition from vegetative to reproductive stages; for many perennials, this occurs when day length triggers the shift from leaf production to flowering.
Disturbing the root zone during peak flowering can cause premature senescence, where the plant reallocates energy from the blooms to root repair. Aim for a soil temperature of at least 55 degrees Fahrenheit to ensure that any accidental root damage can be healed by active cellular division.
Phases:

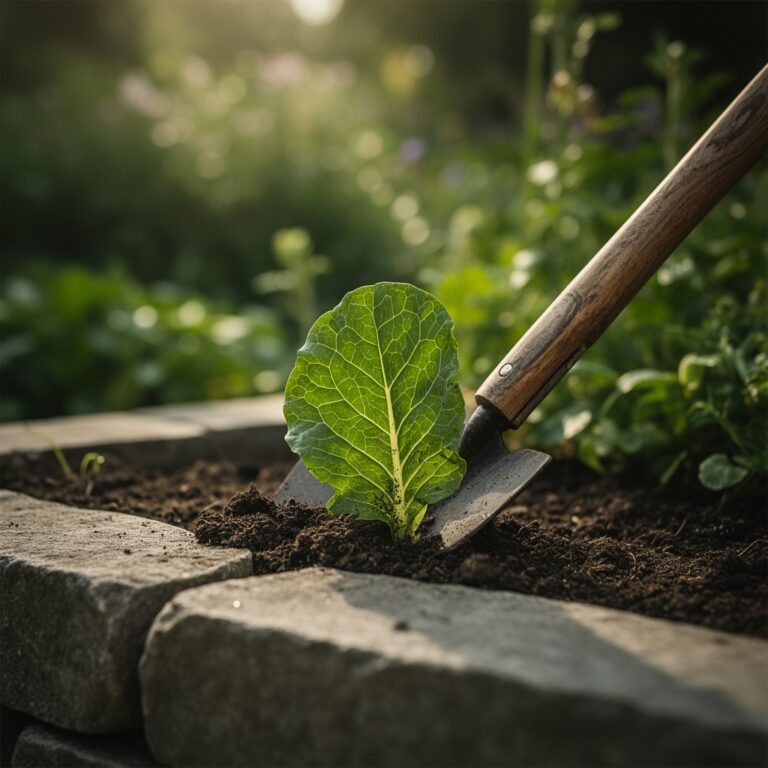
Sowing the Layout
Map your cable runs to avoid the primary root mass of established trees. Lay the cable on the surface first to visualize the lighting spread. Ensure the transformer is mounted at least 12 inches above the finished grade to prevent moisture ingress.
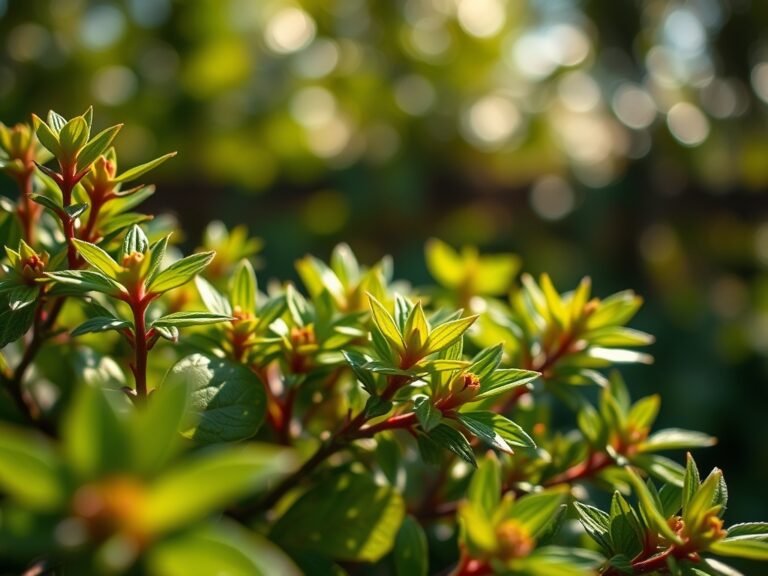
Pro-Tip: Avoid placing high-intensity lights directly against the foliage of shade-tolerant species. Excessive artificial light can interfere with photoperiodism, the plant's internal clock that regulates seasonal growth and dormancy cycles.
Transplanting the Fixtures
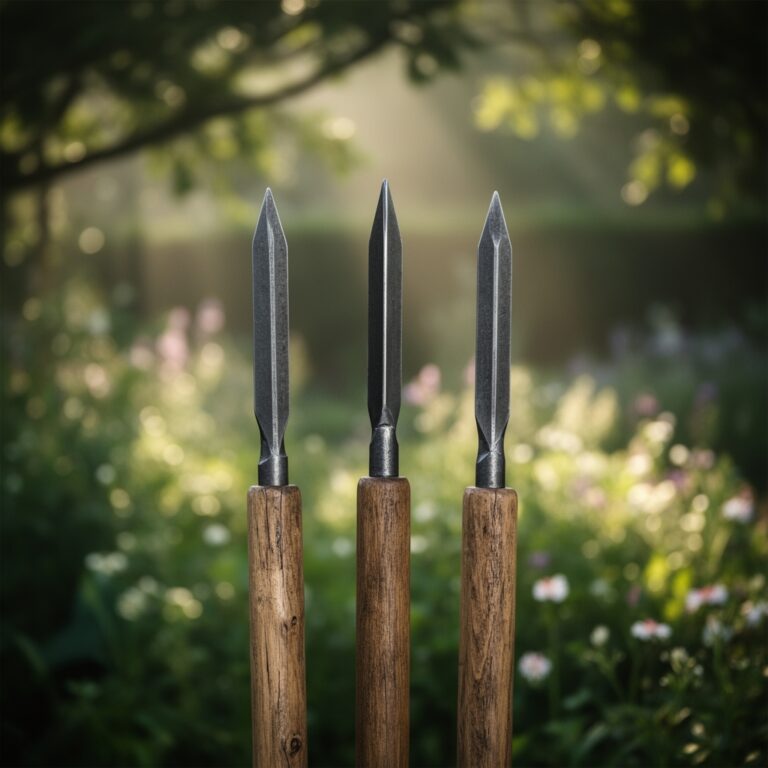
Dig narrow trenches 6 inches deep using a sharp spade. This depth protects the cable from aerators and power rakes while staying above the densest concentration of mycorrhizal fungi. When placing fixtures near plants, be mindful of the drip line, the outermost circumference of the canopy where the most active water-absorbing roots are located.
Pro-Tip: If you must cut a minor root, make a clean strike. This minimizes the surface area of the wound and prevents the over-secretion of auxins, which are hormones that would otherwise rush to the site and potentially stunt upward growth in favor of emergency root branching.
Establishing the Connection
Connect the fixtures to the main line using waterproof heat-shrink connectors. Once the system is live, backfill the trenches. Lightly tamp the soil to remove large air pockets, which can cause root desiccation, but do not pack it so tightly that you limit oxygen diffusion to the rhizosphere.
Pro-Tip: Use mulch to cover the disturbed soil. This preserves the mycorrhizal symbiosis between soil fungi and plant roots by maintaining consistent moisture levels and temperature around the newly installed equipment.
The Clinic:
Landscape lighting installation can inadvertently cause physiological stress. Monitor your plants for the following symptoms:
-
Symptom: Nitrogen Chlorosis. Yellowing of older leaves while veins remain green.
Solution: This often occurs when high-carbon mulch is mixed into the soil during trenching. Apply a quick-release high-nitrogen fertilizer (20-0-0) to compensate for the nitrogen tie-up. -
Symptom: Marginal Leaf Burn. Brown, crispy edges on leaves near light fixtures.
Solution: This is likely heat stress or localized dehydration. Move the fixture 8 to 12 inches further from the foliage or switch to a lower-wattage LED to reduce thermal output. -
Symptom: Wilting despite moist soil.
Solution: This indicates root damage or "transplant shock" from trenching. Apply a root stimulant containing Vitamin B1 or seaweed extract to encourage cellular repair. -
Fix-It: Iron Deficiency. New growth appears pale or white.
Solution: If the soil was disturbed and the pH rose above 7.0, iron becomes insoluble. Apply chelated iron directly to the soil or as a foliar spray to restore chlorophyll production.
Maintenance:
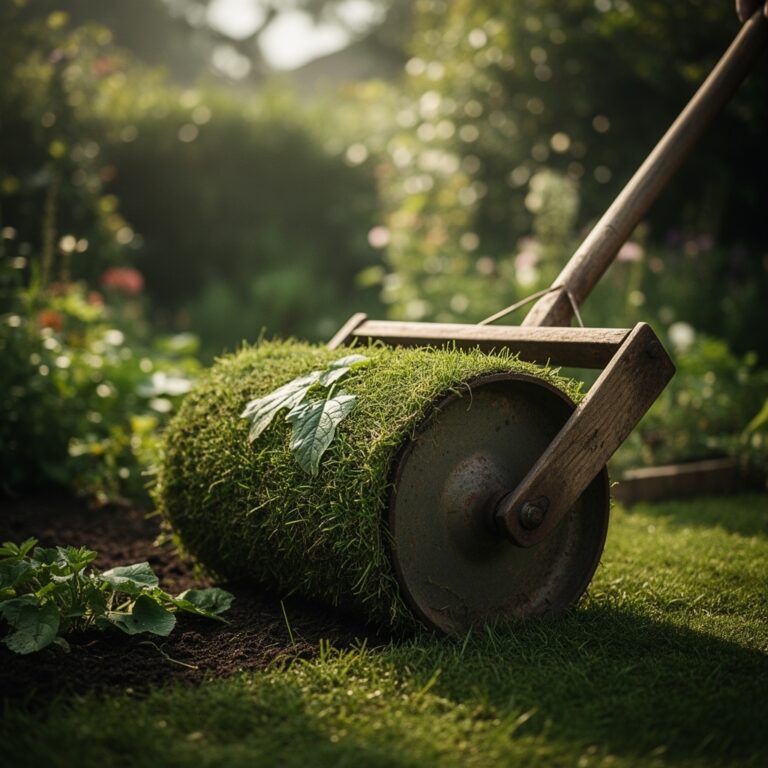
A professional landscape requires precision. Use a soil moisture meter to ensure the area around your lights maintains a consistent moisture level; aim for 1.5 inches of water per week delivered at the drip line. Use bypass pruners to keep foliage at least 6 inches away from light lenses to prevent heat buildup and allow for proper air circulation.
Twice a year, use a hori-hori knife to check for "cable creep," where frost heaves may have pushed the wiring toward the surface. If the soil has compacted over the cable runs, use a hand fork to gently aerate the top 2 inches of soil, being careful not to nick the insulation.
The Yield:
While landscape lighting does not produce a caloric yield, the "visual yield" is maximized by maintaining the health of the illuminated specimens. If you are lighting an edible garden, ensure the light spectrum does not attract nocturnal pests that might oviposit on your crops. To maintain "day-one" freshness of your landscape's appearance, clean the glass lenses with a mild vinegar solution to remove calcium deposits from irrigation overspray, which can block up to 30 percent of light output.
FAQ:
How deep should I bury landscape lighting wire?
Bury the cable at least 6 inches deep. This depth protects the wire from common gardening tools like edgers or aerators while remaining shallow enough to avoid major structural roots and deep utility lines.
Does landscape lighting affect plant growth?
Excessive light can disrupt photoperiodism, the process plants use to sense seasons. Use low-intensity LEDs and timers to ensure plants receive a necessary period of total darkness for cellular respiration and metabolic recovery.
Can I install lighting in clay soil?
Yes, but drainage is a concern. Clay has a high CEC but poor aeration. Ensure fixtures are rated for wet locations and avoid over-tamping the backfill, which can lead to root suffocation in heavy clay.
What is the best transformer size for a home garden?
Calculate the total wattage of all fixtures and add a 20 percent buffer. Most residential gardens require a 150-watt to 300-watt transformer to account for voltage drop and future expansion of the lighting array.