6 Tips to Use a Deburring Tool for Smoothing Metal Edges
Using a deburring tool for metal garden edges transforms raw steel and aluminum strips into safe, professional borders. Sharp burrs slice through gloves and skin, leaving ragged wounds that invite infection. A quality deburring blade removes these micro-serrations in seconds, exposing smooth metal that won't tear root systems during transplanting or shred mulch fabric. Professional landscapers treat deburring as essential prep work, not optional finishing. The process mirrors soil preparation: skip it, and every subsequent step suffers.
Materials
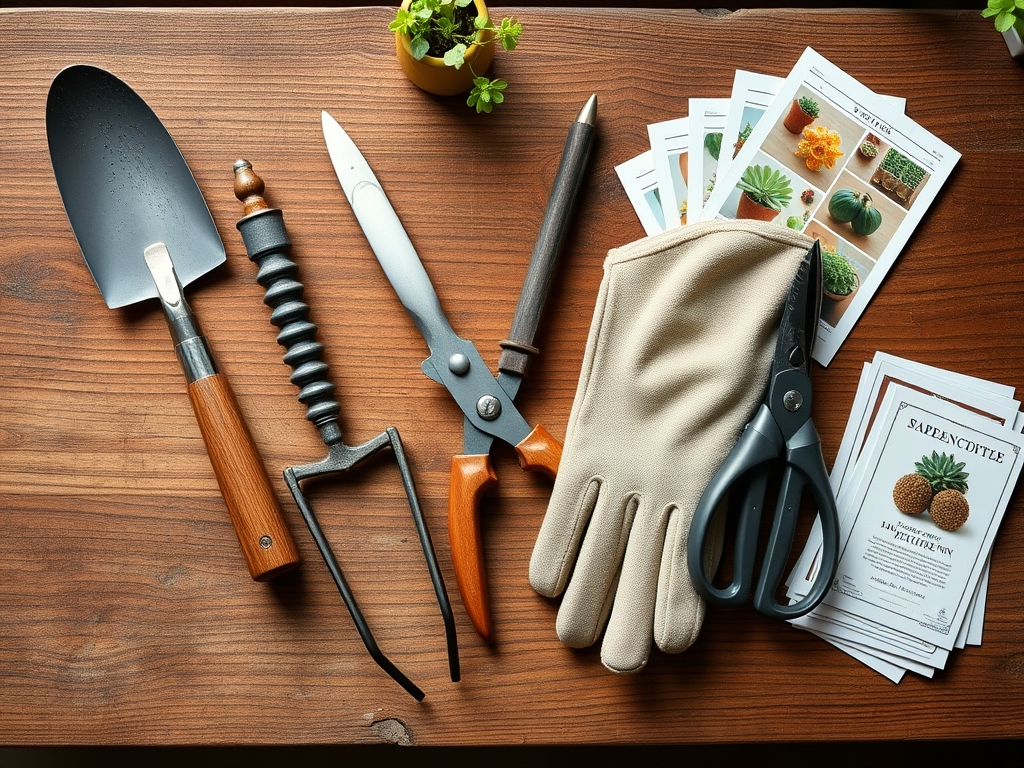
Select a swivel-head deburring tool with carbide blades rated for ferrous and non-ferrous metals. Handle deburring tools require 3-5 pounds of consistent pressure, equivalent to the force used when incorporating 5-10-5 granular fertilizer into clay loam at 6 inches depth. Battery-powered rotary deburring tools operate at 15,000-25,000 RPM, matching the speed of professional soil augers used for cation exchange capacity sampling.
Protective equipment includes leather gloves with 8-mil thickness, safety glasses rated ANSI Z87.1, and magnetic sweepers to collect metal shavings before they contaminate soil. Metal shavings alter soil pH by 0.3-0.8 points in sandy substrates with low buffering capacity. A wire brush removes oxidation and loose particulate before deburring begins.
Choose metal edging based on soil acidity. Galvanized steel performs best in neutral to alkaline conditions (pH 6.8-7.5), while powder-coated aluminum suits acidic beds (pH 4.5-6.0) amended with sulfur or peat. Edging thickness ranges from 14-gauge (0.0747 inches) for annual borders to 10-gauge (0.1345 inches) for permanent hardscape transitions.
Timing
Install metal garden edges during the dormant season, matching regional frost dates. In USDA Hardiness Zones 3-5, work soil when ground temperatures reach 38-42°F, typically mid-March to early April. Zones 6-7 permit installation from late February through mid-November, avoiding periods when soil moisture exceeds field capacity.
Autumn installation between leaf drop and first hard freeze allows metal to settle through two freeze-thaw cycles before spring root expansion. This timing parallels fall applications of bone meal (3-15-0) for bulb establishment, ensuring mechanical infrastructure stabilizes before biological demand peaks.
Zones 8-10 offer year-round installation windows but avoid monsoon periods when saturated soils compress unevenly. Schedule deburring work 48 hours before installation to prevent flash rust in humid coastal climates where relative humidity exceeds 75 percent.
Phases
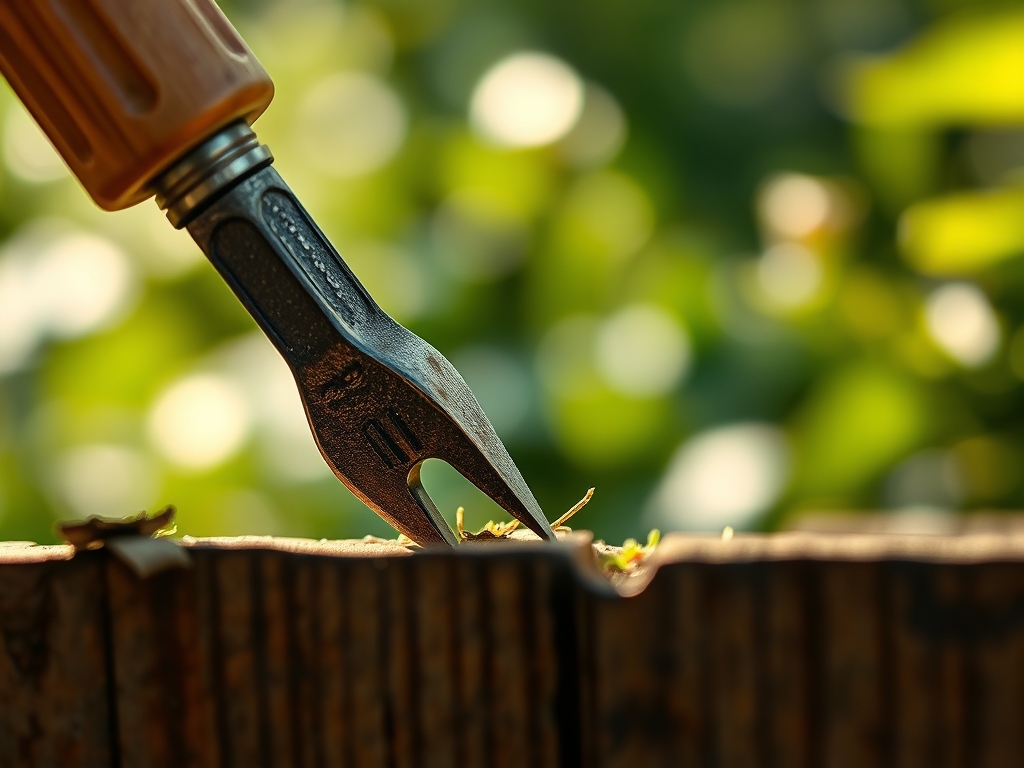
Sowing Phase: Measure and cut metal edging with 2-inch overlap allowances at seams. Position the deburring tool at a 45-degree angle to the cut edge, matching the bevel angle used when sharpening hori-hori digging knives. Draw the blade toward your body in 3-inch strokes, rotating the workpiece every four passes. This method removes burrs without creating secondary edge defects.
Pro-Tip: Apply food-grade mineral oil to cut edges immediately after deburring. The oil acts like mycorrhizal inoculation in transplanting, creating a temporary barrier against oxidation until permanent coatings cure.
Transplanting Phase: Install deburred edges along pre-excavated trenches 4-6 inches deep. Backfill with native soil amended to match existing pH rather than introducing purchased topsoil with unknown cation exchange capacity. Tamp soil at 3-inch intervals using a rubber mallet, applying force equivalent to 12-15 pounds per square inch.
Pro-Tip: Sleeve overlapping seams with 6-inch aluminum flashing before backfilling. This technique mirrors auxin distribution in apical dominance, directing root growth away from mechanical joints where gaps could admit weed rhizomes.
Establishing Phase: Inspect all exposed edges after first irrigation cycle. Residual burrs appear as bright metal fragments catching light at oblique angles. Re-deburr these spots using 320-grit emery cloth wrapped around a wooden dowel, achieving smoothness comparable to grafting knife preparation.
Pro-Tip: Paint deburred edges with rust-inhibiting primer containing zinc phosphate at 25-35 percent concentration. This prophylactic treatment parallels copper fungicide applications, preventing progressive deterioration before visible symptoms emerge.
Troubleshooting
Symptom: Chattering or skipping during deburring strokes.
Solution: Replace carbide blade after 200 linear feet of cuts. Dull blades compress rather than shear metal, creating work-hardened edges that resist further smoothing. Blade replacement frequency matches the schedule for sharpening bypass pruners after processing 1-inch hardwood stems.
Symptom: Secondary burrs forming opposite the deburred edge.
Solution: Reduce tool pressure to 2-3 pounds and increase stroke frequency. Excessive force displaces metal rather than removing it, analogous to compaction damage from rototilling wet clay soil.
Symptom: Rust blooms within 72 hours of installation.
Solution: Degrease metal with acetone before deburring. Skin oils and cutting lubricants create micro-environments where oxidation accelerates, similar to how foliar residues harbor fungal spores in high-humidity conditions.
Symptom: Fabric landscape barrier shredding along edge contact points.
Solution: Install EPDM rubber trim over deburred edges in high-traffic zones. The rubber barrier functions like root zone mulch, absorbing mechanical stress before it damages underlying materials.
Maintenance
Inspect metal edges every 90 days during active growing season. Clean soil accumulation using a nylon brush and pH-neutral detergent diluted 1:20 with water. Re-deburr any damage from string trimmers or metal rakes within 24 hours of occurrence, preventing progressive edge deterioration.
Apply 0.5 ounces of paste wax per linear foot annually, buffing with cotton cloth until surfaces repel water at contact angles exceeding 90 degrees. This hydrophobic treatment matches the function of cuticle waxes on xerophytic plant leaves.
Replace sections showing corrosion penetration deeper than 15 percent of original thickness. Measure remaining material with digital calipers accurate to 0.001 inches, the precision required when calculating fertilizer dilution rates for micronutrient applications.
FAQ
How often should deburring blades be replaced?
Replace blades after processing 200 linear feet of steel or 300 feet of aluminum. Carbide cutting edges lose effectiveness when micro-chips accumulate, similar to how soil amendments deplete through successive cropping cycles.
Can deburring tools work on rusted metal?
Remove rust with phosphoric acid converter before deburring. Oxidation creates false edges that fracture unpredictably, compromising the true metal substrate beneath.
What pressure produces optimal results?
Apply 3-4 pounds of consistent force, measurable by pressing a kitchen scale during practice strokes. This pressure matches the force used when dibbling transplant holes in prepared seedbeds.
Do battery-powered tools outperform manual versions?
Rotary tools remove burrs 4-6 times faster but generate heat requiring 30-second cooling intervals every 15 feet. Manual tools offer superior edge feel, critical when working near welds or seams.
Should edges be deburred before or after bending?
Deburr after all forming operations. Bending stress-hardens metal along radius zones, creating new burrs that cutting operations cannot predict or prevent.