6 Steps to Build a Raised Stone Planter for Architecture
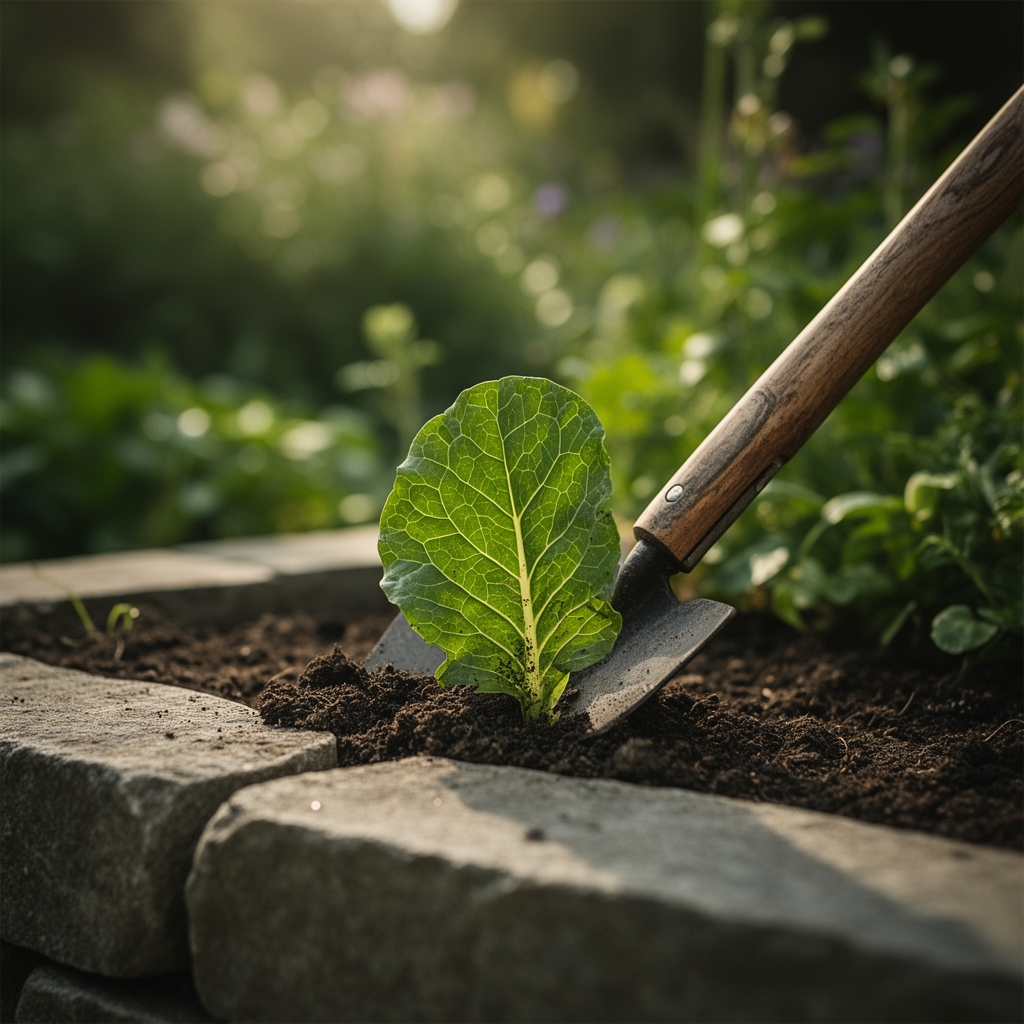
The sound of stone scraping against stone carries across a suburban garden on a Saturday morning. Mortar dust settles on gloved hands as the first course of fieldstone locks into place, transforming a flat lawn into architectural relief. Steps for building a raised stone planter begin with understanding that stone mass retains soil warmth 3-5 degrees above ambient temperature during spring, extending the growing season by twelve to eighteen days in Zones 5-7. The thermal battery effect of stacked stone creates microclimates that allow basil and tomatoes to establish two weeks earlier than ground-level plots.
Stone planters function as elevated growing chambers where drainage, soil composition, and root-zone temperature operate under direct control. The architecture itself becomes part of the horticultural system. Each stone selected for thermal mass contributes to auxin distribution in root tips, while vertical walls prevent rhizome spread from invasive perennials in adjacent beds.
Materials
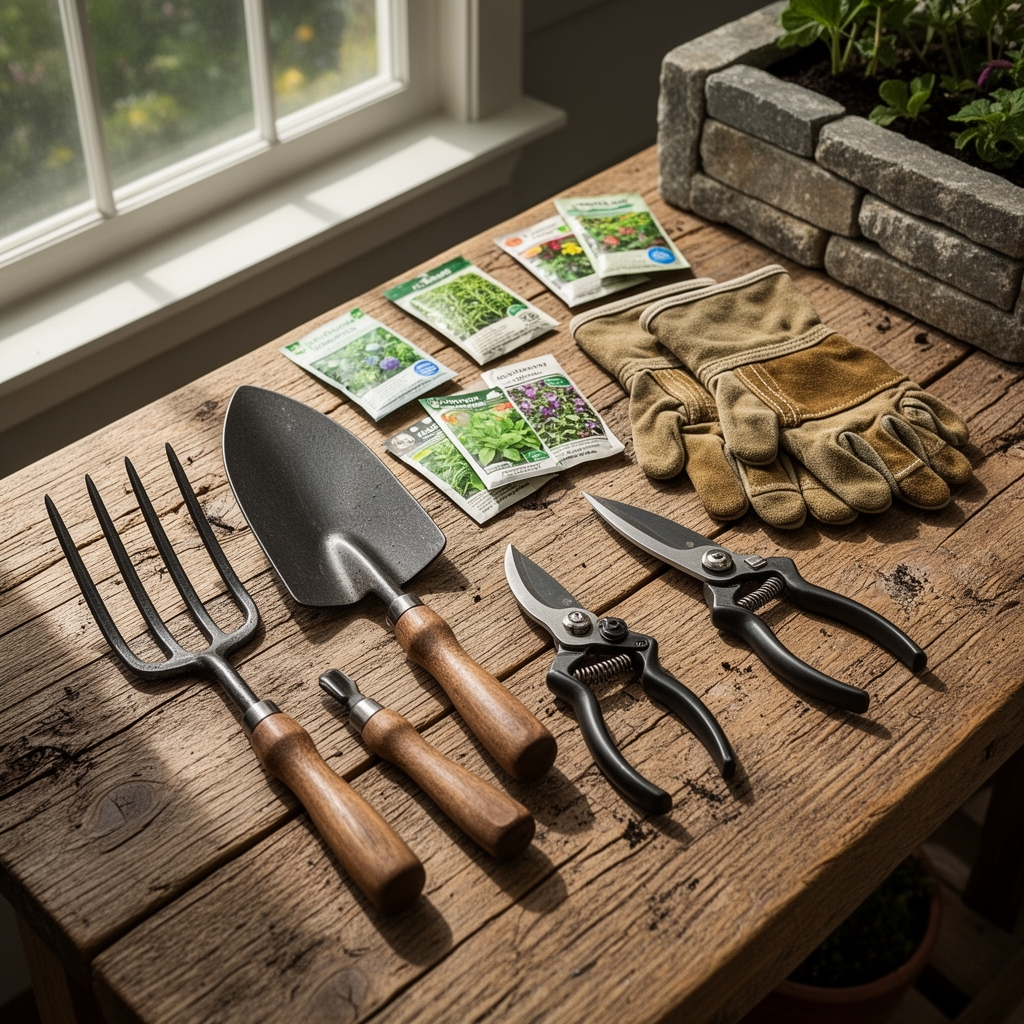
Stone and Hardscape Components:
- Fieldstone or quarried limestone (300-500 pounds per linear foot for double-wythe walls)
- Type N masonry mortar (1:1:6 ratio: Portland cement, lime, sand)
- Crushed stone base, 3/4-inch minus (4-inch compacted layer)
- Landscape fabric (woven polypropylene, minimum 3.2 oz/sq yd)
Soil and Amendment Matrix:
- Premium topsoil blend, pH 6.2-6.8 (baseline cation exchange capacity above 15 meq/100g)
- Composted pine bark fines (particle size 1/4 to 3/8 inch for aeration)
- Alfalfa meal (3-1-2 NPK, provides triacontanol growth stimulant)
- Kelp meal (1-0-2 NPK, supplies cytokinins and trace minerals)
- Feather meal (12-0-0 NPK, slow-release nitrogen over 90-120 days)
- Granular mycorrhizal inoculant (minimum 120 propagules per gram, Glomus intraradices dominant)
Calcium availability from limestone leaching elevates soil pH by 0.3-0.7 points annually. Account for this alkaline drift when selecting acid-loving plants or apply elemental sulfur at 1 pound per 100 square feet to counteract.
Timing
Construct stone planters during dry periods when mortar can cure without frost interference. In Zones 3-5, build between May 15 and September 30. Zones 6-7 extend the window to April 1 through October 31. Zones 8-10 permit year-round construction but avoid rainy seasons when mortar cure rates drop below acceptable thresholds.
Allow fourteen days of curing before filling with soil. This prevents structural shifting under load. Calculate soil volume at 12 cubic feet per 4×4-foot planter with 18-inch depth. Mortar reaches 60% of full strength at seven days, 90% at twenty-eight days.
Phases
Phase 1: Foundation and First Courses (Days 1-2)
Excavate to 6 inches below grade. Install crushed stone base and compact to 95% density using a plate tamper. Lay first course dry to establish pattern and corner geometry. Remove stones and apply 3/8-inch mortar bed. Set each stone with a 3-degree inward batter (lean) for structural stability. Joints should measure 1/2 to 3/4 inch.
Pro-Tip: Mark plumb lines with mason's string at all four corners. Check batter angle every third course using a 4-foot level with a 1/4-inch shim at the base end.
Phase 2: Wall Construction (Days 3-5)
Stagger vertical joints by at least 3 inches between courses. Butter stone edges fully before placement. Strike joints flush or slightly recessed after initial set (45-60 minutes). Build walls to 16-20 inches above grade for optimal root depth. Install weep holes every 4 feet along the base course using 1-inch PVC pipe segments angled downward at 15 degrees.
Pro-Tip: Mix mortar in half-bag batches during temperatures above 75°F. Working time drops from 90 minutes to 45 minutes as ambient temperature rises. Add 1 tablespoon of dish soap per 60-pound bag to improve workability without compromising strength.
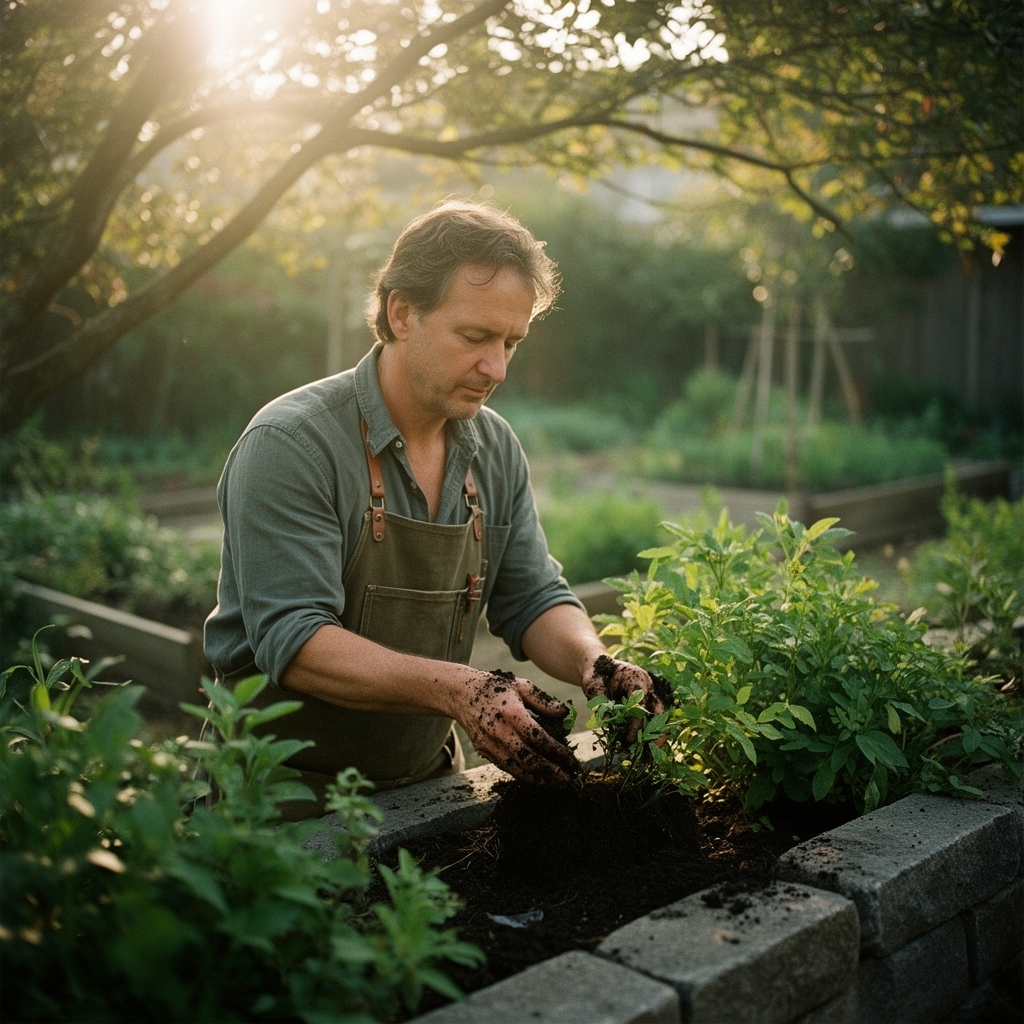
Phase 3: Soil Filling and Planting (Days 16-17)
Layer landscape fabric along interior walls to prevent soil contact with stone. Mix soil components in a 50:30:20 ratio (topsoil:compost:pine bark). Broadcast alfalfa meal at 2 pounds per 10 square feet, kelp meal at 1 pound per 10 square feet, and feather meal at 1.5 pounds per 10 square feet. Incorporate amendments to 12-inch depth. Apply mycorrhizal inoculant directly to root zones at transplanting, using 1 teaspoon per 4-inch pot.
Pro-Tip: Water soil to field capacity (squeeze test produces 1-2 drops) and allow to settle for 48 hours before transplanting. Soil level will drop 2-3 inches. Top-dress to maintain depth.
Troubleshooting
Symptom: White efflorescence on stone surface within first season.
Solution: Natural salt migration from mortar. Brush dry with stiff bristles. Reappears until salts fully leach (8-16 months). Does not indicate structural failure.
Symptom: Soil surface crusting with reduced infiltration.
Solution: Cation imbalance or clay particle dispersion. Top-dress with 1/2 inch of pine bark fines and gypsum at 5 pounds per 100 square feet to improve flocculation.
Symptom: Yellowing lower leaves on solanaceous crops (tomatoes, peppers) with purple veining.
Solution: Phosphorus lockout from elevated pH. Apply monoammonium phosphate (11-52-0) as foliar spray at 1 tablespoon per gallon weekly for three weeks.
Symptom: Wall stones loosening after first winter.
Solution: Frost heave from inadequate base compaction or missing weep holes. Drain must function before freeze. Rebuild affected sections with proper drainage protocol.
Maintenance
Apply 1 inch of water per week during active growth, measured with rain gauge. Raised planters lose moisture 40% faster than ground beds due to increased surface area exposure. Mulch with 2 inches of shredded hardwood bark to reduce evapotranspiration.
Broadcast balanced organic fertilizer (4-4-4 NPK) at 1/2 cup per 10 square feet every six weeks during growing season. Conduct soil tests every 24 months to monitor pH drift and nutrient depletion. Amend based on laboratory recommendations rather than visual diagnosis.
Inspect mortar joints each spring. Repoint any gaps exceeding 1/4 inch with fresh Type N mortar. Scrape joints to 1/2-inch depth before filling. Stone planters endure 40-60 years with minimal intervention when properly constructed.
FAQ
How deep should a raised stone planter be for vegetables?
Eighteen inches accommodates 90% of vegetable root systems. Tomatoes, peppers, and beans thrive at this depth. Carrots and parsnips require 24 inches.
Can I build stone planters without mortar?
Dry-stack construction works for walls under 24 inches in height. Batter angle must increase to 6 degrees. Structural stability decreases by approximately 30% compared to mortared joints.
What stone types work best for planters?
Limestone, sandstone, and granite provide durability. Avoid shale and slate, which delaminate under freeze-thaw cycles. Local fieldstone reduces cost and suits regional aesthetics.
How much weight does a filled stone planter add?
Calculate 100 pounds per cubic foot for moist soil, 150 pounds per cubic foot for stone/mortar. A 4x4x1.5-foot planter weighs approximately 2,400 pounds when planted. Verify load capacity on decks and rooftops.
Should I line the interior with plastic?
No. Plastic barriers trap moisture against stone, accelerating freeze damage. Woven landscape fabric permits drainage while containing soil particles. Moisture must exit through weep holes and evaporate through joints.