8 Simple Steps to Clean a Steel Garden Spade
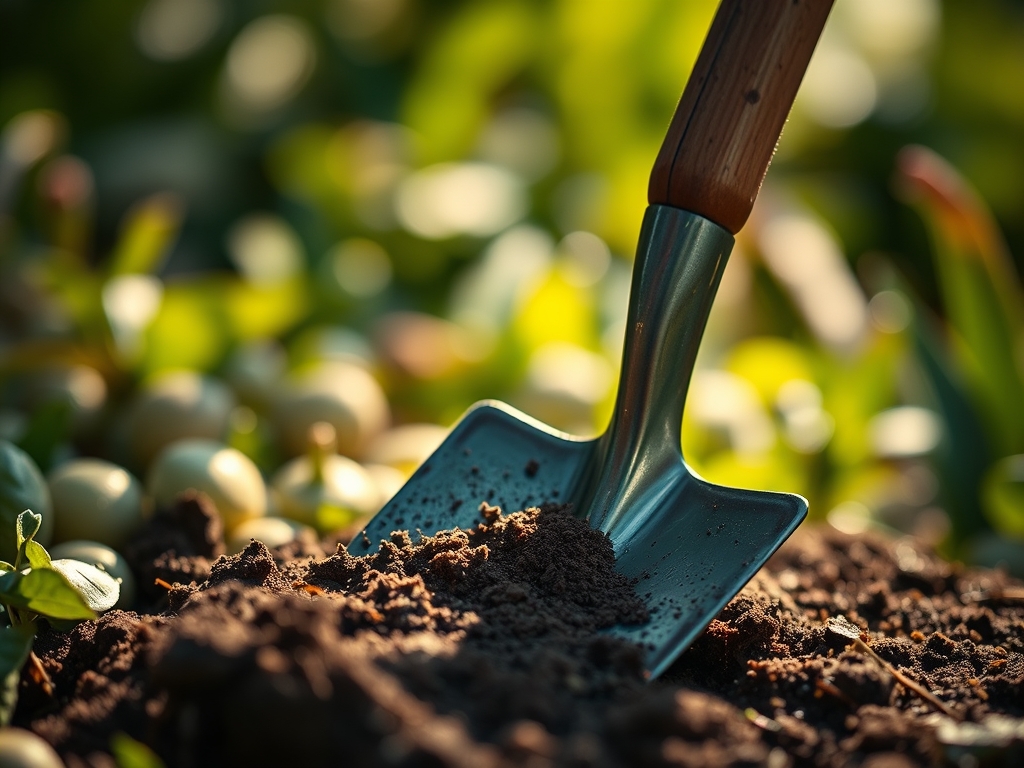
Damp earth carries a specific olfactory profile of geosmin and decaying organic matter. When a steel blade slices through a heavy clay soil, the friction generates heat and disrupts the delicate rhizosphere. Residual moisture on the metal surface initiates oxidation within minutes. Maintaining the integrity of your tools is as critical as monitoring the turgor pressure of your prize crops. Following the correct steps for cleaning a garden spade after use prevents the mechanical transfer of soil-borne pathogens and preserves the structural longevity of the carbon steel.
Materials:
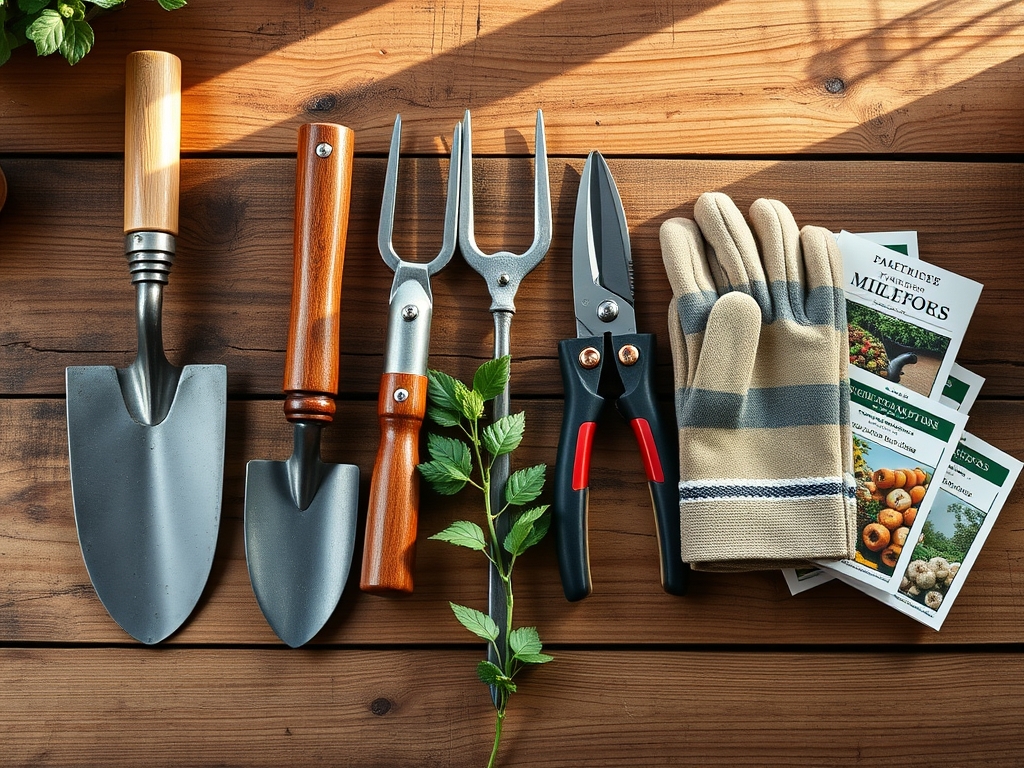
Effective tool maintenance requires a workspace free of contaminants. While the spade interacts with the substrate, the cleaning process focuses on removing the **friable loam** and mineral deposits. In a production environment, the ideal soil maintains a **pH of 6.5 to 7.0** to ensure optimal **Cation Exchange Capacity (CEC)**. For the cleaning station, you require a bucket of coarse silica sand mixed with a high-viscosity mineral oil. Avoid using fertilizers with high **NPK ratios like 10-10-10** near your cleaning area; nitrogen salts are highly corrosive to steel. Instead, focus on a neutral environment where the tool can be dried and oiled without exposure to acidic runoff or concentrated phosphorus.
Timing:
The maintenance cycle follows the physiological demands of the garden. In Hardiness Zones 5 through 8, the primary cleaning window occurs immediately following the autumn harvest, before the first hard frost locks the soil. As plants enter senescence and move from the reproductive stage to dormancy, the spade becomes a vector for dormant spores. Cleaning must occur within 30 minutes of use to prevent the hardening of clay particles. During the spring "Biological Clock" transition, when soil temperatures reach a consistent 55 degrees Fahrenheit, the spade must be sterilized between every bed to prevent the spread of fungal mycelium that thrives in the high-moisture spring environment.
Phases:
Sowing and Mechanical Prep
The first step involves the physical removal of bulk debris. Use a stiff wire brush to scrape away dried mud. This prevents the buildup of anaerobic bacteria that can colonize the metal surface. Pro-Tip: Removing organic matter prevents the accidental introduction of weed seeds into the rhizosphere of your next planting site. This is critical because unwanted competition for nutrients can lead to auxin suppression in young seedlings, stunted growth, and reduced yields.
Transplanting and Disinfection
Once the visible soil is removed, wash the blade with a solution of 10 percent bleach or 70 percent isopropyl alcohol. This chemical intervention targets microscopic pathogens like Fusarium or Phytophthora. Pro-Tip: Disinfection is vital because many soil pathogens utilize mycorrhizal symbiosis networks to travel between host plants. By sterilizing the spade, you break the transmission chain and protect the beneficial fungal colonies that assist in phosphorus uptake.
Establishing and Protection
The final phase involves honing the edge and applying a protective lipid layer. Use a 10-inch mill bastard file at a 45-degree angle to restore the bevel. Follow this by plunging the spade into an oil-sand mix. Pro-Tip: A sharp blade reduces the physical force required for excavation, which minimizes soil compaction. Reduced compaction preserves the macro-pores in the soil, allowing for better oxygen diffusion and preventing root hypoxia.
The Clinic:
Physiological disorders in the garden often stem from tool neglect or improper soil management.
- Symptom: Interveinal chlorosis in new growth. Solution: This often indicates Nitrogen deficiency. Fix-It: Apply a quick-release fertilizer with a ratio of 4-1-2 to restore chlorophyll production.
- Symptom: Marginal leaf burn on older leaves. Solution: This suggests Potassium deficiency or high salinity. Fix-It: Flush the soil with 2 inches of water and adjust the NPK balance to favor K-heavy amendments.
- Symptom: Blossom end rot in Solanaceae species. Solution: This is a Calcium transport issue caused by inconsistent moisture. Fix-It: Maintain a consistent moisture level of 1.5 inches per week using a soil moisture meter.
- Symptom: Stunted, purple-tinted foliage. Solution: This indicates Phosphorus lockout, often due to soil temperatures below 50 degrees Fahrenheit. Fix-It: Use row covers to increase soil temperature and improve P-solubility.
Maintenance:
Precision is the hallmark of a professional horticulturist. Your irrigation schedule must provide exactly 1.5 inches of water per week at the drip line to maintain turgor pressure without leaching nutrients. Use a hori-hori knife to check for root-bound conditions in perennials and bypass pruners for clean vascular cuts that heal quickly. Always verify soil conditions with a soil moisture meter before utilizing a heavy spade; working in saturated soil destroys soil structure and increases the risk of tool oxidation.
The Yield:
Harvesting requires the same technical rigor as planting. For root crops, use the cleaned spade to loosen the soil 6 inches away from the main taproot to avoid mechanical damage. Harvest during the "cool of the day" when plant respiration is at its lowest. To ensure "day-one" freshness, immediately move produce to a shaded area and reduce the core temperature to 40 degrees Fahrenheit. This slows the metabolic rate and prevents the rapid breakdown of sugars and vitamins.
FAQ:
How often should I oil my steel garden spade?
Apply a thin layer of mineral oil after every use. In high-humidity regions, daily application is necessary to prevent oxidation. This creates a hydrophobic barrier that protects the carbon steel from moisture and acidic soil components.
Can I use motor oil to clean my tools?
No. Motor oil contains heavy metals and petroleum distillates that contaminate the rhizosphere. Use food-grade mineral oil or linseed oil to ensure you do not introduce toxins into the soil food web or affect plant health.
What is the best way to remove rust from a spade?
Use a medium-grit sandpaper or a wire brush attachment on a drill. Once the oxidized layer is removed, immediately neutralize the surface with a basic solution and apply a protective oil coating to prevent flash-rusting.
Why is a sharp spade better for plant health?
A sharp edge creates clean cuts through roots rather than tearing them. Clean wounds heal faster and are less susceptible to infection by soil-borne pathogens. It also prevents unnecessary soil compaction during the digging process.