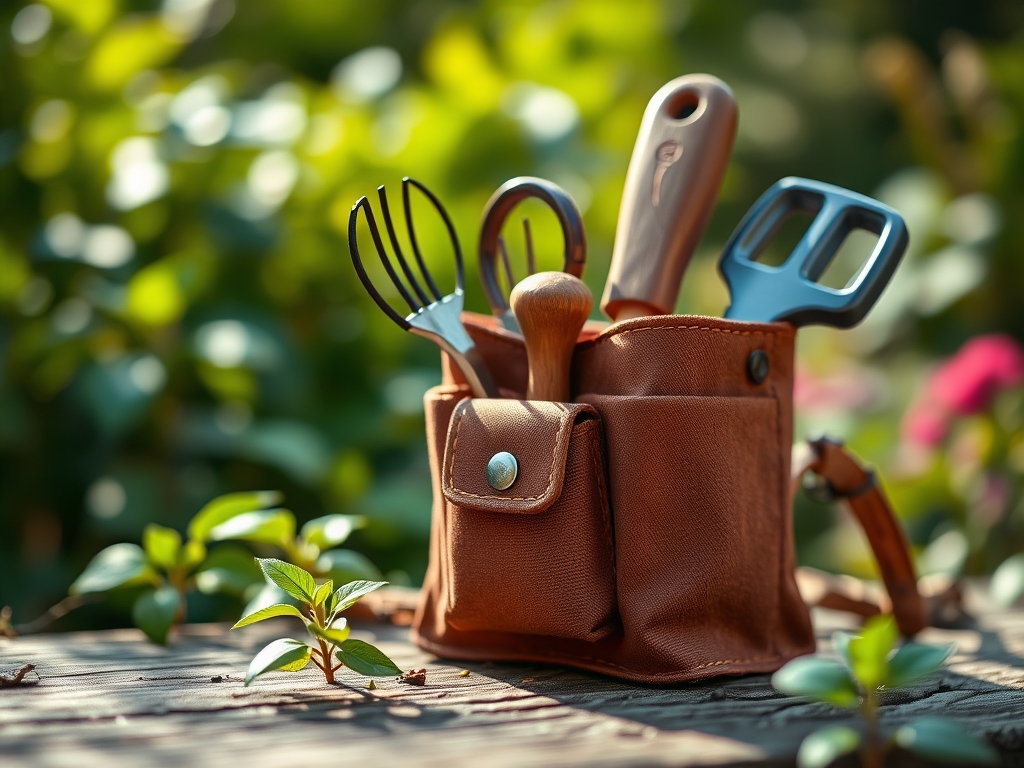
9 Best Multi-Pocket Tool Pouches for Garden Care
The smell of damp earth and the crisp turgor of a healthy leaf define the reality of high-stakes horticulture. Success in the field requires immediate access to specialized equipment; fumbling for a lost blade while managing a delicate graft can lead to plant stress or tissue necrosis. Selecting the best tool pouches for garden care is a technical necessity for maintaining a professional workflow. A high-quality pouch organizes the specific hardware required to manage soil health and plant physiology across diverse landscapes. Efficiency in the field translates to better timing for pruning and nutrient application.
Materials:
Horticultural success begins with a substrate that supports a high Cation Exchange Capacity (CEC). Ideal soil for intensive gardening is a **friable loam** with a composition of **40 percent sand, 40 percent silt, and 20 percent clay**. This texture ensures adequate pore space for oxygen diffusion to the rhizosphere. For most temperate crops, a **pH range of 6.2 to 6.8** optimizes nutrient bioavailability.
When preparing the site, focus on specific NPK ratios to meet the metabolic demands of the plant. A 10-10-10 balanced fertilizer provides a baseline for vegetative growth, but specific stages require adjustment. High nitrogen (N) levels support chlorophyll production during the early stages. Phosphorus (P) at a 5-10-5 ratio is critical for root development and floral initiation. Potassium (K) regulates osmotic pressure and stomatal conductance. Use your pouch to carry a soil moisture meter and a digital pH probe to monitor these variables in real time.
Timing:
Precision gardening relies on the USDA Hardiness Zone map and local frost dates. In Zones 5 through 7, the spring planting window typically opens when soil temperatures consistently reach 50 degrees Fahrenheit. Monitoring the biological clock of the plant is essential. This clock governs the transition from the vegetative stage, where the focus is on biomass accumulation, to the reproductive stage, where energy shifts to seed and fruit production.
Photoperiodism plays a dominant role in this transition. Short-day plants require a continuous dark period of at least 12 hours to trigger flowering. Conversely, long-day plants require more than 12 hours of light. Using a tool pouch allows you to carry light meters and pruning shears to manage the canopy, ensuring that light penetration reaches the lower nodes of the plant during these critical windows.
Phases:
Sowing
Direct sowing requires a depth of approximately two to three times the diameter of the seed. Soil must remain consistently moist to facilitate the imbibition of water through the seed coat.
Pro-Tip: Maintain a consistent temperature of 65 to 75 degrees Fahrenheit for optimal germination. The biological why involves enzyme activation; specific proteins like amylase must break down starch reserves into sugars to fuel the emerging radical.
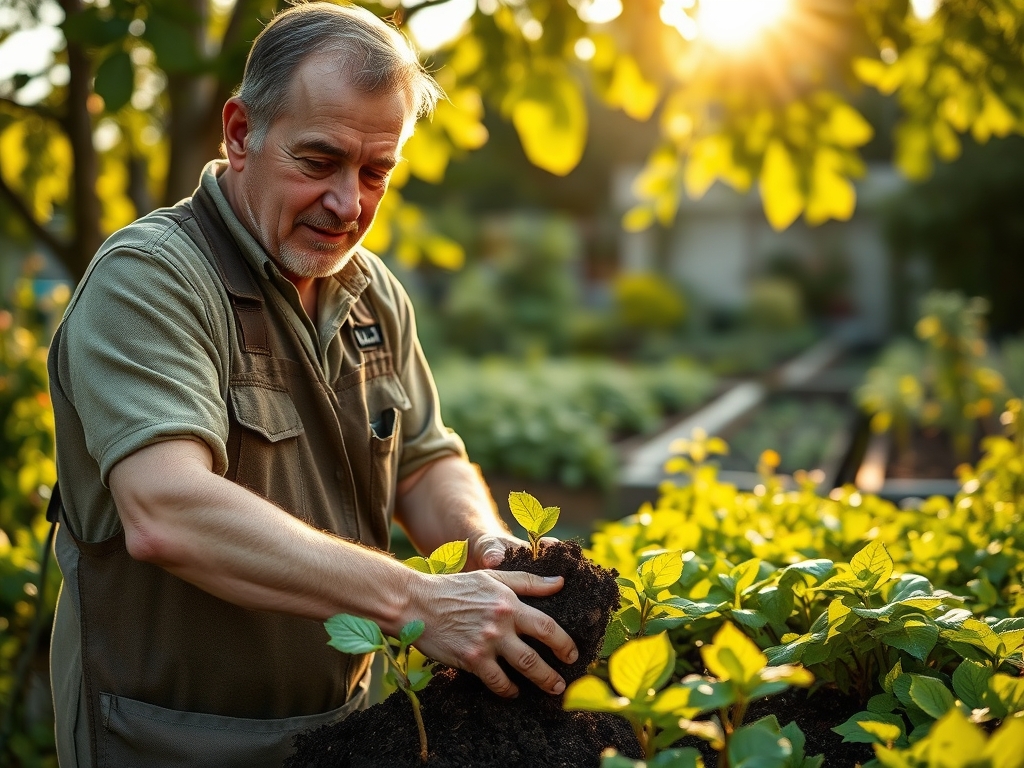
Transplanting
When moving seedlings from a controlled environment to the field, minimize root disturbance to prevent transplant shock. Use a hori-hori knife to create a hole twice the width of the root ball.
Pro-Tip: Apply a mycorrhizal inoculant to the root zone during this phase. The biological why centers on mycorrhizal symbiosis; these fungi extend the reach of the root system, increasing the surface area for phosphorus uptake and water absorption.
Establishing
The establishment phase focuses on root anchorage and the development of a robust vascular system. Ensure the plant receives 1.5 inches of water per week at the drip line.
Pro-Tip: Avoid excessive nitrogen application during the first two weeks of establishment. The biological why involves auxin suppression; high nitrogen can favor rapid leaf growth over root elongation, leading to a structurally weak plant that cannot support its own weight.
The Clinic:
Physiological disorders often mimic pathogen attacks but result from environmental or nutritional imbalances.
Symptom: Interveinal chlorosis on young leaves.
Solution: This indicates an Iron (Fe) deficiency, often caused by a pH above 7.0. Apply chelated iron to the soil or as a foliar spray to bypass soil lockout.
Symptom: Blossom end rot on fruit.
Solution: This is a Calcium (Ca) transport issue. While often blamed on low soil calcium, it is frequently caused by inconsistent moisture levels. Maintain a steady volumetric water content of 25 to 30 percent to ensure calcium moves through the xylem.
Symptom: Purpling of the lower foliage.
Solution: This is a classic sign of Phosphorus (P) deficiency. It is common in cold soils below 55 degrees Fahrenheit where microbial activity is low. Use a water-soluble high-phosphorus fertilizer to provide an immediate boost.
Fix-It for Nitrogen Chlorosis: If older leaves turn a uniform pale yellow, the plant is scavenging nitrogen for new growth. Apply a blood meal or urea-based fertilizer to restore nitrogen levels to the 25 to 50 ppm range in the soil solution.
Maintenance:
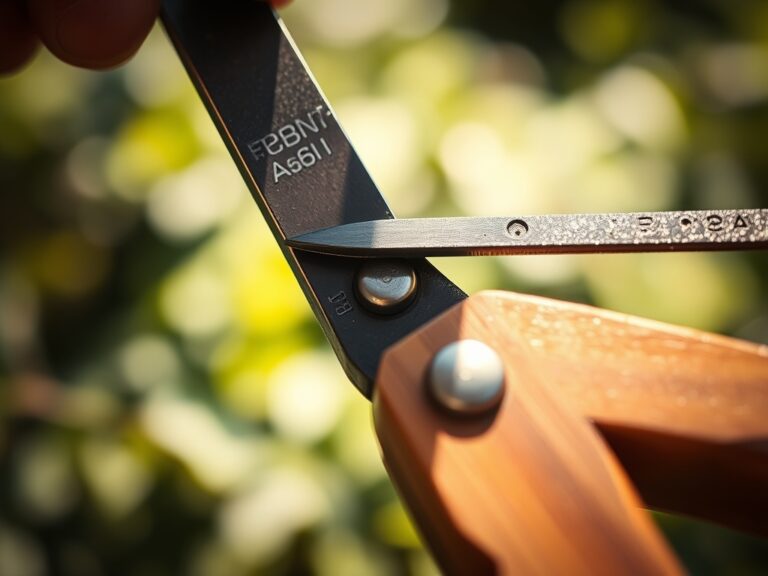
Professional maintenance requires a disciplined schedule and the right gear. Use a heavy-duty pouch to carry bypass pruners for clean cuts that minimize tissue damage. Always prune at a 45-degree angle approximately 1/4 inch above a lateral bud to encourage outward growth.
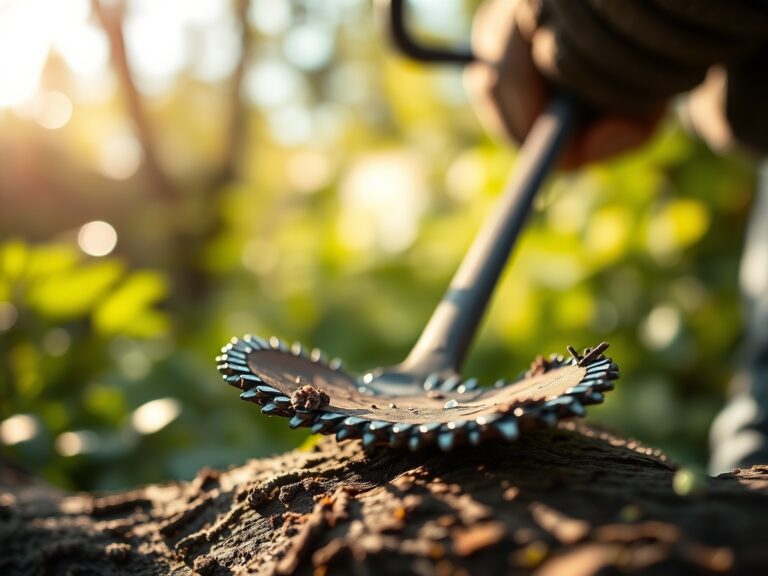
Irrigation must be precise. Apply 1.5 inches of water per week directly to the drip line rather than the foliage to prevent fungal spores from germinating. Use a soil moisture meter daily to check the top 6 inches of the profile. If the meter reads below 40 percent capacity, initiate an irrigation cycle. Regularly sharpen your tools; a dull blade crushes the vascular bundles (xylem and phloem), obstructing the flow of nutrients and water.
The Yield:
Harvesting is the culmination of the plant's metabolic cycle. For leafy greens, harvest in the early morning when turgor pressure is at its peak. This prevents wilting and ensures the cellular structure remains crisp. For fruiting bodies, monitor the "abscission zone" where the fruit meets the stem. A clean break at this point indicates the fruit has reached physiological maturity.
Post-harvest handling is critical for maintaining "day-one" freshness. Immediately reduce the field heat of the produce by placing it in a shaded, cool environment. For most vegetables, a storage temperature of 35 to 40 degrees Fahrenheit with high humidity slows down the rate of senescence (biological aging) and respiration, preserving the sugars and nutrients within the tissues.
FAQ:
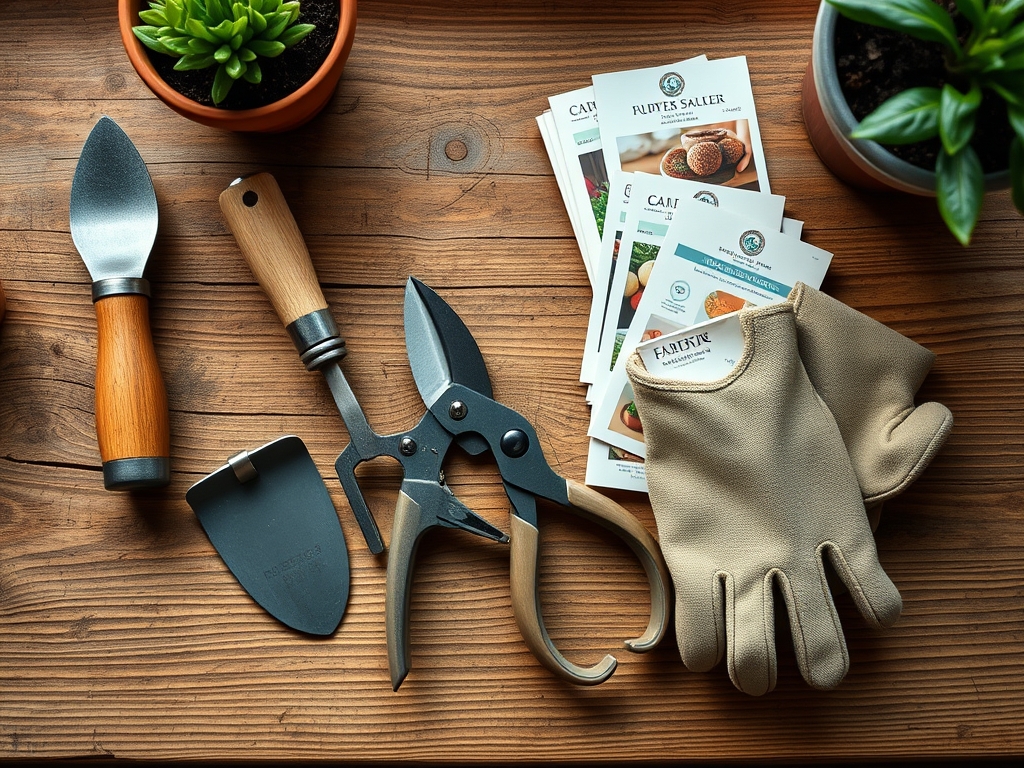
What is the best material for a tool pouch?
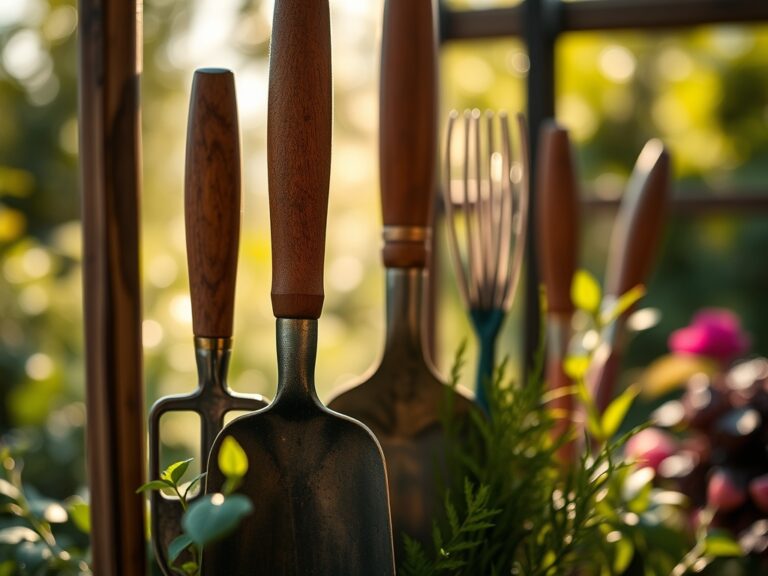
Heavy-duty canvas or top-grain leather provides the best durability. These materials resist punctures from hori-hori knives and withstand the high abrasion of daily field use while protecting the gardener from sharp blades.
How many pockets are ideal for garden care?
A minimum of five pockets is recommended. This allows for the separate storage of bypass pruners, a soil probe, marking pens, seed packets, and a multi-tool without causing mechanical damage to the equipment.
Should I choose a belt-mounted or clip-on pouch?
Belt-mounted pouches offer superior weight distribution for long shifts. A 2-inch wide belt prevents the pouch from sagging, which maintains the ergonomic alignment of the hips and reduces lower back strain during repetitive tasks.
How do I clean a pouch contaminated with sap?
Use 70 percent isopropyl alcohol to dissolve resin and sap. This also sterilizes the pouch, preventing the cross-contamination of pathogens like Botrytis or tobacco mosaic virus between different areas of the garden or greenhouse.