9 Vital Steps to Clean a Leaf Rake After Use
The scent of damp, anaerobic decomposition rises from the tines of a steel rake as it pulls through a layer of decaying organic matter. This residue is not merely dirt; it is a vector for fungal pathogens and moisture that triggers oxidative stress on metal surfaces. Mastering the steps for cleaning a garden rake after use is a fundamental requirement for any horticulturist who values biosecurity and tool longevity. Proper maintenance prevents the cross-contamination of soilborne pathogens across different garden beds. When organic debris remains trapped against the tines, it creates a micro-environment that fosters rust and bacterial growth. Neglecting this process ensures the rapid senescence of your equipment. A clean rake maintains the structural integrity required to manage soil turgor and surface mulch without damaging the delicate rhizosphere of your plants. By removing physical obstructions and disinfecting the surface, you preserve the tool's ability to facilitate gas exchange in the topsoil layer while preventing the spread of dormant spores.
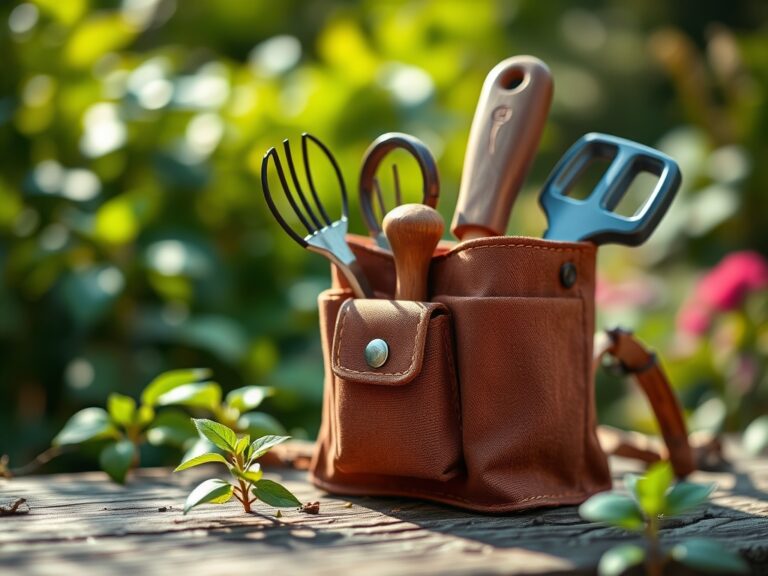
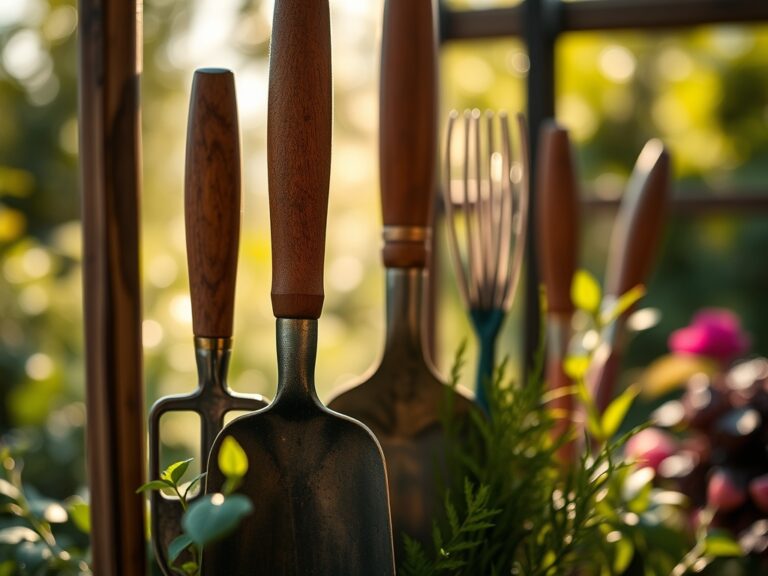
Materials:
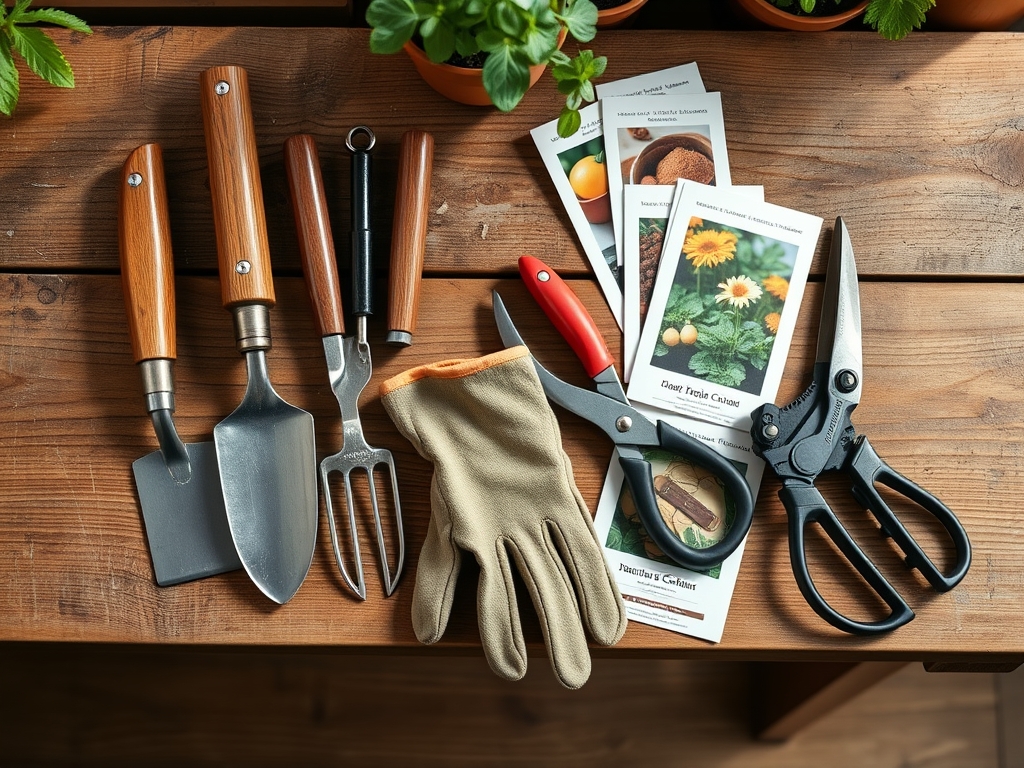
Cleaning a rake requires more than just a garden hose. To manage the chemical interactions between the metal and the soil, you must understand the substrate you are working with. A friable loam, characterized by its balanced mix of sand, silt, and clay, often has a **Cation Exchange Capacity (CEC) between 10 and 30 meq/100g**. This high CEC means soil particles adhere tightly to metal surfaces through ionic bonding. To break these bonds, you need a stiff-bristled nylon brush and a solution of 70 percent isopropyl alcohol. For tools used in acidic soils with a **pH of 4.5 to 5.5**, neutralize residual acidity with a light dusting of agricultural lime (calcium carbonate) before storage. If you are working in beds with a high **NPK ratio of 10-10-10**, be aware that concentrated nitrogen salts are highly corrosive to carbon steel. Always keep a dry microfiber cloth and a bottle of food-grade mineral oil to create a hydrophobic barrier on the tines.
Timing:
The biological clock of your garden dictates the frequency and intensity of tool maintenance. In Hardiness Zones 4 through 7, the primary cleaning window occurs between the first frost and the onset of deep dormancy. As plants transition from the vegetative stage to senescence, the volume of leaf litter increases. This organic matter often carries powdery mildew or black spot spores. Cleaning must occur immediately after use during the transition from the reproductive stage to winter dormancy to prevent these pathogens from overwintering on your equipment. In warmer Zones 8 through 11, where the growing season is nearly continuous, cleaning should follow every major soil disturbance to prevent the transfer of nematodes. The ideal time for deep maintenance is during the "dead period" between the last harvest and the first sowing of cover crops, typically when soil temperatures drop below 40 degrees Fahrenheit.
Phases:

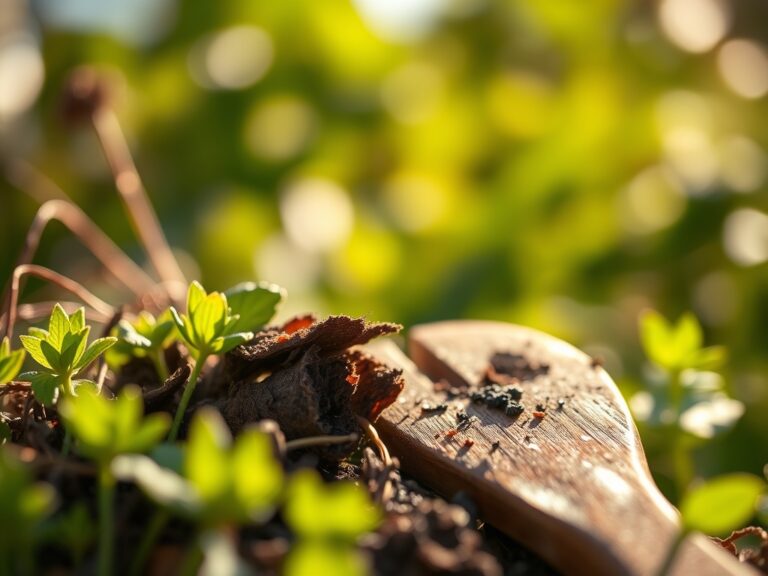
Sowing and Preparation
Before the first seed hits the soil, your rake must be sterile. Use a hori-hori knife to scrape away hardened clay deposits that can harbor weed seeds. Rinse the rake head in a bucket of water mixed with a 5 percent bleach solution. This ensures that you are not introducing pathogens into the pristine seedbed where young radicles are most vulnerable.
Pro-Tip: Sterilizing tools prevents the disruption of mycorrhizal symbiosis. When you introduce foreign fungi via a dirty rake, you risk outcompeting the beneficial fungi that help plants absorb phosphorus and water.
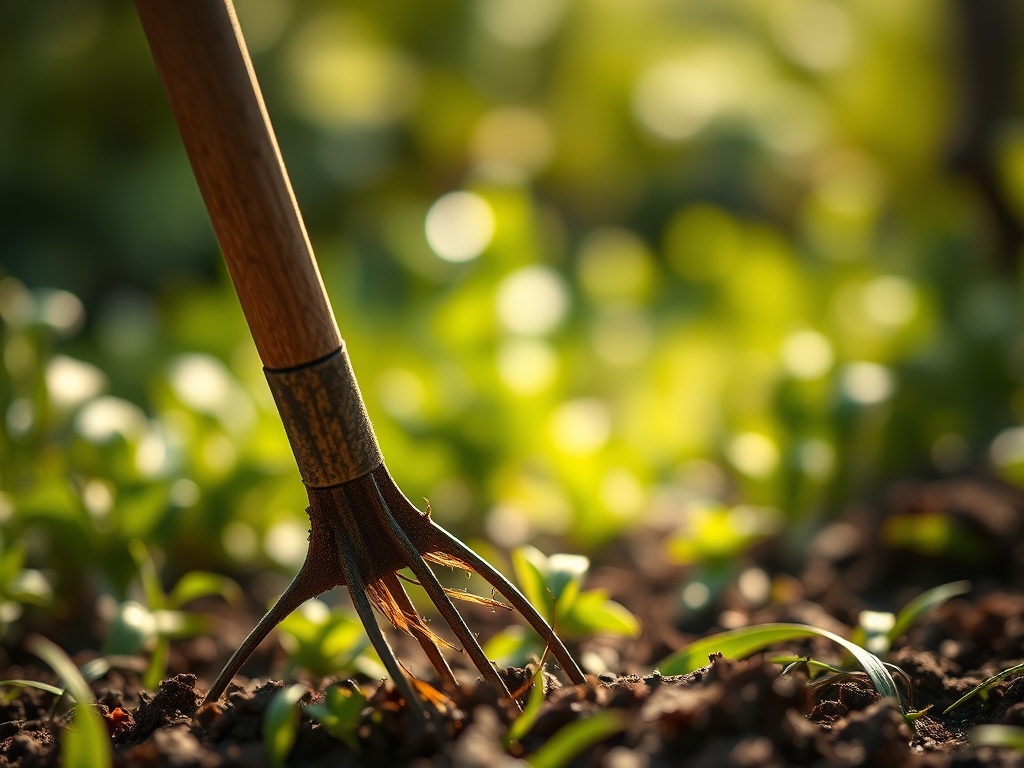
Transplanting and Disturbance
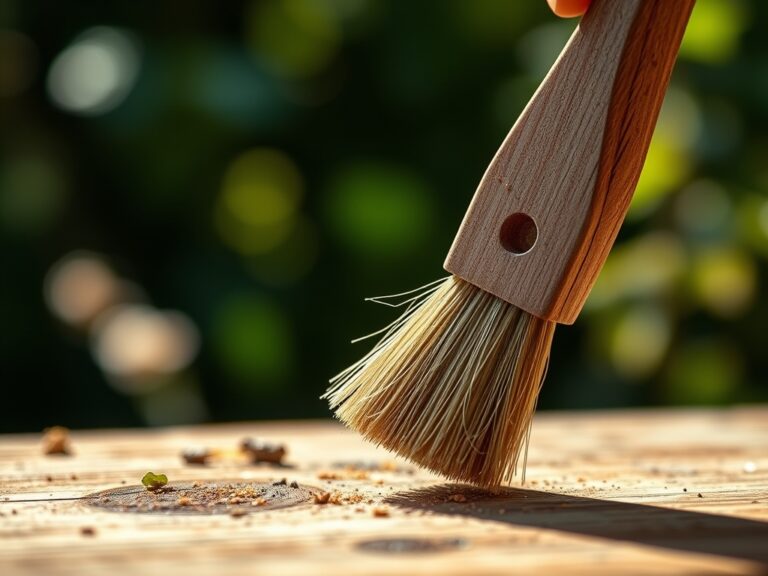
During the transplanting phase, the rake is used to level the soil around new root balls. After this task, check the tines for sap or sticky exudates. These sugars can attract pests like ants or aphids. Use a scouring pad to remove any organic film, then dry the tool thoroughly to prevent the formation of iron oxide.
Pro-Tip: Maintaining smooth tines reduces mechanical resistance, which minimizes the risk of auxin suppression. Rough tools can bruise plant stems; this physical trauma triggers a hormonal response that stunts upward growth.
Establishing and Mulching
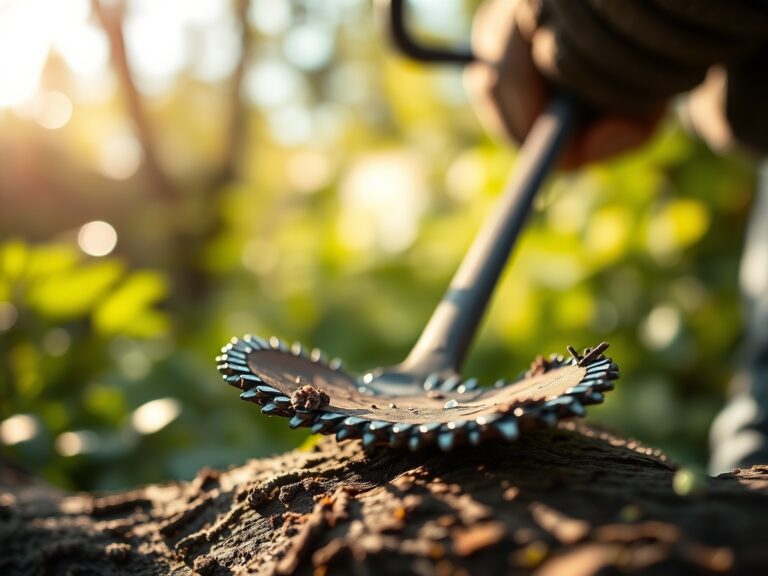
As the canopy closes and plants become established, the rake is primarily used for mulch management. After spreading wood chips or straw, the rake will be covered in fine dust and fungal spores. Use a high-pressure nozzle to blast away particles from the "shoulder" of the rake where the handle meets the head. This area is a common failure point due to moisture entrapment.
Pro-Tip: Clean tools help maintain proper phototropism. By ensuring mulch is spread evenly without dragging debris onto lower leaves, you ensure that the plant's light-sensing receptors are not obstructed by stray dirt.
The Clinic:
Even with regular cleaning, tools and the plants they serve can show signs of distress. Use these diagnostic markers to maintain your garden's health.
- Symptom: Orange or reddish-brown spotting on the metal tines.
- Solution: This is oxidation. Scrub with a wire brush and apply a coat of linseed oil.
- Symptom: Interveinal yellowing on leaves in a bed recently worked with the rake.
- Solution: This indicates Nitrogen chlorosis. The rake may have compacted the soil, preventing oxygen from reaching the roots. Aerate the soil and apply a high-nitrogen fertilizer with a ratio of 20-10-10.
- Symptom: White, fuzzy growth on the wooden handle.
- Solution: This is a saprophytic fungus. Sand the handle down to raw wood and seal it with beeswax to prevent moisture penetration.
- Symptom: Wilted leaves despite adequate soil moisture (low turgor pressure).
- Solution: Check for root rot. If the rake was used in an infected area, it must be soaked in a 10 percent vinegar solution to kill water-mold oomycetes.
Maintenance:
Precision is the hallmark of a professional. Beyond cleaning, your garden requires consistent monitoring. Use a soil moisture meter to ensure the ground is not too wet before raking; working saturated soil leads to compaction and a decrease in pore space, which suffocates roots. Your plants generally require 1.5 inches of water per week at the drip line to maintain cellular turgor. When using bypass pruners to clear larger debris before raking, ensure the blades are as clean as your rake tines. Store your rake hanging vertically with the tines facing the wall. This prevents accidental bending and allows any residual moisture to move away from the wooden handle via gravity. Every six months, check the tension of the bolt or ferrule connecting the head to the handle; a loose connection reduces the leverage needed for deep soil cultivation.
The Yield:
While a rake is a maintenance tool, its cleanliness directly impacts the yield of your edible crops. In a vegetable garden, a dirty rake can introduce E. coli or Salmonella from raw manure into the edible portions of leafy greens. For root crops like carrots or beets, use a clean rake to gently level the soil post-harvest to prevent the exposure of remaining tubers to sunlight, which can cause greening and the accumulation of toxic alkaloids. To maintain "day-one" freshness for harvested greens, ensure the soil they were grown in was managed with sanitized tools. This reduces the microbial load on the produce, extending its shelf life in cold storage.
FAQ:
How often should I oil my rake?
Apply a thin layer of mineral oil every 30 days or after any heavy use in wet conditions. This creates a hydrophobic barrier that prevents oxygen and water from reacting with the steel, stopping rust before it starts.
Can I use soap to clean my garden tools?
Yes, a mild dish soap is effective for removing oils and sap. However, you must rinse the tool thoroughly. Residual soap can alter the local soil pH or damage the waxy cuticle of sensitive plants if transferred.
What is the best way to remove rust?
Soak the rake head in a container of white vinegar for 24 hours. The acetic acid reacts with the iron oxide, allowing you to scrub it away easily with steel wool. Rinse and neutralize with baking soda afterward.
Why does the handle of my rake keep cracking?
Wooden handles crack due to extreme fluctuations in humidity. This causes the fibers to expand and contract. Rubbing the handle with boiled linseed oil once a season keeps the wood supple and prevents water absorption.