6 Easy Steps to Prepare a Tool Storage Guide
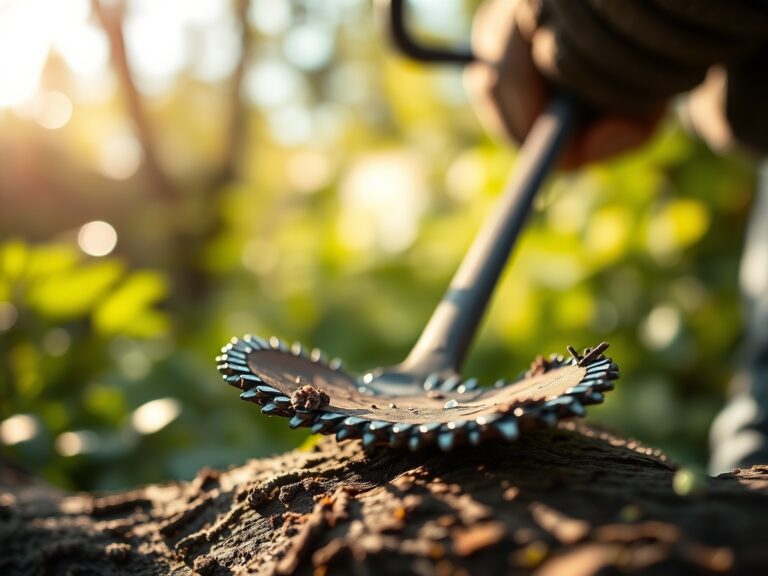
The smell of damp earth after a heavy rain indicates active microbial respiration in the rhizosphere. When soil reaches its field capacity, the turgor pressure within plant cells peaks; this is the moment of maximum physiological strength. To maintain this efficiency, you must understand how to prepare a garden for a tool storage guide by organizing your workspace around the biological needs of the landscape. Efficiency in the garden is not about aesthetics. It is about the rapid deployment of sharp steel to manage biomass before senescence begins. Proper tool management ensures that every cut on a woody stem is clean, preventing the entry of pathogens into the vascular cambium. A disorganized shed leads to dull blades and contaminated surfaces, which directly compromises the health of your cultivars.
Materials:
The foundation of a productive garden begins with a **friable loam** substrate. This soil texture consists of roughly 40 percent sand, 40 percent silt, and 20 percent clay. This balance ensures a high Cation Exchange Capacity (CEC), allowing the soil to retain essential nutrients like ammonium and potassium. For general vegetative growth, maintain a **soil pH between 6.2 and 6.8**.
Specific nutrient requirements vary by stage. Use a 10-10-10 NPK ratio for general maintenance. If you are targeting root development, shift to a 5-10-5 ratio to increase phosphorus availability. High-nitrogen fertilizers (20-10-10) are reserved for leafy greens to stimulate chlorophyll production. Always verify these levels with a calibrated soil moisture meter and a digital pH probe before amending the site.
Timing:
Timing is dictated by the United States Department of Agriculture (USDA) Hardiness Zones. In Zones 5 through 7, the window for major garden preparation opens approximately two weeks after the last predicted frost date. You must track the "Biological Clock" of your plants. This is the transition from the vegetative stage (foliar growth) to the reproductive stage (flowering and fruiting).
For most temperate perennials, this shift occurs when the photoperiod exceeds 12 hours of daylight. Pruning tools must be sharpened and sterilized before the sap begins to flow in early spring. Conversely, tool storage preparation for winter must be completed before the soil temperature drops below 40 degrees Fahrenheit, as this is when most soil-borne microbes enter dormancy and the risk of tool oxidation from frozen ground increases.
Phases:

Sowing and Site Preparation
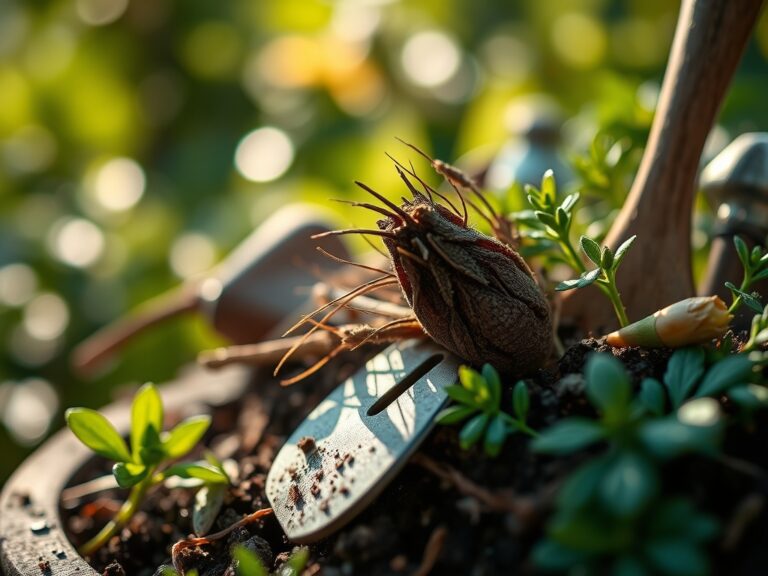
Clear all organic debris from the previous season to eliminate overwintering sites for pests. Use a hori-hori knife to slice through compacted soil layers without disrupting the delicate fungal networks. Ensure the seedbed is level to prevent water pooling, which can lead to anaerobic conditions in the root zone.
Pro-Tip: Maintaining soil structure preserves mycorrhizal symbiosis. These fungi extend the reach of root systems, increasing the surface area for phosphorus absorption by up to 10 times.
Transplanting and Tool Integration
When moving seedlings, minimize root exposure to prevent transplant shock. Use a bypass pruner to remove any circling or damaged roots. This encourages the plant to allocate energy toward new lateral root growth rather than trying to repair necrotic tissue.
Pro-Tip: Pruning the terminal bud during transplanting triggers auxin suppression. This redirects growth hormones to lateral buds, resulting in a bushier, more stable plant architecture.
Establishing the Storage Zone
The final phase involves the physical setup of the storage area within the garden. This area should be elevated to avoid moisture accumulation. Tools must be stored vertically to prevent the warping of wooden handles and to allow air circulation around metal blades, which prevents the formation of ferric oxide.
Pro-Tip: Storing metal tools in a bucket of sand mixed with mineral oil prevents oxidation. The oil creates a hydrophobic barrier that stops oxygen from reacting with the steel surface.
The Clinic:
Physiological disorders often stem from improper tool use or soil imbalances.
- Symptom: Interveinal chlorosis (yellowing between leaf veins).
Solution: This indicates a Magnesium deficiency. Apply Epsom salts (Magnesium Sulfate) at a rate of 1 tablespoon per gallon of water. - Symptom: Blossom end rot in nightshades.
Solution: This is a Calcium transport issue, often caused by inconsistent moisture. Maintain a steady 1.5 inches of water per week and check for Calcium levels in the soil. - Symptom: Ragged tears on woody stems.
Solution: Dull blades. Sharpen your bypass pruners with a diamond file until the edge can cleanly slice through a sheet of paper. - Symptom: Nitrogen chlorosis (general paling of older leaves).
Solution: Apply a high-nitrogen fertilizer (NPK 21-0-0) to quickly boost nitrate levels in the rhizosphere.
Maintenance:
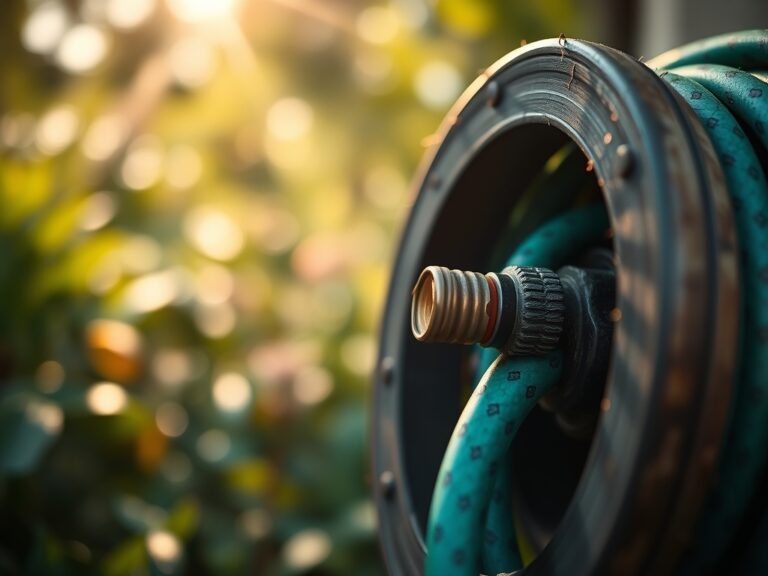
Precision is the hallmark of professional horticulture. Apply exactly 1.5 inches of water per week directly at the drip line of the plant; this is the area on the ground directly beneath the outermost circumference of the canopy. Avoid overhead irrigation to minimize the risk of fungal spores germinating on the leaf surface.
Every 30 days, inspect your hori-hori knife and bypass pruners for signs of wear. Use a 70 percent isopropyl alcohol solution to disinfect blades between different plants to prevent the mechanical transmission of viruses. Monitor soil compaction with a penetrometer; if the resistance exceeds 300 psi, use a broadfork to aerate the soil without inverting the horizons.
The Yield:
Harvesting should occur during the "cool of the day," typically between 5:00 AM and 8:00 AM. At this time, the plant has maximum turgor pressure and the lowest respiration rate. Use a sharp, sterilized knife to make clean cuts.
Post-harvest handling is critical for "day-one" freshness. Immediately submerge the cut ends of stems in water chilled to 40 degrees Fahrenheit. This rapid cooling, known as hydro-cooling, slows down the metabolic processes that lead to wilting and nutrient degradation. For woody ornamentals, make a 45-degree angled cut to increase the surface area for water uptake.
FAQ:
How do I prevent rust on garden tools?
Clean all soil off the metal surfaces after each use. Coat the blades with a thin layer of mineral oil or store them in a bucket of oiled sand to prevent oxygen and moisture from reaching the steel.
What is the best soil pH for a general garden?
A pH range between 6.2 and 6.8 is ideal for most plants. This range ensures that essential macronutrients and micronutrients remain chemically available for root uptake through the cation exchange process.
When should I sharpen my pruning shears?
Sharpen blades whenever you notice crushing or tearing of plant tissue. For heavy use, a weekly touch-up with a whetstone is required. Clean, sharp cuts heal faster and reduce the risk of infection.
Why is friable loam the preferred soil type?
Friable loam provides the perfect balance of drainage and nutrient retention. Its structure allows for optimal gas exchange in the rhizosphere while maintaining enough capillary action to keep roots hydrated between watering cycles.