8 Stress-Free Steps for Repotting a Fiddle Leaf Fig
The scent of damp, anaerobic peat signals a desperate need for fresh substrate, while the loss of turgor pressure in the lower leaves indicates a root system that has outgrown its container. A healthy Fiddle Leaf Fig (Ficus lyrata) requires a stable rhizosphere to maintain its structural integrity and large, lyre-shaped foliage. Mastering the steps for repotting a fiddle leaf fig ensures the specimen avoids the physiological decline associated with root binding and nutrient depletion. Proper intervention prevents leaf abscission and maintains the osmotic balance necessary for vertical growth.
Materials:
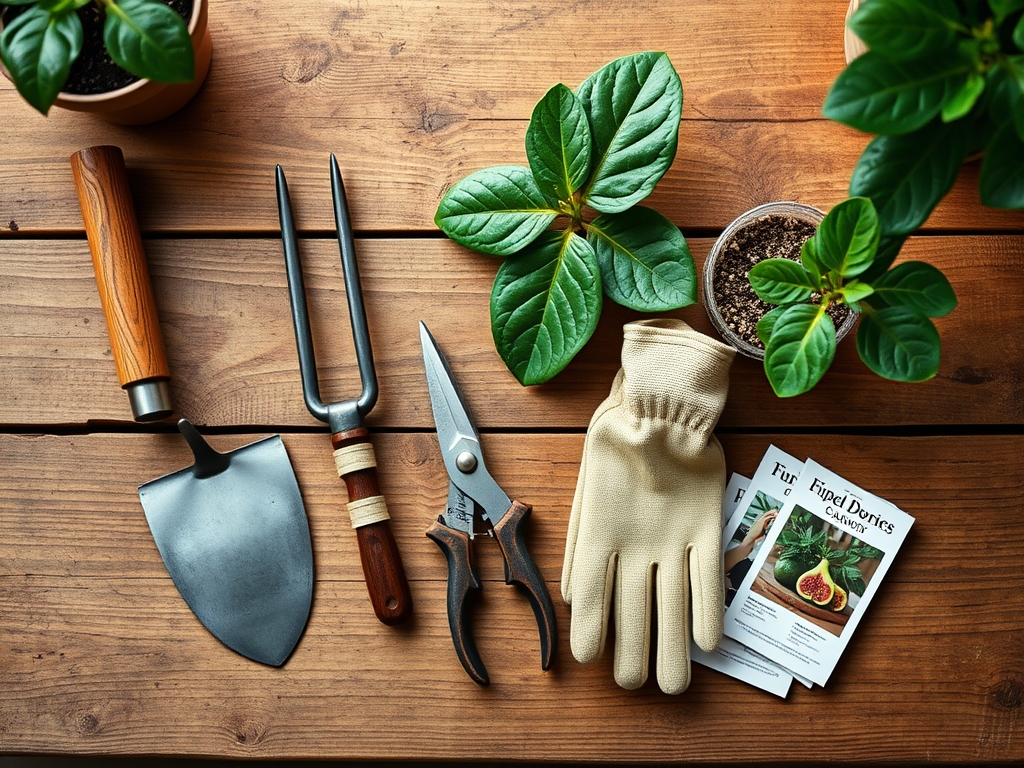
The success of this procedure depends on the chemical and physical properties of the new medium. Ficus lyrata thrives in a **pH range of 6.0 to 7.0**. The substrate must be a friable loam with high porosity to prevent waterlogging. A blend of **two parts peat moss or coconut coir, one part perlite, and one part pine bark** provides the necessary Cation Exchange Capacity (CEC) to hold nutrients while ensuring rapid drainage.
Regarding fertilization, integrate a slow-release granular fertilizer with an NPK ratio of 3-1-2. This specific ratio supports the high nitrogen demands of the plant's massive leaf surface area while providing sufficient phosphorus for root development and potassium for cellular strength. Avoid heavy clay soils; these collapse and suffocate the root hairs, leading to root rot.
Timing:
In the context of Hardiness Zones 10 through 12, Ficus lyrata can remain outdoors year-round. However, for most indoor specimens, the biological clock dictates that repotting occurs during the early spring or summer. This aligns with the transition from semi-dormancy to active vegetative growth. Aim for a window two to four weeks after the last frost date in your region, typically when daylight exceeds 12 hours.
This timing leverages the plant's peak metabolic rate. During this phase, the concentration of auxins at the apical meristems is high, which aids in the rapid recovery of the root system after the mechanical stress of transplanting. Repotting during the late autumn or winter increases the risk of transplant shock, as the plant lacks the photosynthetic energy to repair damaged tissues.
Phases:

Sowing and Preparation
Before moving the plant, hydrate the specimen 24 hours in advance. This increases turgor pressure within the cells, making the plant more resilient to handling. Select a new container that is no more than 2 to 3 inches larger in diameter than the current pot. A container that is too large creates a "perched water table" where the excess soil remains saturated, leading to fungal pathogens.
Pro-Tip: Ensure the new pot has multiple drainage holes. The Biological Why involves preventing hypoxia; roots require oxygen for cellular respiration, and standing water displaces the air pockets within the soil matrix.
Transplanting
Lay the plant on its side and gently slide it from the container. If the plant is "pot-bound," use a hori-hori knife to slice vertically through the outer inch of the root ball in three or four places. This mechanical wounding breaks the circular growth pattern of the roots. Remove the old, depleted soil from the top and sides of the root mass without disturbing the central core.
Pro-Tip: Dust the root ball with a mycorrhizal inoculant. The Biological Why is mycorrhizal symbiosis; these beneficial fungi extend the reach of the root system, significantly increasing the plant's ability to uptake phosphorus and water.
Establishing
Place the plant in the new container at the same depth it was previously growing. Burying the trunk deeper can lead to stem rot. Fill the voids with your prepared substrate and firm it down lightly to remove large air pockets, but do not compress it so much that you destroy the soil structure. Water the plant until liquid flows freely from the drainage holes to settle the soil.
Pro-Tip: Place the plant in a location with consistent, bright indirect light. The Biological Why relates to photoperiodism and energy conservation; the plant needs maximum light to fuel the production of new root tissue, but direct afternoon sun can cause transpiration rates to exceed the capacity of the stressed roots.
The Clinic:
Physiological disorders often manifest immediately following a change in environment or substrate.
Symptom: Interveinal chlorosis (yellowing between leaf veins).
Solution: This typically indicates a Magnesium deficiency or an improper pH level blocking nutrient uptake.
Fix-It: Check the soil pH. If it is above 7.0, apply a diluted solution of chelated minerals or Epsom salts (1 tablespoon per gallon of water) to restore mineral balance.
Symptom: Edema (small reddish-brown spots on new leaves).
Solution: This is caused by inconsistent moisture levels leading to ruptured plant cells.
Fix-It: Standardize the watering schedule and ensure the substrate has adequate drainage.
Symptom: Nitrogen chlorosis (uniform paling of older leaves).
Solution: The plant is scavenging nitrogen from old growth to support new leaves.
Fix-It: Apply a liquid 3-1-2 NPK fertilizer at half-strength to provide immediate bioavailable nitrogen.
Maintenance:
Post-repotting care requires precision. Use a soil moisture meter to monitor the substrate; do not water until the top 2 inches of soil are dry. Generally, a Ficus lyrata requires approximately 1 to 1.5 inches of water per week, delivered evenly across the soil surface.
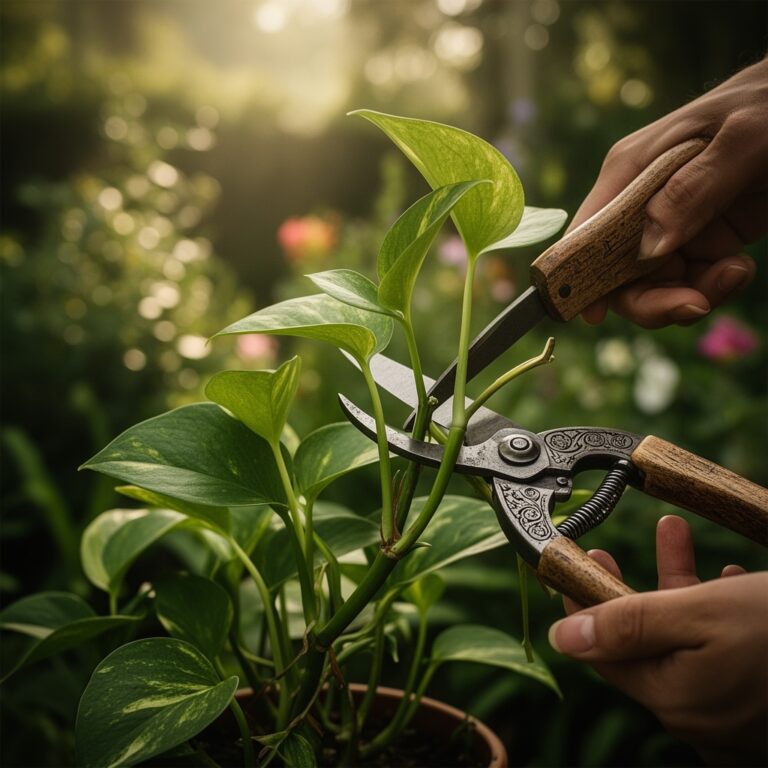
Use bypass pruners to remove any leaves that show more than 50 percent necrosis. This allows the plant to redirect energy toward healthy tissue. Wipe the leaves with a damp cloth every two weeks to remove dust, which can block stomata and reduce photosynthetic efficiency by up to 30 percent. If the plant becomes top-heavy, use a sturdy stake to support the central leader until the roots have fully anchored into the new medium.
The Yield:
While Ficus lyrata is primarily grown for its architectural foliage rather than fruit, the "yield" in this context is the production of new, expansive leaves. Healthy growth is characterized by leaves that are dark green, glossy, and firm. To maintain this "day-one" freshness, maintain a consistent ambient temperature between 65 and 75 degrees Fahrenheit. Avoid placing the plant near HVAC vents, as rapid temperature fluctuations can trigger the production of abscisic acid, leading to sudden leaf drop.
FAQ:
How do I know when to repot my fiddle leaf fig?
Look for roots emerging from drainage holes or circling the soil surface. If the plant requires watering more than twice a week or growth has completely stalled during the spring, the specimen is likely root-bound and requires a larger vessel.
Can I use standard potting soil for repotting?
Standard soil is often too dense and retains excessive moisture. Mix it with perlite or orchid bark to increase aeration. A Ficus lyrata requires a well-draining medium with a pH between 6.0 and 7.0 to prevent root rot.
What is the best fertilizer after repotting?
Wait four to six weeks after repotting before fertilizing to avoid burning new root hairs. Use a water-soluble fertilizer with a 3-1-2 NPK ratio. This supports the high nitrogen requirements of the foliage while maintaining overall plant health.
Why are the leaves dropping after I repotted?
This is typically transplant shock. Ensure the plant is not in a drafty area and that the soil moisture is consistent. Avoid moving the plant to a different room; the change in light intensity can exacerbate the stress.