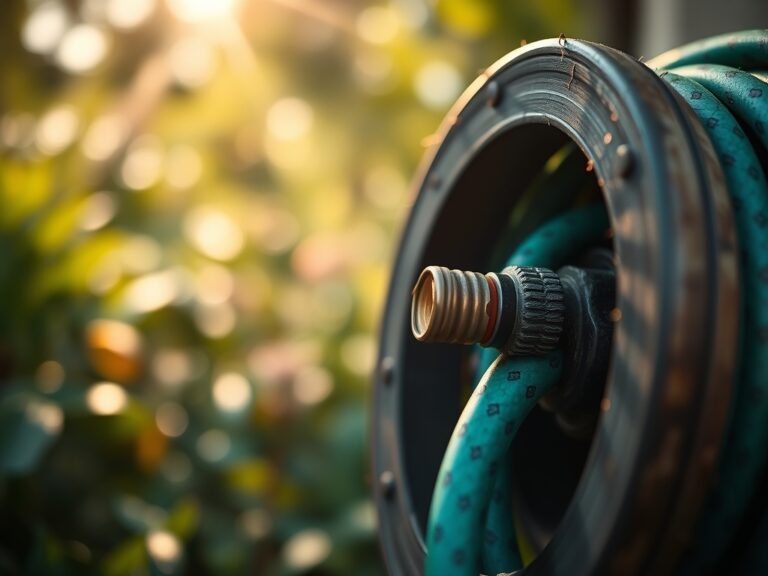
8 Tips to Use a Stiff Nylon Brush for Detailed Cleaning
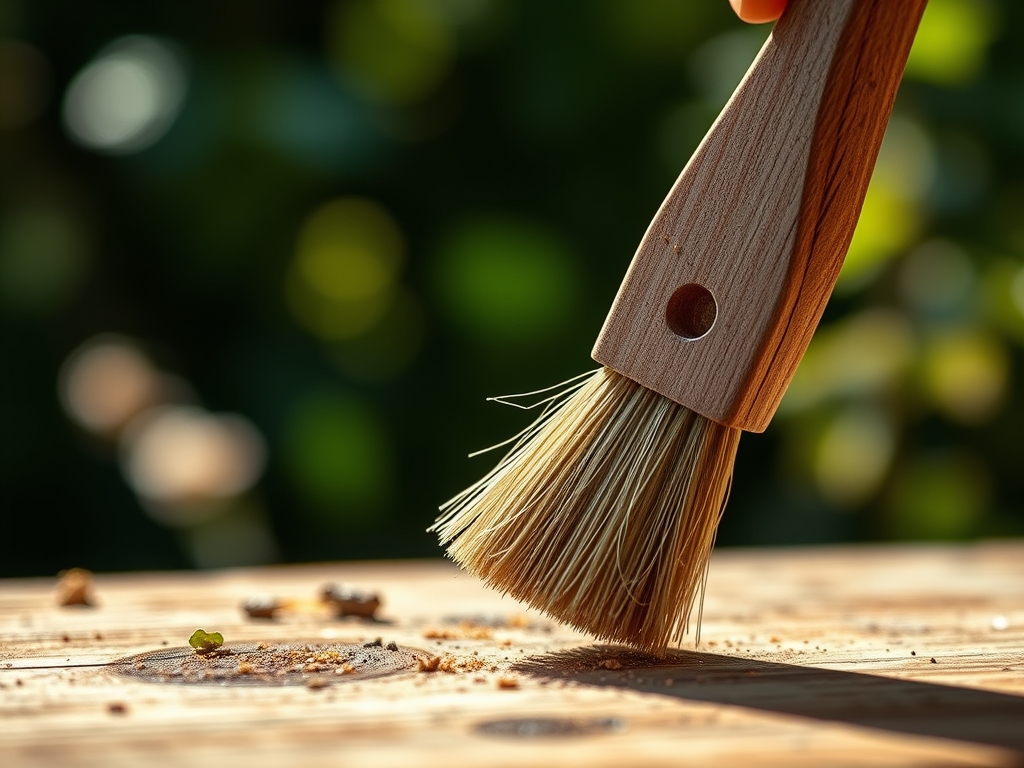
The smell of damp earth after a spring rain signals the peak of turgor pressure in a healthy garden; it is the moment when cellular walls are fully distended and ready for growth. Maintaining this health requires more than just water and light. It demands precision in every interaction between the gardener and the plant. Contamination is the silent killer of the rhizosphere. Pathogens like Fusarium or Botrytis hitchhike on the serrated edges of blades and the hinges of snips. Using a nylon brush for delicate tool cleaning is the primary defense against cross-contamination. Unlike wire brushes that create micro-fissures in steel where bacteria can hide; nylon bristles flex into the grain of the metal without compromising its structural integrity. A clean tool ensures a surgical cut; allowing the plant to seal its vascular tissue quickly through the production of callus cells. This prevents the loss of precious sap and maintains the hydraulic system of the stem. Cleanliness is not an aesthetic choice; it is a biological necessity for the prevention of systemic infection.
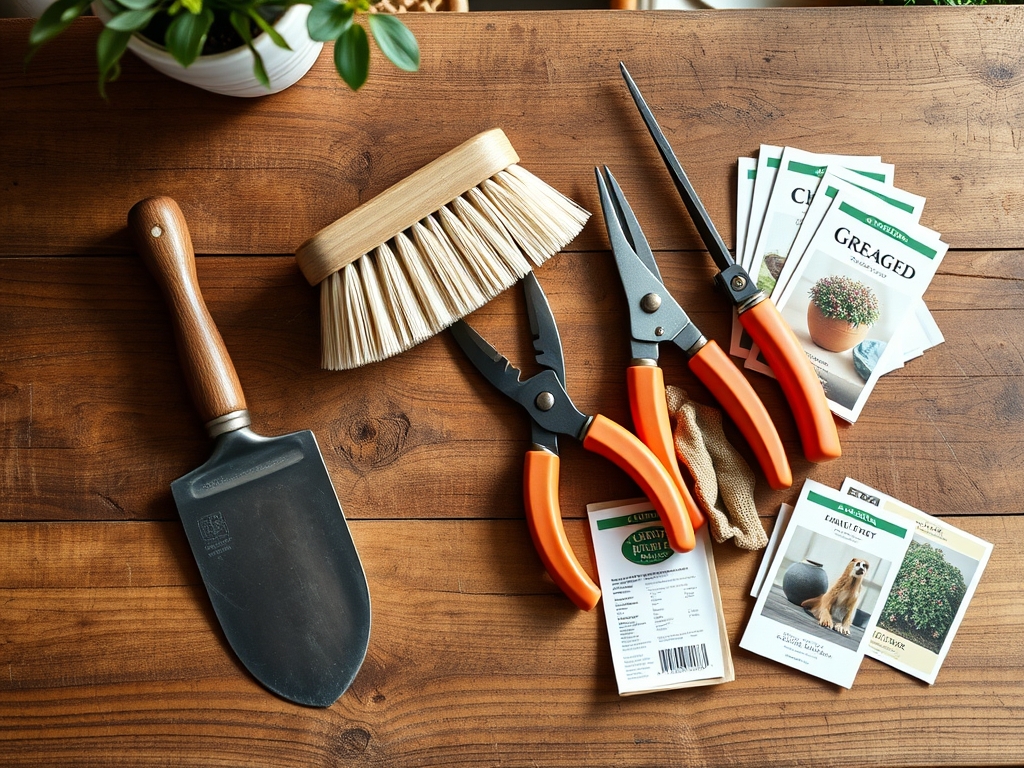
Materials:
Success in the field begins with the substrate. For high-performance container gardening; utilize a **friable loam** consisting of 40% sand; 40% silt; and 20% clay. This texture ensures a high Cation Exchange Capacity (CEC); allowing the soil to hold onto essential nutrients like ammonium and potassium. The target soil pH must remain between **6.2 and 6.8** for optimal nutrient bioavailability. Maintain a base NPK ratio of **10-10-10** for general maintenance; but shift to a **5-10-10** ratio during the reproductive phase to support floral development without inducing excessive vegetative growth. Ensure the organic matter content is at least 5% to support the microbial life necessary for nitrogen fixation.
Timing:
Effective gardening follows the rigid schedule of the Hardiness Zones. In Zones 5 through 7; the primary planting window opens after the last frost date; typically between late April and mid-May. The biological clock of the plant is governed by the photoperiod. As day length increases; the plant transitions from the vegetative stage; characterized by rapid leaf production and high nitrogen demand; to the reproductive stage. This transition is triggered by the accumulation of Growing Degree Days (GDD). Monitoring the soil temperature is critical; do not transplant until the soil consistently registers 60 degrees Fahrenheit at a depth of 4 inches. This ensures that root respiration is not stunted by cold-induced dormancy.
Phases:

Sowing
Direct sow seeds at a depth exactly three times the width of the seed. This ensures enough stored energy in the endosperm to reach the surface before the first true leaves begin photosynthesis. Use a nylon brush to clear debris from seed trays to prevent "damping off" caused by soil-borne fungi.
Pro-Tip: Proper seed depth prevents epigeal germination failure. If the hypocotyl is exposed to light too early; it can trigger premature lignification; preventing the seedling from fully emerging.
Transplanting
When moving starts to the field; ensure the root ball is saturated to maintain turgor pressure. Dig a hole twice the width of the root system. Using a nylon brush for delicate tool cleaning ensures that your hori-hori knife is free of pathogens before it touches the sensitive root hairs.
Pro-Tip: Mycorrhizal symbiosis is established during this phase. Avoid high-phosphorus fertilizers at transplant; as excess phosphorus can inhibit the colonization of beneficial fungi that extend the root's reach for water.
Establishing
During the first 14 to 21 days; the plant focuses on root architecture rather than upward growth. Maintain consistent moisture levels to prevent the wilting of the apical meristem.
Pro-Tip: Auxin suppression occurs if the terminal bud is damaged. By keeping tools clean and sharp with a nylon brush; you ensure clean cuts that preserve the apical dominance of the plant; leading to a more structured and predictable growth habit.
The Clinic:
Physiological disorders often mimic nutrient deficiencies. Accurate diagnosis is required before intervention.
Symptom: Interveinal chlorosis on young leaves.
Solution: This indicates Iron (Fe) deficiency; often caused by a pH above 7.0. Lower the pH using elemental sulfur to increase iron solubility.
Symptom: Blossom end rot in fruiting crops.
Solution: This is a Calcium (Ca) transport issue. It is rarely a lack of calcium in the soil but rather inconsistent transpiration. Ensure regular watering to maintain the flow of calcium through the xylem.
Symptom: Purpling of older foliage.
Solution: Phosphorus (P) deficiency. This often occurs in cold soils where microbial activity is low. Apply a water-soluble high-phosphate fertilizer (e.g., 0-20-0) to the root zone.
Fix-It: For general Nitrogen (N) chlorosis (yellowing of older leaves); apply blood meal or a high-nitrogen liquid feed. Nitrogen is mobile within the plant; so the organism will sacrifice old growth to support new shoots.
Maintenance:
Precision irrigation is the cornerstone of plant health. Deliver 1.5 inches of water per week directly at the drip line; which is the outermost circumference of the plant's canopy. This encourages roots to grow outward; increasing stability. Use a soil moisture meter to verify that the moisture has penetrated 6 to 8 inches deep. For pruning; use bypass pruners rather than anvil types to avoid crushing the vascular bundles. After every use; scrub the blades with a stiff nylon brush and 70% isopropyl alcohol. This prevents the spread of viral loads between specimens. A hori-hori knife should be used for weeding to ensure the entire taproot is removed without disturbing the secondary roots of neighboring plants.
The Yield:
Harvesting is a race against senescence. For leafy greens; harvest in the early morning when turgor pressure is at its maximum and the plant is cool. For fruiting bodies; monitor the "abscission layer" where the fruit meets the stem. When this layer begins to soften; the fruit is at peak sugar content. Use a clean blade to make the cut; leaving a small portion of the pedicel attached to prevent moisture loss. Post-harvest; immediately move the produce to a cool; shaded environment to reduce the respiration rate. This preserves the "day-one" freshness by slowing the metabolic breakdown of sugars and starches.
FAQ:
How do I clean sap off my pruners?
Apply a small amount of vegetable oil to the blade. Use a stiff nylon brush to scrub the residue. The bristles will lift the organic matter without scratching the protective coating of the steel.
When is the best time to fertilize?
Apply fertilizer when the soil temperature reaches 55 degrees Fahrenheit. This ensures the soil microbes are active enough to convert the nutrients into a plant-available form via mineralization and nitrification processes.
Why use nylon instead of wire brushes?
Wire brushes create microscopic grooves in metal tools. These grooves harbor pathogenic bacteria and fungal spores that are difficult to disinfect. Nylon is firm enough to remove debris but soft enough to keep surfaces smooth.
How deep should I water my garden?
Aim for a saturation depth of 8 inches. Shallow watering leads to surface-level root systems that are highly susceptible to drought stress and high soil temperatures during the peak of summer.