8 Practical Ways How to Level a Sloping Garden
The smell of damp, anaerobic subsoil exposed to oxygen is the first indicator of a significant landscape alteration. When you learn how to level a sloping garden, you are essentially re-engineering the local topography to prevent hydraulic erosion and optimize the turgor pressure of your plantings. A steep incline causes rapid water runoff; this leaches mobile nutrients like nitrates before the rhizosphere can intercept them. Managing a slope requires moving earth to create stable, horizontal growing planes that maximize water infiltration and root anchorage.
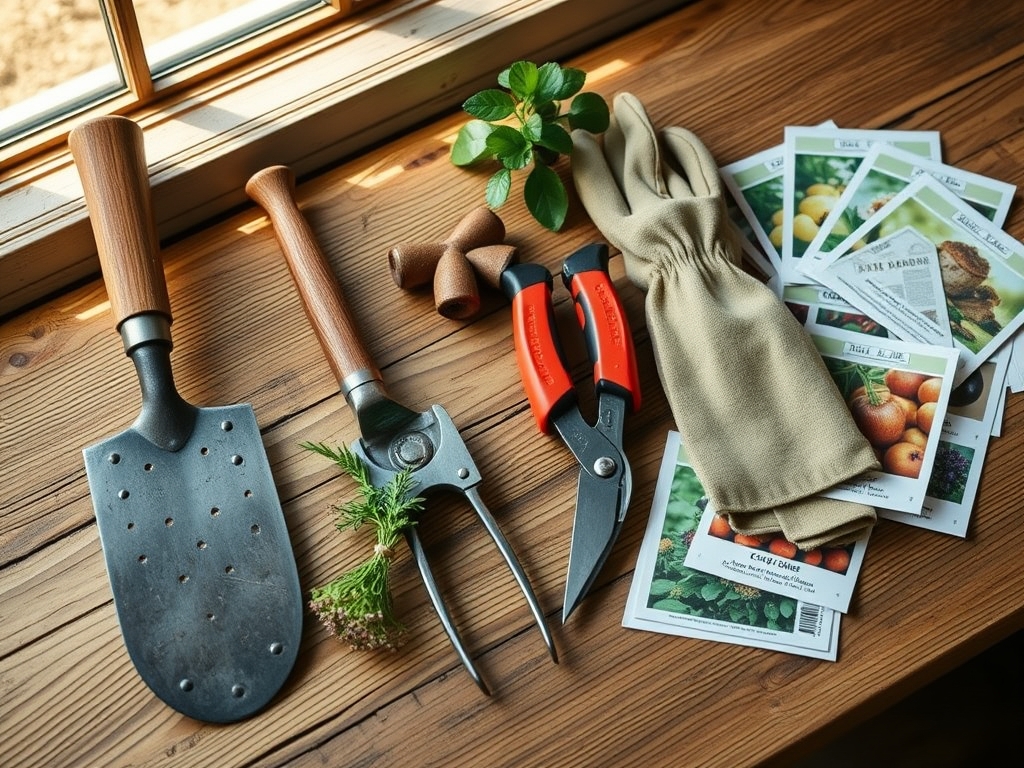
Materials:
Successful leveling requires a specific substrate profile to ensure long term structural integrity and plant health. The base fill should consist of structural fill dirt, but the top 8 to 12 inches must be a high quality friable loam. This ideal medium typically consists of 40 percent sand, 40 percent silt, and 20 percent clay.
For the vegetation layer, target a soil pH between 6.2 and 6.8 to ensure maximum bioavailability of micronutrients. Incorporate a balanced starter fertilizer with an NPK ratio of 10-10-10 at a rate of 1 pound per 100 square feet. If the soil Cation Exchange Capacity (CEC) is low (below 10 meq/100g), supplement with organic matter to increase the soil's ability to hold positively charged ions like Calcium (Ca2+) and Magnesium (Mg2+). Use heavy timber, natural stone, or interlocking concrete blocks for retaining walls to provide the necessary counter-pressure against the weight of the saturated soil.
Timing:
The execution of leveling must align with local meteorological data and Hardiness Zones. In Zones 5 through 7, the optimal window is late summer or early autumn. This timing avoids the heavy hydraulic load of spring rains which can cause slope failure before the soil settles. It also aligns with the biological clock of many perennial grasses and shrubs; as they transition from the vegetative stage to the senescence of late autumn, their root systems remain active enough to colonize new soil without the high transpiration demands of peak summer.
Always complete major earthmoving at least six weeks before the first hard frost. If the soil freezes while saturated and loose, the resulting frost heave will displace your retaining structures. Monitoring the photoperiod is also essential; shorter days signal plants to divert carbohydrates to root storage, which is critical for stabilizing newly leveled terraces.
Phases:

Sowing and Site Preparation
Begin by stripping the existing turf and stockpiling the topsoil. Use a transit level or a line level to establish the exact "cut and fill" lines. You must calculate the volume of soil to be moved to ensure the site reaches a zero percent grade.
Pro-Tip: When clearing the site, avoid over-compacting the subsoil with heavy machinery. Excessive compaction destroys soil macropores, leading to root asphyxiation because oxygen cannot reach the rhizosphere.
Transplanting and Structural Support
Construct retaining walls for each terrace level. For walls over 3 feet in height, incorporate a perforated drainage pipe (French drain) behind the wall base. This prevents hydrostatic pressure from building up. Once the "bins" are created, backfill with your prepared friable loam.
Pro-Tip: Use mycorrhizal inoculants during transplanting. This biological symbiosis between fungi and roots increases the effective surface area of the root system by up to 1,000 percent, significantly improving the plant's ability to anchor the new slope.
Establishing the Vegetation
Seed the leveled areas with a deep-rooting cover crop or permanent turf. Use a seed spreader to ensure a density of 6 to 8 seeds per square inch. Lightly rake the seeds into the top 0.25 inches of soil and compress with a water-filled roller to ensure seed-to-soil contact.
Pro-Tip: Maintain consistent moisture to prevent the synthesis of abscisic acid. High levels of this hormone trigger stomatal closure, which halts photosynthesis and prevents the seedling from establishing the structural lignin needed for slope stabilization.
The Clinic:
Physiological disorders often arise when a garden's topography is abruptly changed.
Symptom: Interveinal chlorosis in new growth (yellow leaves with green veins).
Solution: This typically indicates Iron (Fe) deficiency, often caused by high pH in new fill dirt. Apply chelated iron and adjust pH to 6.5.
Symptom: Leaf wilting despite moist soil.
Solution: This is likely "wet feet" or root rot (Phytophthora). It occurs if the leveled area lacks a 2 percent pitch for drainage. Increase the sand content or install subsurface drainage tiles.
Symptom: Stunted growth and purple tinting on the underside of leaves.
Solution: Phosphorus (P) deficiency. This occurs in cold, wet soils where P becomes immobile. Apply a high-phosphate fertilizer (NPK 5-20-10) to support ATP production and cellular energy transfer.
Fix-It for Nitrogen Chlorosis: If older leaves turn uniform pale yellow, the plant is scavenging Nitrogen to support new growth. Apply ammonium sulfate at a rate of 0.5 pounds of actual N per 1,000 square feet to rapidly restore chlorophyll density.
Maintenance:
A leveled garden requires precise hydration management to prevent the new soil from slumping. Deliver 1.5 inches of water per week at the drip line of plants using a soaker hose or drip irrigation system. This slow delivery ensures deep infiltration without surface erosion.
Use a soil moisture meter daily for the first six months to ensure the moisture levels remain between 60 and 80 percent of field capacity. For pruning and maintenance of terrace-stabilizing shrubs, use sharp bypass pruners to make clean cuts at a 45-degree angle; this prevents tissue necrosis and pathogen entry. Use a hori-hori knife for weeding to ensure you remove the entire taproot without disrupting the surrounding soil structure.
The Yield:
For those growing edibles on their new terraces, timing the harvest is a matter of cellular chemistry. Harvest leafy greens when the dew is still present to ensure maximum cell turgidity. For fruiting crops, monitor the Brix scale (sugar content) using a refractometer.
Once harvested, immediately submerge produce in 40 degree Fahrenheit water to remove field heat. This process slows the metabolic rate and delays senescence; the natural aging process of the plant tissue. This ensures the "day-one" crispness is maintained by slowing the degradation of pectin in the cell walls.
FAQ:
Do I need a permit to level my garden?
Most municipalities require a permit if you move more than 50 cubic yards of soil or if a retaining wall exceeds 3 feet in height. Check local building codes regarding "grading and drainage" before beginning any excavation.
What is the best way to prevent wall failure?
Ensure you use a 6-inch base of compacted 57-stone (crushed gravel) for the footing. Proper drainage behind the wall is mandatory; water weight is the primary cause of structural collapse in leveled gardens.
Can I use any soil to fill the slope?
No. Avoid heavy clay, which expands and contracts, or pure sand, which lacks nutrient-holding capacity. Use a certified sandy loam with at least 5 percent organic matter to ensure proper Cation Exchange Capacity and drainage.
How long does it take for the soil to settle?
Mechanically compacted soil settles within weeks, but natural settling takes one full growing season. Do not install permanent hardscaping like pavers until the soil has experienced a full cycle of wetting and drying.
Which plants are best for holding the new level?
Deep-rooted perennials with fibrous root systems are superior to taprooted plants. Species like Panicum virgatum (Switchgrass) have roots that reach 8 feet deep, effectively knitting the soil layers together and preventing internal shearing.