9 Natural Steps for Treating Spider Mites with Predatory Mites
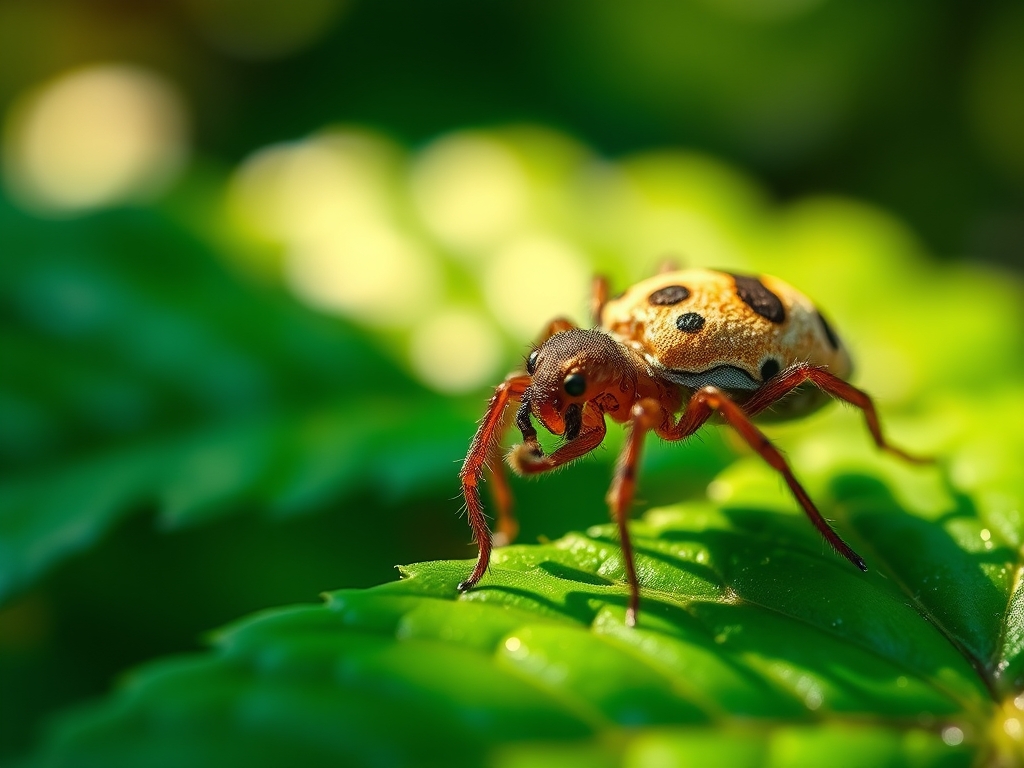
The smell of damp earth and the firm turgor of a healthy leaf define a successful greenhouse environment. When you observe stippling on the adaxial leaf surface or fine webbing near the apical meristem, your crop is under attack by Tetranychus urticae. You must act immediately to preserve the plant's vascular integrity. Executing the nine natural steps for treating spider mites with predatory mites requires a clinical understanding of arthropod population dynamics and environmental control. You are not merely releasing bugs; you are managing a biological battlefield where temperature, humidity, and prey density dictate the outcome. Success depends on the precise introduction of Phytoseiulus persimilis or Neoseiulus californicus to restore the equilibrium of the rhizosphere and phyllosphere.
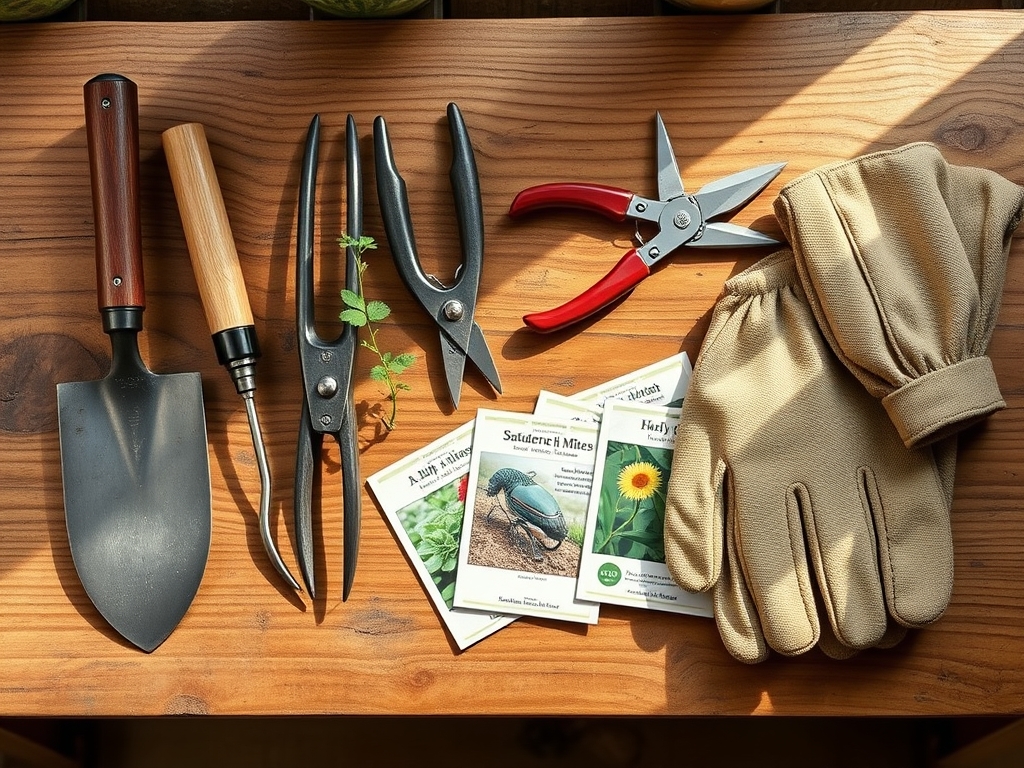
Materials:
To support the host plants during a biological intervention, the substrate must be optimized for recovery. Use a **friable loam** with a **Soil Cation Exchange Capacity (CEC) between 15 and 25 meq/100g**. The soil pH must be maintained at **6.2 to 6.8** to ensure maximum bioavailability of micronutrients. Incorporate a slow-release organic fertilizer with an **NPK ratio of 4-3-2** to provide steady nitrogen for vegetative repair without triggering the rapid, succulent growth that attracts further pests. Ensure the substrate contains **20 percent perlite** by volume to maintain oxygen levels in the root zone; this prevents anaerobic conditions that stress the plant and lower its natural systemic resistance.
Timing:
Biological control is most effective in Hardiness Zones 8 through 11 for outdoor applications, or year-round in climate-controlled environments. The "Biological Clock" for predatory mites is dictated by the thermal sum. Most species require a minimum temperature of 60 degrees Fahrenheit to become active, with peak efficacy occurring between 75 and 85 degrees Fahrenheit. During the transition from the vegetative to the reproductive stage, plants redirect sugars from leaf production to flower development. This shift often results in a spike in spider mite populations due to increased leaf senescence. You must release your predatory mites at the first sign of the photoperiod shift to ensure the predators are established before the plant's defensive secondary metabolites begin to decrease.
Phases:

Sowing and Preparation
Before introducing predators, assess the infestation density. If you count more than five spider mites per square inch of leaf surface, you must reduce the population manually. Use a high-pressure water spray to mechanically dislodge the pests. This increases the leaf turgor and cleans the stomata.
Pro-Tip: High humidity (above 60 percent) triggers a biological response in predatory mites that increases their fecundity. By misting the canopy before release, you stimulate the predators to begin oviposition immediately upon contact with the leaf surface.
Transplanting the Predators
Introduce the mites using slow-release sachets or bulk dispersal in a carrier like vermiculite. Distribute the mites evenly across the canopy, focusing on the "hot spots" where webbing is visible. Aim for a release rate of 10 to 20 predatory mites per square foot for preventative measures, or 50 to 100 per square foot for active infestations.
Pro-Tip: Predatory mites exhibit positive phototaxis; they move toward light sources. Releasing them at the base of the plant ensures they climb upward through the entire canopy, systematically scouring the abaxial leaf surfaces for prey.
Establishing the Colony
Monitor the population for 14 days. You should see a decrease in active spider mite nymphs. Predatory mites like P. persimilis can consume up to 20 eggs or 5 adults per day. If the temperature exceeds 90 degrees Fahrenheit, the predators may desiccate. Maintain a consistent moisture film on the soil surface to provide a microclimate of high humidity.
Pro-Tip: Avoid broad-spectrum botanical oils during this phase. Even organic residues can disrupt the chemical signals (kairomones) that predatory mites use to locate their prey, effectively blinding your biological control agents.
The Clinic:
When managing a biological system, you must distinguish between pest damage and physiological disorders.
- Symptom: Interveinal chlorosis on older leaves.
Solution: This indicates Nitrogen deficiency. Apply a water-soluble 5-0-0 fish emulsion to boost chlorophyll production without altering the soil pH drastically. - Symptom: Necrotic spots on leaf margins.
Solution: This is often Potassium (K) deficiency, which weakens cell walls. Increase K levels to improve the plant's structural integrity against piercing-sucking mouthparts. - Symptom: Leaf curling and stunted apical growth.
Solution: Check for Calcium deficiency. Ensure the irrigation water has a Calcium Carbonate (CaCO3) level of at least 60 ppm to support cell membrane stability. - Fix-It for Iron Chlorosis: If new growth is yellow while veins remain green, the pH is likely above 7.0. Lower the pH using elemental sulfur to a target of 6.5 to unlock iron ions.
Maintenance:
Precision irrigation is vital for plant health and predator survival. Deliver 1.5 inches of water per week at the drip line. Use a soil moisture meter to ensure the substrate remains between 40 and 60 percent of field capacity. Over-saturation leads to root rot, while under-saturation causes the plant to close its stomata, raising leaf temperature and favoring spider mite reproduction. Use a hori-hori knife to remove heavily infested lower leaves that touch the soil; this breaks the "bridge" for crawling pests. Use bypass pruners to thin the interior canopy, increasing airflow and reducing the stagnant pockets of air where spider mites thrive.
The Yield:
For floral or edible crops, the timing of the harvest is dictated by trichome maturity or fruit brix levels. Harvest during the coolest part of the day, typically between 5:00 AM and 8:00 AM, to ensure maximum turgidity. When the predatory mites have done their job, the leaves should appear clean and deep green. Use a sharp, sterilized blade to make clean cuts, preventing the "bleeding" of sap which can attract opportunistic pathogens. Post-harvest, store the produce at 34 to 40 degrees Fahrenheit to slow the rate of respiration and maintain "day-one" freshness.
FAQ:
How long do predatory mites take to work?
Expect visible results within 7 to 10 days. Predatory mites begin feeding immediately upon release, but they require one full reproductive cycle to significantly reduce a dense spider mite population. Monitor the abaxial leaf surfaces for translucent predator eggs.
Can I use predatory mites with neem oil?
No. Neem oil acts as a repellent and can be toxic to many predatory mite species. If you have used neem, wait at least 10 to 14 days for the residue to degrade before introducing biological controls.
What is the best temperature for P. persimilis?
These predators thrive between 68 and 82 degrees Fahrenheit. If temperatures exceed 90 degrees, their activity drops sharply. Maintain high humidity via misting to keep them active during heat spikes in the greenhouse or garden.
How do I know if the predators are still alive?
Use a 10x or 20x hand lens to inspect the underside of leaves. Predatory mites are typically teardrop-shaped, move much faster than spider mites, and are often bright orange or tan. Their rapid movement is a definitive identification characteristic.