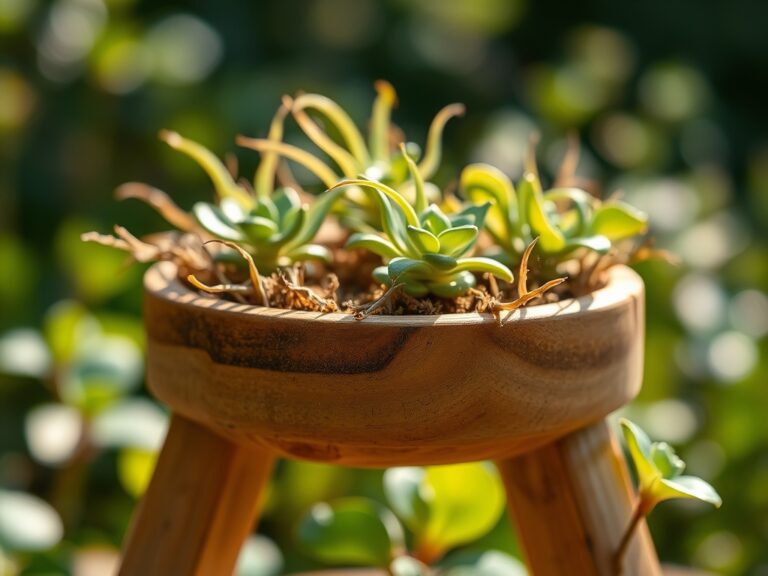
9 Support Steps for Repotting a Large Monstera
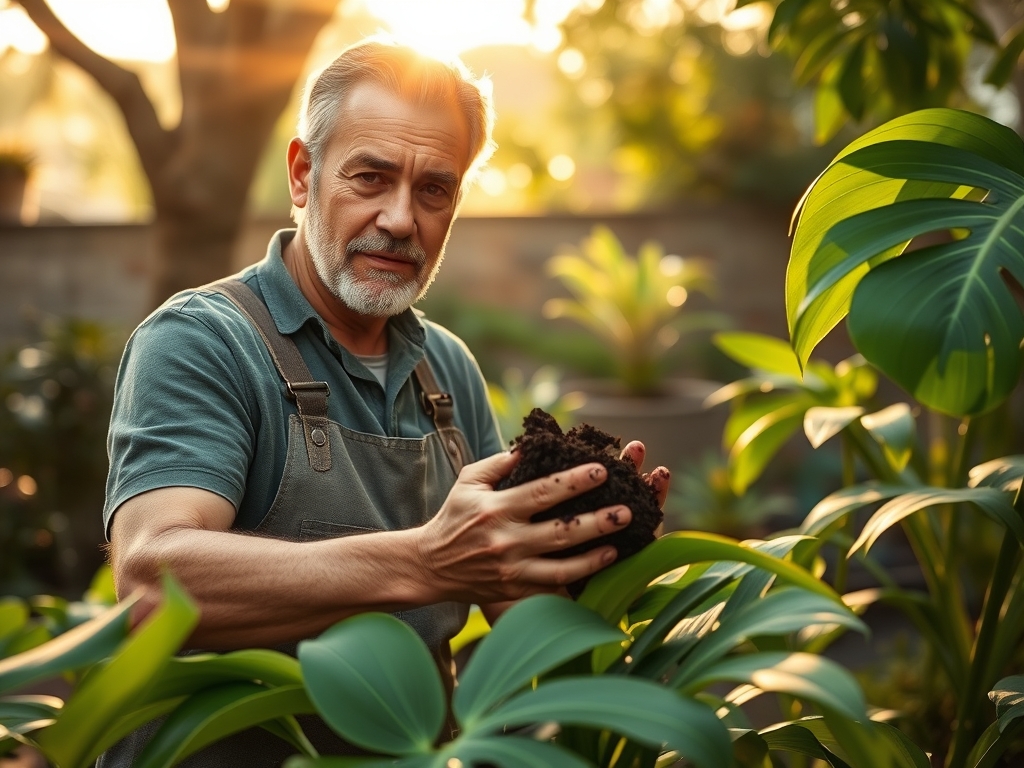
The smell of damp pine bark and the mineral scent of perlite signal the start of a necessary transition for a root-bound plant. When a Monstera deliciosa reaches a certain mass; the glossy, fenestrated leaves begin to lose turgor pressure as the root-to-shoot ratio becomes imbalanced. Mastering the steps for repotting a Monstera requires more than a larger vessel; it demands an understanding of cellular respiration and substrate chemistry to ensure the specimen thrives after the move.
Success depends on maintaining a consistent rhizosphere environment while increasing the available volume for root expansion. A large Monstera represents a significant investment in time and biological energy. When the roots begin to circle the interior of the pot, they compress the medium, which reduces oxygen availability and increases the risk of anaerobic pathogens. By executing these steps for repotting a Monstera with technical precision, you reset the biological clock of the plant and provide the structural support necessary for vertical growth. Proper timing and substrate composition are the primary variables that dictate whether the plant experiences transplant shock or immediate vigor.
Materials:
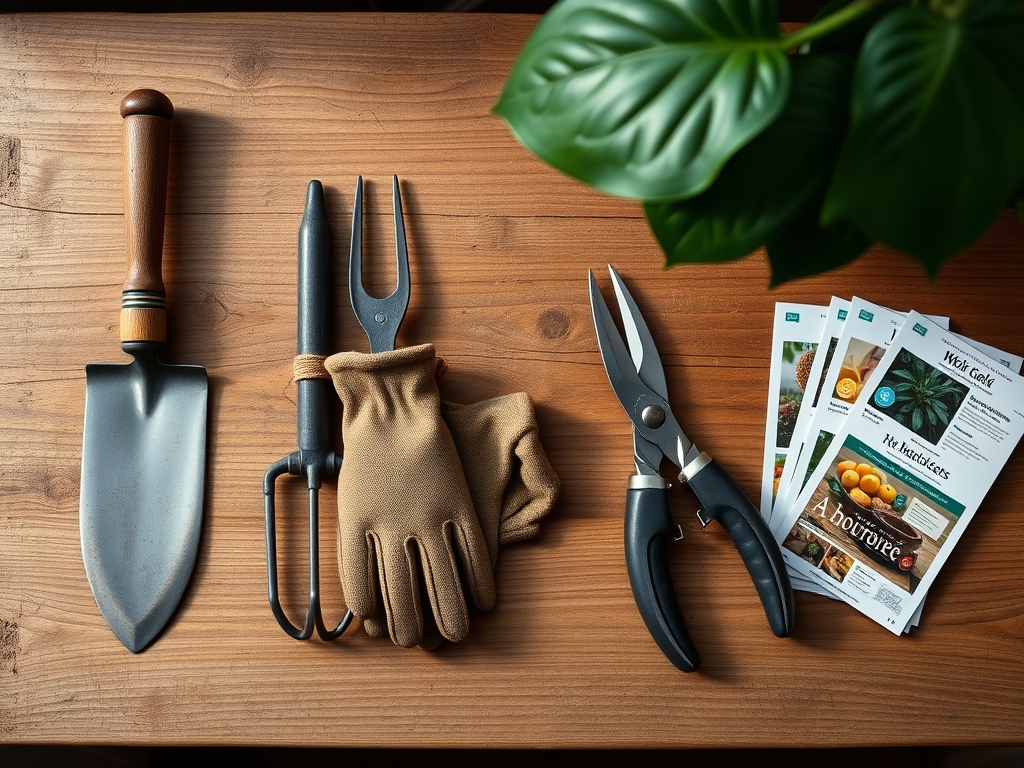
The substrate must be a friable loam with high porosity to prevent waterlogging. Aim for a soil pH between 5.5 and 6.5. This acidity range ensures that micronutrients like iron and manganese remain bioavailable. The ideal potting mix for a large Monstera should consist of 40 percent orchid bark, 30 percent coco coir, 20 percent perlite, and 10 percent worm castings.
Nutrient management starts with a low-concentration NPK ratio of 3-1-2. This ratio supports vegetative growth without causing salt buildup in the container. The Soil Cation Exchange Capacity (CEC) is crucial; a higher CEC allows the medium to hold onto positively charged ions like Calcium (Ca2+) and Magnesium (Mg2+). Use a heavy terracotta or glazed ceramic pot that is 2 to 4 inches wider in diameter than the current container. Ensure the vessel has at least one drainage hole with a diameter of 0.5 inches to facilitate rapid drainage.
Timing:
The biological clock of the Monstera is tied to light intensity and ambient temperature. In USDA Hardiness Zones 10 through 12, these plants can remain outdoors year-round. However, for most indoor cultivators, the optimal window for repotting is late spring or early summer. This period coincides with the plant's peak vegetative state when auxins are actively flowing from the apical meristem to the roots.
Avoid repotting during the winter dormancy period when the photoperiod is less than 10 hours. During this time, metabolic rates drop and the plant cannot quickly repair the microscopic root hairs damaged during the move. If the ambient temperature is consistently above 65 degrees Fahrenheit, the plant possesses the metabolic energy required for rapid root establishment. Monitor the plant for "sweating" or guttation at the leaf tips; this indicates high turgor pressure and a plant that is well-hydrated and ready for the stress of a transition.
Phases:
Sowing the Foundation
Before removing the plant, prepare the new container by placing a 2-inch layer of the custom substrate at the bottom. Do not use "drainage rocks" at the base; this creates a perched water table that can lead to root rot. Instead, ensure the substrate is uniform throughout. If the plant is tall, insert a sturdy moss pole or cedar plank now. Securing the support before adding the plant prevents accidental damage to the primary root mass later.
Pro-Tip: Integrating mycorrhizal fungi into the new soil increases the surface area of the root system. This symbiotic relationship enhances the uptake of phosphorus and water, significantly reducing the duration of transplant shock.
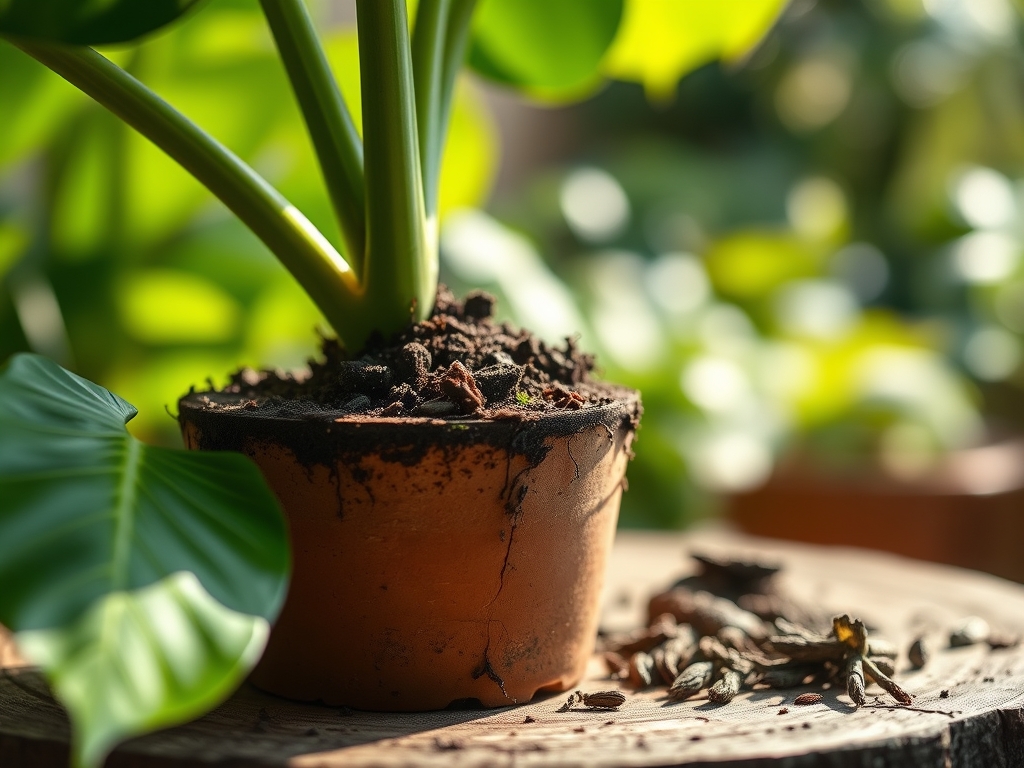
Transplanting the Mass
Lay the Monstera on its side on a clean tarp. Use a hori-hori knife to slide along the inner circumference of the old pot to break the suction. Gently slide the root ball out. Inspect the roots for any signs of senescence or decay. Healthy roots should be firm and white or tan. If the roots are tightly coiled, use your fingers to tease them outward. This mechanical stimulation encourages the roots to explore the new substrate rather than continuing to grow in a circle.
Pro-Tip: Pruning back up to 10 percent of the root mass can actually stimulate new growth. This works through auxin suppression; by removing the root tips, you signal the plant to produce new, more efficient lateral roots.
Establishing Stability
Place the plant in the center of the new pot, ensuring the depth remains consistent with its previous home. Burying the stem too deep can lead to stem rot, while planting too shallow can cause instability. Fill the gaps with your friable loam, tamping down lightly to remove large air pockets. Water the plant until the discharge from the drainage hole is clear. This initial "settling" water is critical for ensuring direct contact between the roots and the new soil particles.
Pro-Tip: Maintain high humidity (above 60 percent) for the first 14 days post-repot. This reduces the transpiration rate, allowing the plant to focus its energy on root regeneration rather than maintaining leaf turgor in dry air.
The Clinic:
Monitoring physiological disorders after repotting is vital for long-term health.
- Symptom: Yellowing of lower leaves (Nitrogen chlorosis).
- Solution: Check the soil pH. If the pH is above 7.0, nitrogen becomes locked. Lower the pH using an elemental sulfur soil acidifier or a diluted liquid fertilizer with a higher nitrogen count.
- Symptom: Drooping leaves despite wet soil (Root suffocation).
- Solution: The substrate is too dense. Use a soil moisture meter to verify the moisture levels at the core. If it remains "Wet" for more than 10 days, incorporate more perlite or orchid bark to increase macropores.
- Symptom: Brown, crispy leaf margins (Low humidity or salt burn).
- Solution: Flush the soil with distilled water to remove excess fertilizer salts. Increase ambient humidity using a humidifier or pebble tray.
Maintenance:
Post-repotting care requires a disciplined approach to irrigation. Provide approximately 1.5 inches of water per week during the growing season. Use a soil moisture meter to ensure the top 2 inches of soil have dried before re-watering. For maintenance of the aerial roots, tuck them into the new substrate or mist them daily to maintain hydration.
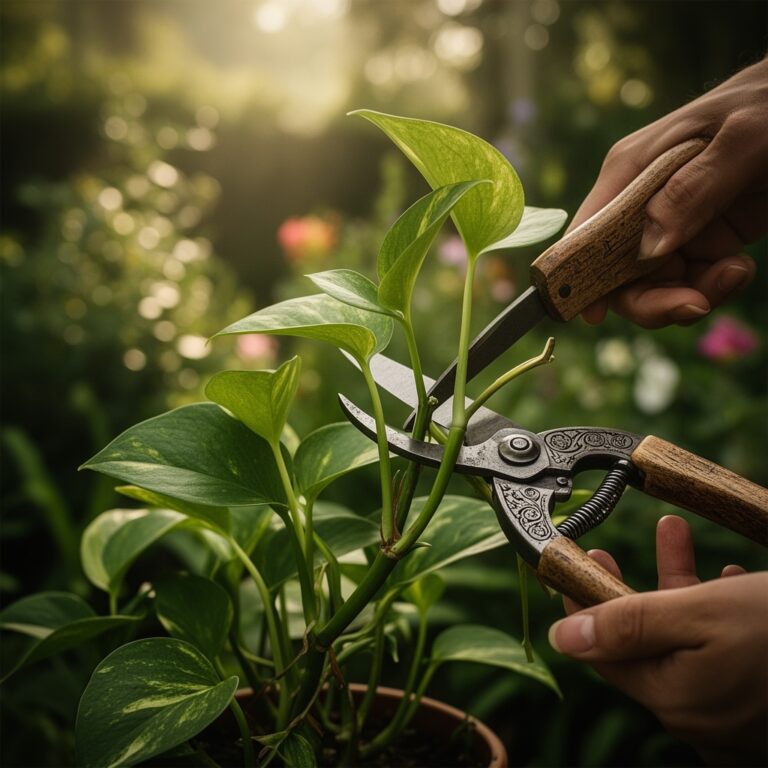
Use bypass pruners to remove any yellowing or damaged foliage at the base of the petiole. This directs the plant's resources to the new, emerging growth. Every six months, use a damp cloth to wipe the dust from the laminae (leaf surfaces). Dust blockades the stomata, reducing the efficiency of gas exchange and photosynthesis. If the plant becomes top-heavy, use soft garden ties to secure the main vine to the support pole, ensuring the ties are loose enough to allow for secondary thickening of the stem.
The Yield:
While Monstera deliciosa is primarily grown for foliage, a mature, well-nourished plant may produce the "Mexican Breadfruit." This fruit takes approximately 12 months to ripen. Harvest only when the hexagonal scales begin to lift and fall away naturally. Never consume the fruit if the scales are tight; the presence of calcium oxalate crystals can cause severe irritation. Once harvested, the fruit should be kept at room temperature and eaten as the scales drop, revealing the edible pulp beneath.
FAQ:
How do I know when to repot my Monstera?
Look for roots emerging from drainage holes or a significant slowdown in growth. If the plant requires water more than twice a week, the root-to-soil ratio is likely too high, necessitating a larger container.
Can I use regular potting soil for a Monstera?
Standard soil is often too dense. To ensure proper aeration, mix regular potting soil with equal parts orchid bark and perlite. This creates the necessary macropores for oxygen to reach the rhizosphere.
Should I fertilize immediately after repotting?
Wait at least four to six weeks before applying synthetic fertilizers. The new substrate often contains sufficient nutrients, and adding more can stress the recovering root system and cause chemical burns to new root hairs.
What is the best pot material for a large Monstera?
Terracotta is ideal because it is porous, allowing for gas exchange through the walls. For very large specimens, a heavy glazed ceramic pot provides the necessary counterweight to prevent the plant from tipping over.