8 Organization Steps for Installing a Clean Garden Path Edge
Damp earth releases a sharp, metallic scent of geosmin when the spade first breaks the surface. A healthy vegetable garden relies on high turgor pressure within plant cells; this internal water pressure keeps stems rigid and leaves expanded for maximum photosynthetic efficiency. Maintaining this cellular health requires precise spatial management to prevent soil compaction near the root zones. Mastering the steps for installing a vegetable garden path edging ensures that foot traffic remains confined to designated zones, protecting the delicate rhizosphere from compression. Without a structural barrier, loose organic matter migrates into walkways and nutrient-dense soil is lost to erosion. This guide provides the technical framework for establishing a permanent, professional-grade boundary that optimizes both drainage and accessibility.
Materials:
The substrate beneath your edging must be a **friable loam** with a granular structure that allows for rapid gas exchange. Ideal vegetable soil maintains a **pH between 6.0 and 7.0**, which maximizes the bioavailability of essential macronutrients. Before installation, verify your soil’s **Cation Exchange Capacity (CEC)**; a higher CEC indicates a greater ability to hold onto positively charged ions like Calcium and Magnesium.
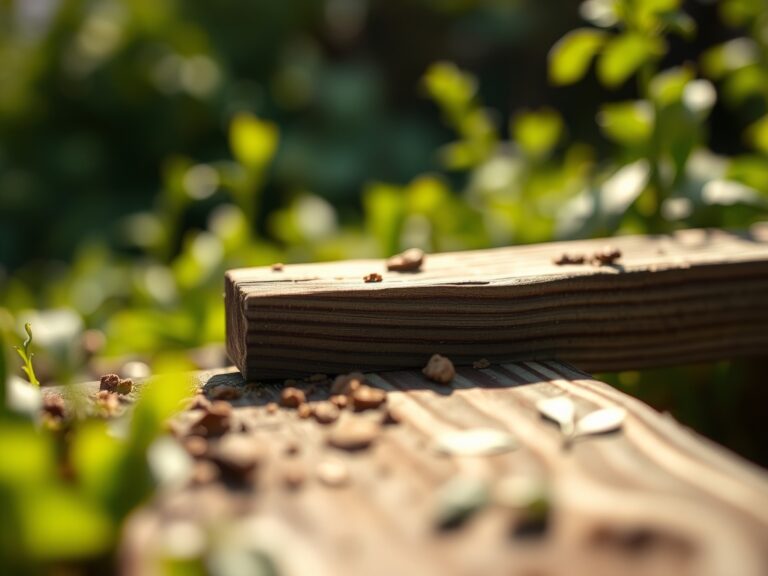
For the edging itself, utilize heavy-gauge steel, cedar heartwood, or recycled composite. Avoid chemically treated lumber that may leach arsenic or copper into the edible root zone. If you are amending the soil adjacent to the edge, target an NPK ratio of 5-10-10 for root crops or 10-10-10 for leafy greens. The goal is to create a transition zone where the soil remains loose and aerated, preventing the "bathtub effect" where water pools against the edging material.
Timing:
Installation should occur during the dormant season or early spring when soil moisture is at 25 to 50 percent of field capacity. Working in Hardiness Zones 4 through 7, the ideal window is three weeks before the average last frost date. In warmer Zones 8 through 10, late autumn installation prevents heat exhaustion of the gardener and minimizes stress on perennial border plants.
Understanding the biological clock of your garden is vital. You must complete the installation before your primary crops transition from the vegetative stage to the reproductive stage. Once a plant shifts its energy toward flowering and fruit production, any root disturbance caused by digging trenches for edging can trigger premature senescence or flower drop. Aim for a soil temperature of at least 45 degrees Fahrenheit to ensure the ground is workable without destroying the soil's peds (natural aggregates).
Phases:

Sowing the Layout
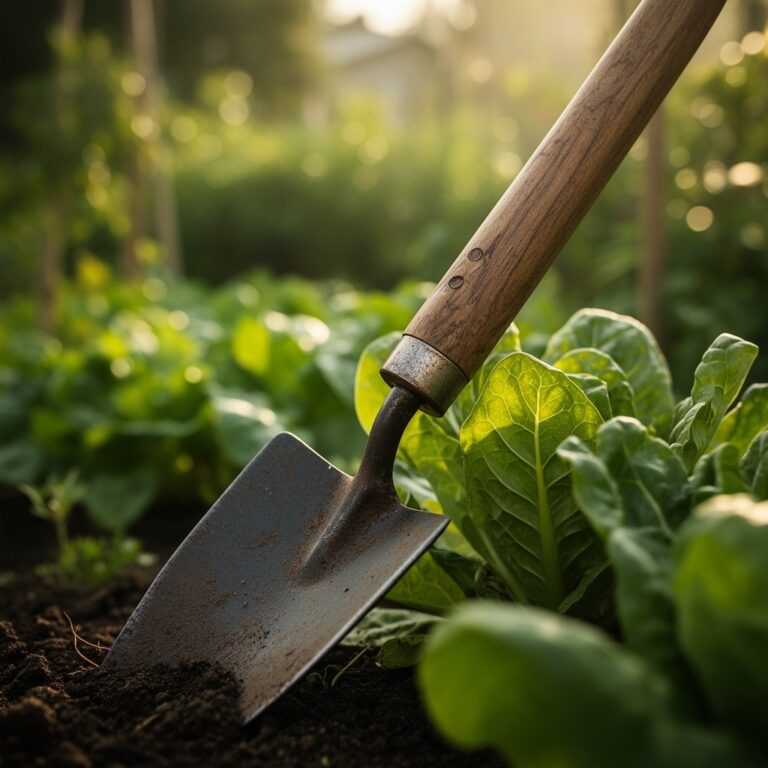
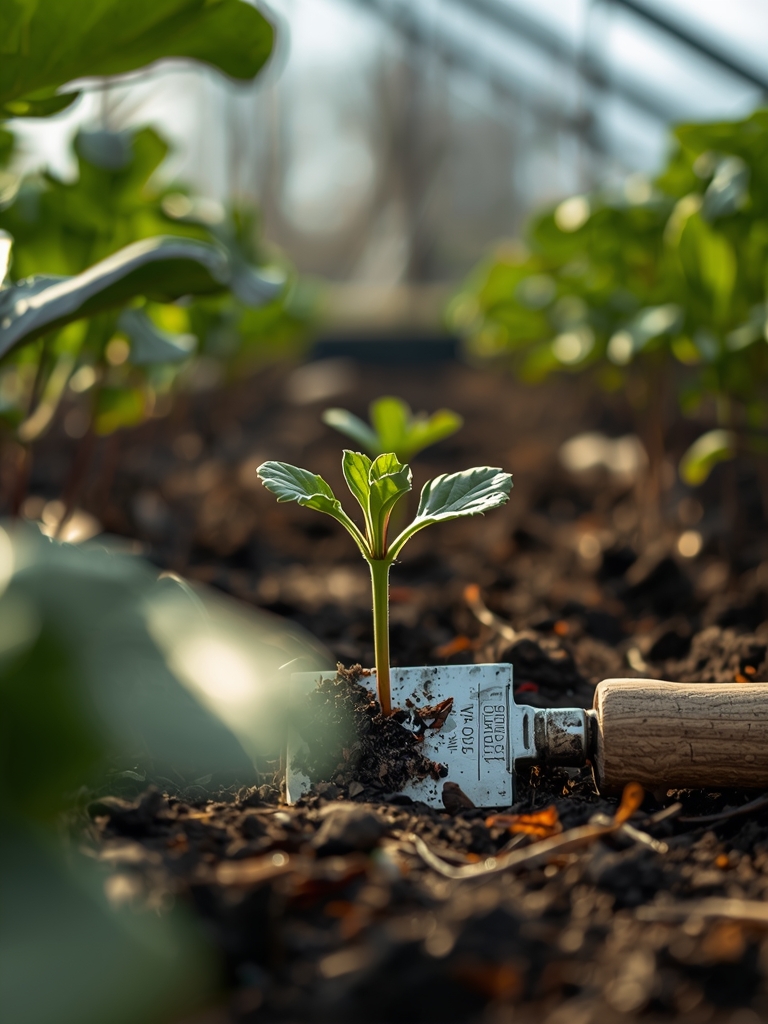
Begin by marking the perimeter with mason line and stakes. Use a square-point spade to cut a vertical line 6 inches deep into the turf or soil. This initial cut severs the stolons and rhizomes of invasive grasses, preventing them from encroaching into the vegetable beds. Ensure the path width is at least 24 to 36 inches to accommodate equipment.
Pro-Tip: Maintaining a clean vertical cut utilizes auxin suppression. By physically severing lateral roots and runners, you disrupt the hormonal flow that encourages outward expansion, forcing the plant to focus energy on internal root density rather than horizontal invasion.
Transplanting and Leveling
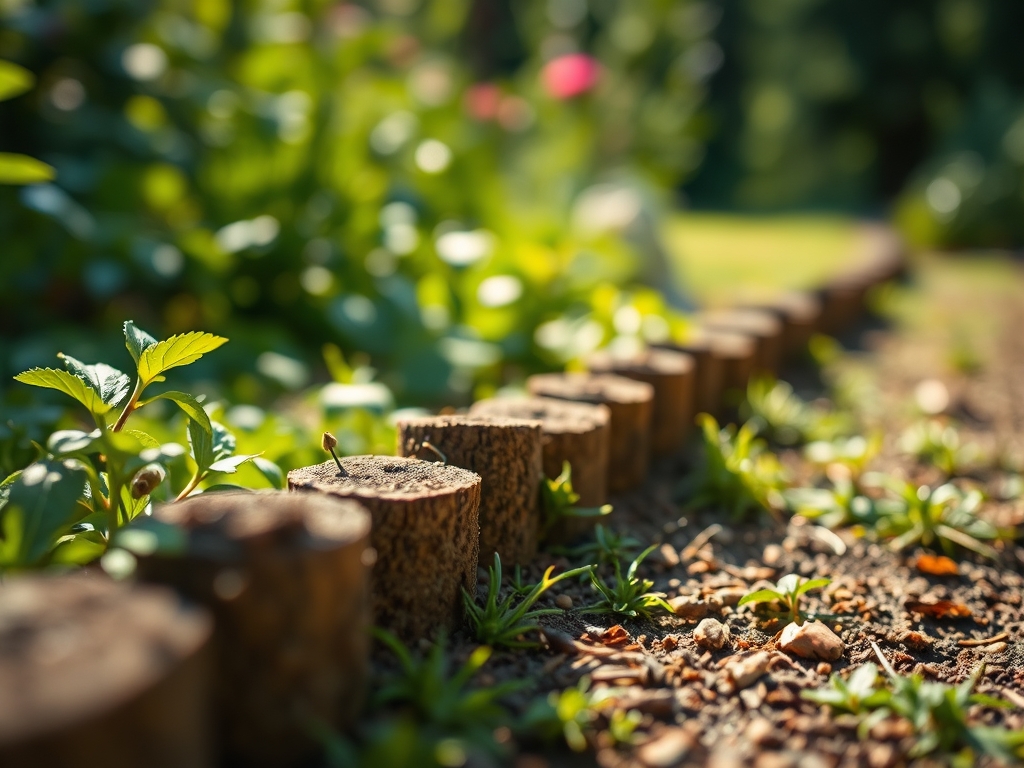
Excavate a trench to the specific depth of your chosen material. For steel edging, leave 2 inches of the flange above the soil line to act as a weed barrier. For timber, ensure the base sits on a 1-inch layer of crushed fines or coarse sand to facilitate drainage and prevent fungal rot at the wood-soil interface.
Pro-Tip: Proper leveling prevents localized anaerobic conditions. If water pools against the edge, it displaces oxygen in the soil pores, leading to root hypoxia and the death of beneficial aerobic microbes.
Establishing the Boundary
Backfill the exterior of the edging with path material such as wood chips or decomposed granite. Tamp the material down to a density that resists compression. On the interior vegetable side, mulch with organic straw or shredded leaves to maintain moisture consistency.
Pro-Tip: Use this phase to introduce mycorrhizal symbiosis. Dusting the interior edge of the trench with endomycorrhizal fungi spores establishes a fungal network that extends the reach of your vegetables' root systems, improving phosphorus uptake by up to 300 percent.
The Clinic:
Physiological disorders often manifest near the edges of garden beds where environmental stress is highest.
- Symptom: Interveinal Chlorosis. The leaves turn yellow while veins remain green.
Solution: This typically indicates a Manganese or Iron deficiency caused by localized high pH from concrete edging or gravel dust. Apply a chelated micronutrient spray. - Symptom: Blossom End Rot. Dark, leathery spots on the bottom of tomatoes.
Solution: This is a Calcium transport issue. Ensure consistent soil moisture (neither bone dry nor saturated) to allow the plant to move Calcium through the xylem. - Symptom: Anthocyanin Accumulation. Leaves turn a distinct purple hue.
Solution: This is often a Phosphorus deficiency caused by cold soil temperatures (below 55 degrees Fahrenheit) which inhibits uptake. Mulch the edges to increase soil warmth.
Fix-It for Nitrogen Chlorosis: If plants near the edge appear pale green or stunted, they lack Nitrogen. Apply a high-Nitrogen organic fertilizer (NPK 12-0-0) like blood meal to restore chlorophyll production.
Maintenance:
Precision is the hallmark of a professional garden. Use a soil moisture meter daily to ensure the root zone maintains a consistent tension. Most vegetables require exactly 1.5 inches of water per week delivered at the drip line; avoid overhead irrigation which increases the risk of foliar pathogens.
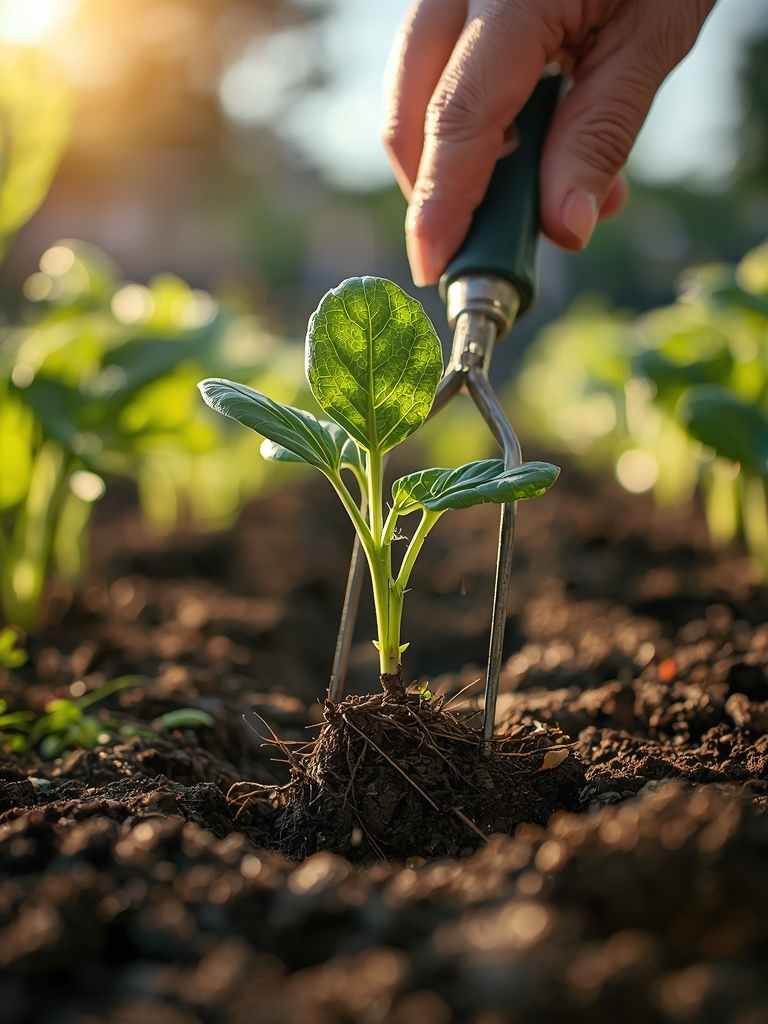
Inspect the edging monthly for "heaving" caused by freeze-thaw cycles. Use a hori-hori knife to slice away any "volunteers" or weeds that attempt to bridge the gap between the path and the bed. Keep your bypass pruners sharpened to make clean, surgical cuts on any overhanging foliage; ragged tears invite bacterial infection. Every three years, check the soil compaction levels in the path; if the surface has become impermeable, core aerate the walkway to maintain lateral drainage.
The Yield:
Harvesting is the culmination of structural discipline. For leafy greens, harvest in the pre-dawn hours when turgor pressure is at its peak; this ensures the leaves are crisp and full of moisture. Use a sharp blade to cut "cut-and-come-again" crops 1 inch above the crown to avoid damaging the apical meristem.
For root vegetables grown against the edging, use a garden fork to loosen the soil at a 45-degree angle before lifting. This prevents mechanical damage to the taproot. Post-harvest, immediately move produce to a shaded, cool environment to slow the rate of respiration and transpiration. Rapid cooling preserves the sugars and vitamins, ensuring day-one freshness and a longer shelf life.
FAQ:
What is the best material for vegetable garden edging?
Cedar heartwood or heavy-gauge steel are superior. Cedar offers natural rot resistance without toxic chemicals; steel provides a slim profile that occupies minimal space while effectively blocking invasive rhizomes and stolons from entering the growing zone.
How deep should I dig the edging trench?
Dig the trench 6 to 8 inches deep. This depth is sufficient to sever most grass roots and provides enough structural stability to prevent the edging from shifting during winter frost heaves or heavy spring rains.
Can I use pressure-treated wood for vegetable paths?
Avoid older pressure-treated lumber containing Chromated Copper Arsenate (CCA). While modern ACQ-treated wood is safer, it is still preferable to use naturally rot-resistant woods or food-grade composites to eliminate any risk of chemical leaching into the rhizosphere.
How do I prevent weeds from growing under the edging?
Install a vertical barrier of heavy-duty landscape fabric or a 2-inch layer of compacted crushed stone at the base of the trench. This creates a physical and light-deprived environment that prevents weed seeds from germinating beneath the structure.