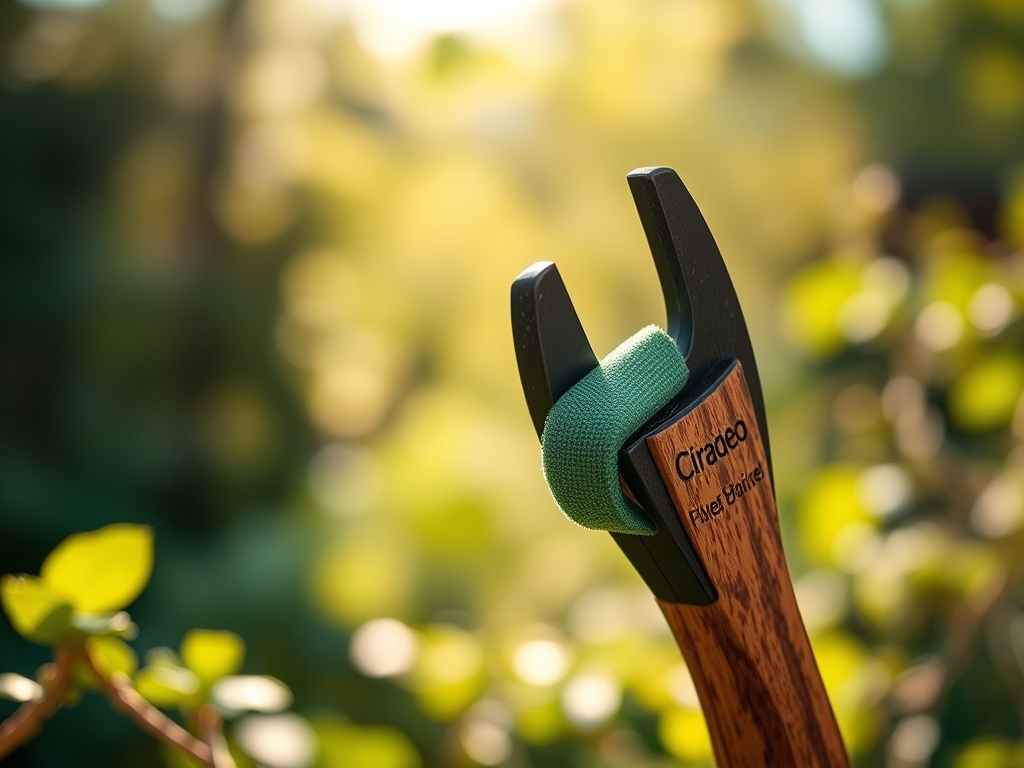
7 Steps to Apply High-Grip Tape to Tool Handles
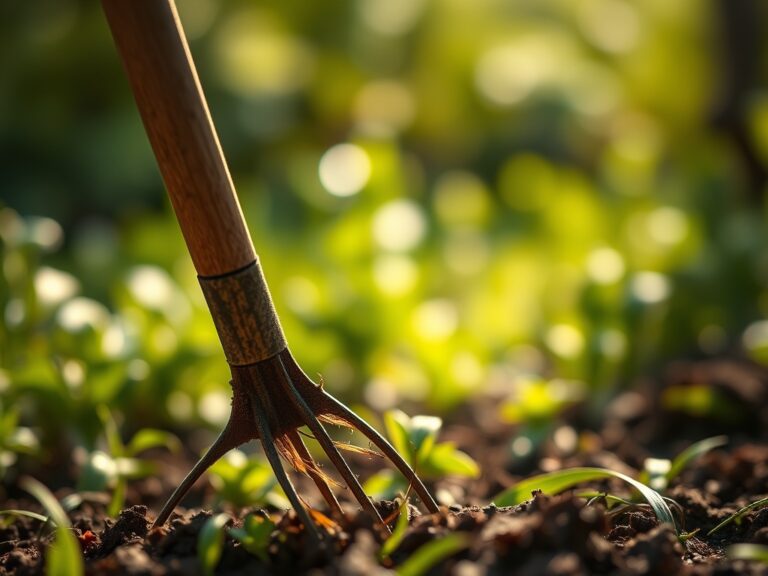
The smell of damp earth and the high turgor pressure of a well-hydrated leaf signify a productive garden; however, manual labor requires mechanical efficiency. Friction is the enemy of the horticulturalist. When calluses tear or tool handles slip due to perspiration, the precision of a pruning cut suffers. Mastering the steps for applying grip tape to tool handles ensures that your physical energy transfers directly to the soil rather than being lost to grip instability. A secure interface between the palm and the wood or fiberglass handle reduces musculoskeletal strain during repetitive tasks like deep-trenching or heavy-duty weeding. By applying high-friction polymer or rubberized tape, you create a tactile surface that maintains its integrity even when coated in silty clay or organic compost. This modification is not merely about comfort; it is a technical upgrade to your primary equipment that allows for greater leverage and safety during high-torque maneuvers. Proper application requires a clean substrate and specific overlapping techniques to prevent the adhesive from failing under the pressure of daily field use.
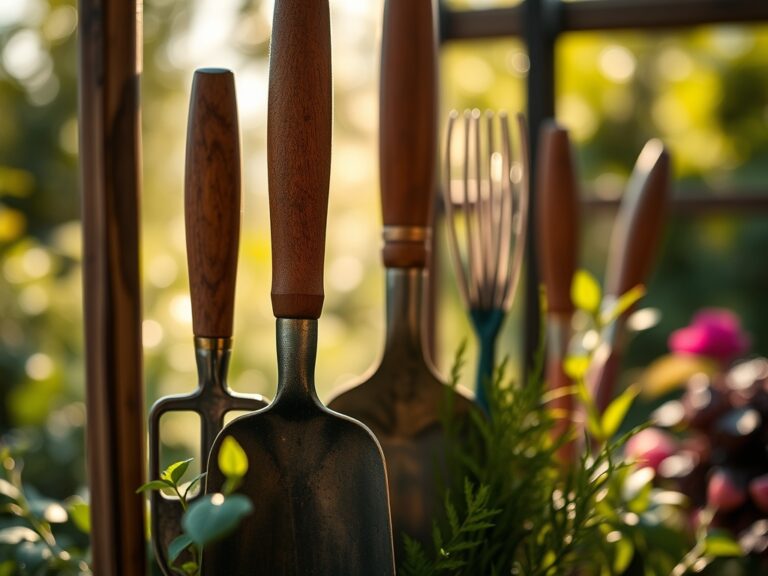
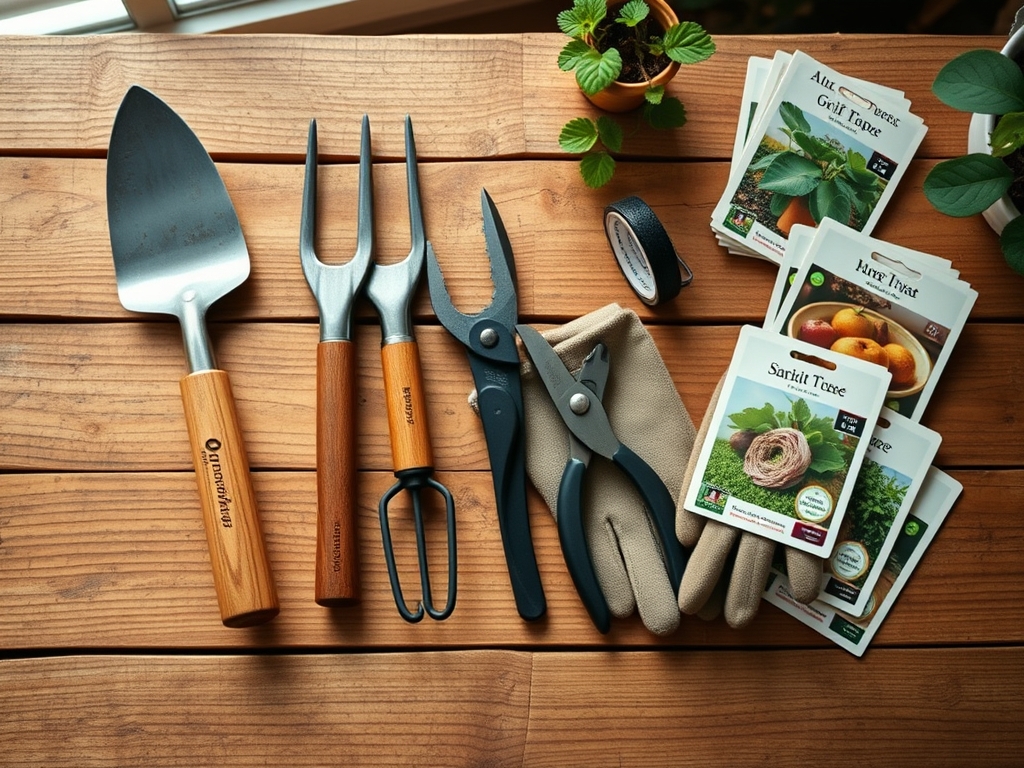
Materials:
Before modifying your tools, ensure your workspace is prepared like a seedbed. The ideal substrate for tool maintenance is a **friable loam** environment; clean, dry, and free of airborne particulates. While the tape itself is synthetic, your hands must be free of fertilizers, specifically those with a high **Nitrogen-Phosphorus-Potassium (NPK) ratio of 10-10-10**, which can degrade adhesives. If you have been working in soil with a **pH of 6.5**, wash your hands to remove acidic residues. You will need high-grip silicone or rubberized tape, a solvent like isopropyl alcohol, and a sharp **hori-hori knife** for precision trimming. Ensure the tool handle is stripped of old oils; a high **Cation Exchange Capacity (CEC)** in the surrounding soil means your tools often attract and hold onto mineral ions that can interfere with tape bonding.
Timing:
The timing for tool maintenance should align with your regional Hardiness Zone requirements. In Zones 5 through 7, the window between the first hard frost and the spring thaw is the optimal "Biological Clock" for equipment overhaul. During the vegetative stage of your garden, you cannot afford tool downtime. Perform these steps during the senescence of your perennial crops, typically when the photoperiod drops below 12 hours of light. Applying tape in temperatures between 60 and 75 degrees Fahrenheit ensures the adhesive reaches its maximum bonding potential before the tool is subjected to the thermal expansion and contraction of outdoor use.
Phases:

### Sowing the Base
The first of the steps for applying grip tape to tool handles is the preparation of the surface. Use a degreaser to remove all organic matter and residual oils. The handle must be as sterile as a germination tray. Sand wooden handles lightly with **120-grit sandpaper** to create a mechanical “tooth” for the adhesive.
Pro-Tip: This process mimics the way root hairs increase surface area for mycorrhizal symbiosis. By roughening the handle, you increase the surface area available for the adhesive molecules to bond, creating a stronger physical attachment.
Transplanting the Tape
Start the wrap at the base of the handle, moving toward the tool head. Maintain constant tension to prevent air pockets. Each rotation should overlap the previous one by exactly 50 percent. This creates a double-layered barrier that resists the sheer forces of digging.
Pro-Tip: Consistent tension prevents the "sliding" effect caused by auxin suppression in plant stems; just as a plant needs internal pressure to stand, the tape needs tension to maintain its structural integrity against your palm.
Establishing the Seal
Once you reach the desired height, typically 6 to 10 inches from the base, use a finishing tape or a heat-shrink sleeve to secure the end. Cut the tape at a 45-degree angle with your bypass pruners or a utility knife to ensure a flush fit that won't peel back during use.
Pro-Tip: Finishing the wrap at the top prevents moisture from seeping into the layers. In botany, this is similar to the waxy cuticle on a leaf, which prevents desiccation and protects the internal cells from environmental pathogens.
The Clinic:
If your tool handle modification fails, it is often due to a physiological disorder in the application process.
- Symptom: Tape unraveling at the edges.
- Solution: Insufficient overlap. Re-apply with a 50 percent overlap and ensure the terminal end is secured with electrical tape or a zip tie.
- Symptom: Adhesive "bleeding" or becoming sticky.
- Solution: Chemical reaction to petroleum-based lubricants. Clean the handle with a citrus-based solvent and switch to a silicone-based self-fusing tape.
- Symptom: Tape shifting under heavy load.
- Solution: Poor surface preparation. The handle likely had residual Nitrogen chlorosis dust or oils. Sand the handle to bare wood or metal before re-application.
Fix-It: For tools showing "Nitrogen chlorosis" (yellowing or brittle wood), treat the handle with a light coat of linseed oil, allow it to cure for 48 hours, then degrease the specific area where the tape will be applied.
Maintenance:
A modified tool handle requires specific care to extend its lifespan. Check the tape integrity every 30 days. If you notice a loss of friction, wash the grip with mild soap and water to remove accumulated skin cells and soil minerals. Avoid leaving tools in direct sunlight, as UV radiation accelerates the degradation of synthetic polymers. When not in use, store tools in a dry shed with a stable humidity level. Use a soil moisture meter to check the dampness of your storage area; humidity above 70 percent can cause wooden handles to swell, potentially popping the tape seams. If the grip becomes compromised, use your hori-hori knife to slice the tape lengthwise and peel it away for a fresh application.
The Yield:
The "yield" of a properly taped tool is measured in reduced fatigue and increased caloric efficiency. In a productive orchard, you may be making upwards of 500 cuts per hour. A high-grip handle ensures that each squeeze of the bypass pruners is maximized. Post-harvest, clean your tools with a 10 percent bleach solution to prevent the spread of soil-borne pathogens like Fusarium or Phytophthora. Dry the grips immediately to maintain the adhesive bond. A well-maintained grip should last one full growing season, or approximately 200 hours of active field use, before requiring replacement.
FAQ:
What is the best tape for wooden handles?
Self-fusing silicone tape is superior. It bonds to itself rather than the wood; this prevents adhesive residue from damaging the grain. It maintains a high friction coefficient even when saturated with water or organic fluids during heavy garden tasks.
How do I prevent the tape from peeling?
Ensure the handle is completely de-greased using isopropyl alcohol. Overlap each wrap by 50 percent and finish the edge with a high-quality electrical tape or a heat-shrink tube to create a permanent, water-tight mechanical seal at the termination point.
Can I apply grip tape to fiberglass handles?
Yes. Fiberglass handles are non-porous and provide an excellent substrate. Lightly scuff the surface with 220-grit sandpaper to remove the factory gloss; this improves the mechanical bond between the fiberglass and the tape adhesive significantly.
Does grip tape harbor garden pathogens?
Porous tapes can trap bacteria. Use non-porous, rubberized, or silicone tapes that can be disinfected. Wipe the grips down with a 70 percent isopropyl alcohol solution after working in areas with known fungal infections to prevent cross-contamination between beds.