9 Benefits of Using a Nursery Tray for Indoor Seed Starting
The first true leaves push through damp seed-starting mix on a Tuesday morning, and the entire trajectory of your summer harvest tilts toward success or failure based on those initial eight weeks. Using a nursery tray for indoor seed starting transforms scattered improvisation into a replicable system that leverages capillary action, root architecture control, and microclimate regulation in ways that random containers cannot match.
Materials
Standard 1020 nursery trays measure 10 by 20 inches with a depth of 2.25 inches. Insert trays divide this footprint into 32, 50, 72, or 128 cells depending on seedling size requirements. Tomatoes and peppers thrive in 32-cell configurations. Lettuce and brassicas perform well in 72-cell units.
Seed-starting mix should maintain a pH between 5.5 and 6.5. A balanced formulation combines 60 percent peat moss or coco coir, 30 percent perlite, and 10 percent vermiculite. This ratio ensures cation exchange capacity above 20 meq/100g while providing adequate drainage. Add a 4-4-4 organic seed-starting meal at 1 tablespoon per gallon of dry mix. This NPK ratio supplies nitrogen for chlorophyll synthesis without triggering excessive auxin-driven stem elongation.
Heat mats with thermostatic control hold root-zone temperature at 75°F for solanaceous crops and 65°F for brassicas. Full-spectrum LED grow lights should deliver 200 to 400 micromoles per square meter per second at canopy level. Humidity domes fit standard 1020 trays and maintain relative humidity between 70 and 80 percent until germination completes.
Timing
Using a nursery tray for indoor seed starting requires coordination with USDA hardiness zones and last-frost dates. Zone 5 gardeners begin tomatoes eight weeks before the last frost date, typically mid-March for a mid-May transplant window. Zone 7 schedules shift to late February. Zone 9 rarely requires indoor starting except for long-season varieties.
Brassicas tolerate light frost. Start cabbage and kale six weeks before the last frost. Cucurbits resent root disturbance. Sow cucumbers and squash only three weeks ahead to minimize transplant shock. Perennials like echinacea and lavender require 10 to 12 weeks and benefit from cold stratification before tray sowing.
Count backward from your target transplant date. Add one week for germination, six weeks for vegetative growth, and one week for hardening off. This calculation applies to most annual vegetables and herbs.
Phases
Sowing
Fill each cell to within 0.25 inches of the rim. Press mix gently with a flat tool to eliminate air pockets. Plant two seeds per cell at a depth equal to twice the seed diameter. Tomato seeds rest 0.25 inches deep. Lettuce seeds require light for germination and stay on the surface with a dusting of vermiculite.
Mist the surface with room-temperature water until moisture reaches the tray bottom. Place the humidity dome over the tray and position it on a heat mat. Check daily for condensation. Remove the dome immediately when 50 percent of seeds show cotyledons.
Pro-Tip: Inoculate the seed-starting mix with Trichoderma harzianum at 1 gram per gallon before sowing. This mycorrhizal fungi colonizes root hairs and suppresses Pythium damping-off.
Transplanting
Transplant when seedlings develop two sets of true leaves and roots appear at drainage holes. Water trays one hour before separation to reduce root breakage. Slide a thin tool along cell walls to release root plugs intact.
Dig transplant holes in garden beds or larger containers to match root plug depth. Position seedlings at the same depth they occupied in the tray except for tomatoes, which tolerate burial up to the first true leaves. This practice encourages adventitious root formation along buried stems.
Backfill with native soil amended with 2 inches of compost. Press firmly to eliminate air gaps around roots. Water immediately with 0.5 gallons per plant to settle soil.
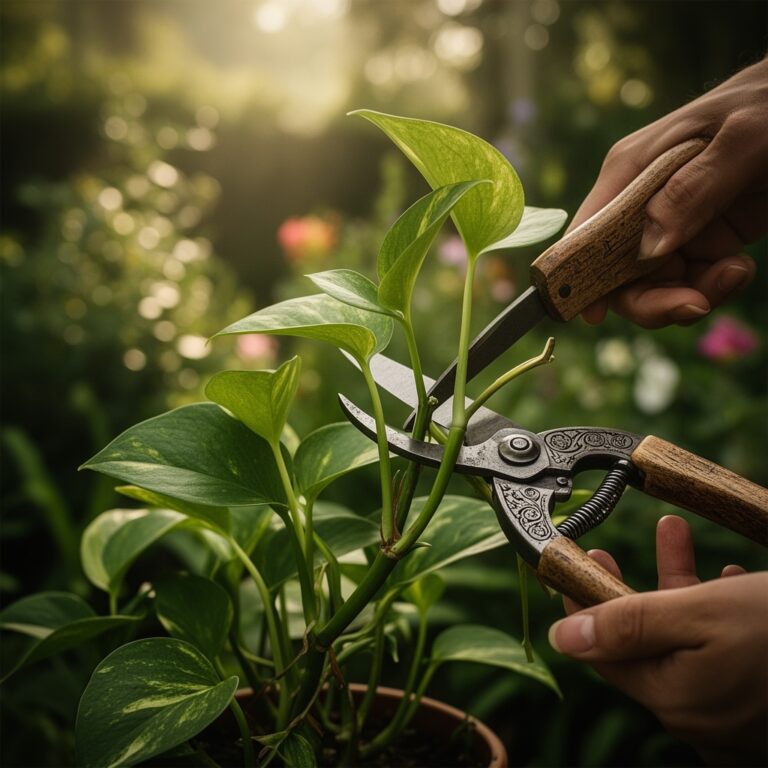
Pro-Tip: Trim outer root spirals with sterile scissors at a 45-degree angle before transplanting. This pruning stimulates lateral root branching and prevents girdling.
Establishing
Monitor transplants for wilting during the first 72 hours. Shade plants from direct afternoon sun using 30 percent shade cloth. Reduce shading incrementally over seven days as stomatal conductance adjusts.
Apply a starter fertilizer solution at 5-10-5 NPK ratio diluted to half strength. Deliver 0.25 gallons per plant at the base to encourage downward root exploration. Repeat every seven days for three weeks.
Mycorrhizal fungi establish symbiotic relationships within 14 days when soil temperature exceeds 60°F. These fungi extend effective root surface area by 100 to 1000 times, improving phosphorus uptake.
Pro-Tip: Measure soil temperature at 4-inch depth using a digital thermometer. Delay transplanting if readings fall below 55°F for warm-season crops.
Troubleshooting
Symptom: Seedlings stretch with thin stems and pale leaves.
Solution: Increase light intensity to 400 micromoles per square meter per second. Lower ambient temperature to 65°F to reduce respiration rates relative to photosynthesis.
Symptom: White fungal webbing appears at soil surface.
Solution: Pythium and Rhizoctonia thrive in saturated conditions. Reduce watering frequency. Apply Bacillus subtilis biological fungicide at label rates.
Symptom: Leaf margins turn brown and crisp.
Solution: Salt accumulation from excessive fertilization raises substrate EC above 2.0 mS/cm. Flush cells with distilled water at three times the container volume. Resume fertilization at quarter strength.
Symptom: Seedlings collapse at soil line overnight.
Solution: Damping-off caused by Fusarium or Pythium. Remove affected seedlings immediately. Improve air circulation with a small fan set to low speed. Apply hydrogen peroxide solution at 1 tablespoon per quart of water.
Symptom: Cotyledons yellow while true leaves remain green.
Solution: Normal senescence as stored seed energy depletes. Begin fertilization with 5-10-5 NPK at half strength if true leaves have fully expanded.
Maintenance
Water when the top 0.5 inches of seed-starting mix dries to the touch. Bottom watering prevents damping-off by keeping foliage dry. Pour 0.5 inches of water into the 1020 tray base. Allow cells to wick moisture for 20 minutes, then drain excess.
Maintain air temperature between 65 and 70°F during the day and 60°F at night. Temperature differential encourages compact growth and robust root systems. Position grow lights 3 inches above seedling canopy. Raise fixtures as plants grow to maintain this distance.
Apply liquid kelp fertilizer at 0-0-1 NPK ratio once after true leaves appear. Kelp provides cytokinins that promote cell division and lateral branching. Dilute to half the manufacturer's recommendation.
Rotate trays 180 degrees every three days to ensure even light exposure. Seedlings near tray edges receive more light than central cells due to fixture geometry.
FAQ
When should I remove humidity domes?
Remove domes when 50 percent of seeds germinate. Cotyledons require air exchange to prevent fungal growth. Gradual acclimation over 24 hours reduces transplant shock.
Can I reuse seed-starting mix?
Sterilize used mix by baking at 180°F for 30 minutes to eliminate pathogens. Refresh with 10 percent new perlite and 1 tablespoon of 4-4-4 organic meal per gallon before reuse.
How long can seedlings stay in trays?
Maximum four weeks after true leaves appear. Root-bound conditions trigger stress hormones that reduce transplant success rates by 40 percent.
Do all seeds need light to germinate?
Lettuce, celery, and petunia require light. Tomatoes, peppers, and cucumbers germinate in darkness. Consult seed packets for phytochrome requirements.
What causes purple leaf undersides in tomato seedlings?
Phosphorus deficiency induced by low soil temperature. Maintain root zone above 65°F. Cold substrate inhibits phosphorus uptake even when nutrient levels are adequate.