6 Successful Steps to Take Stem Cuttings from Pothos
Pothos stem cuttings root in water within seven to fourteen days when nodes remain submerged and leaf tissue stays dry. The process relies on adventitious root formation triggered by auxin distribution at nodal tissue. Following precise steps for taking stem cuttings from pothos ensures propagation success rates above ninety percent across most cultivars, including Epipremnum aureum 'Marble Queen' and 'Neon'.
Propagation from stem cuttings preserves genetic traits while expanding your collection. Each cutting represents a clone of the parent plant, maintaining exact variegation patterns and growth habits. The technique requires minimal equipment yet demands attention to node selection and sanitation protocols.
Materials
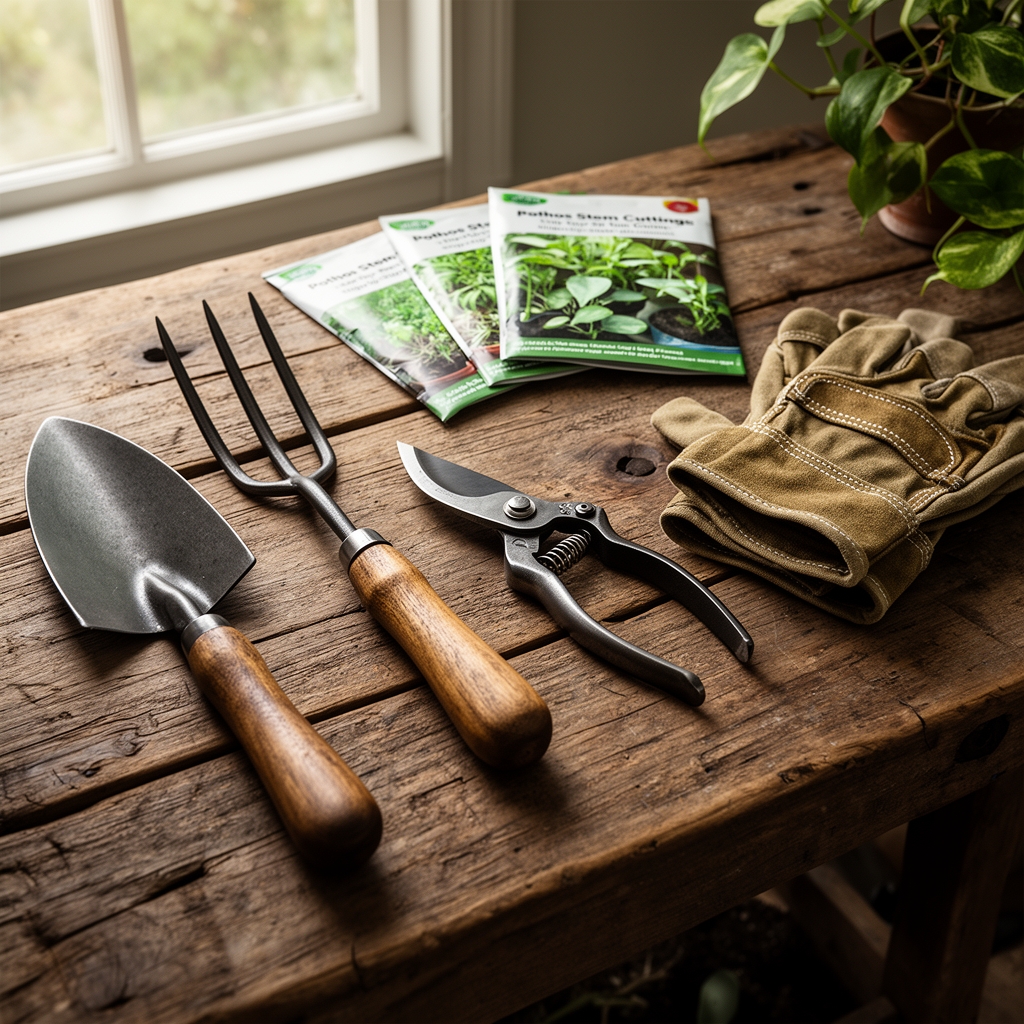
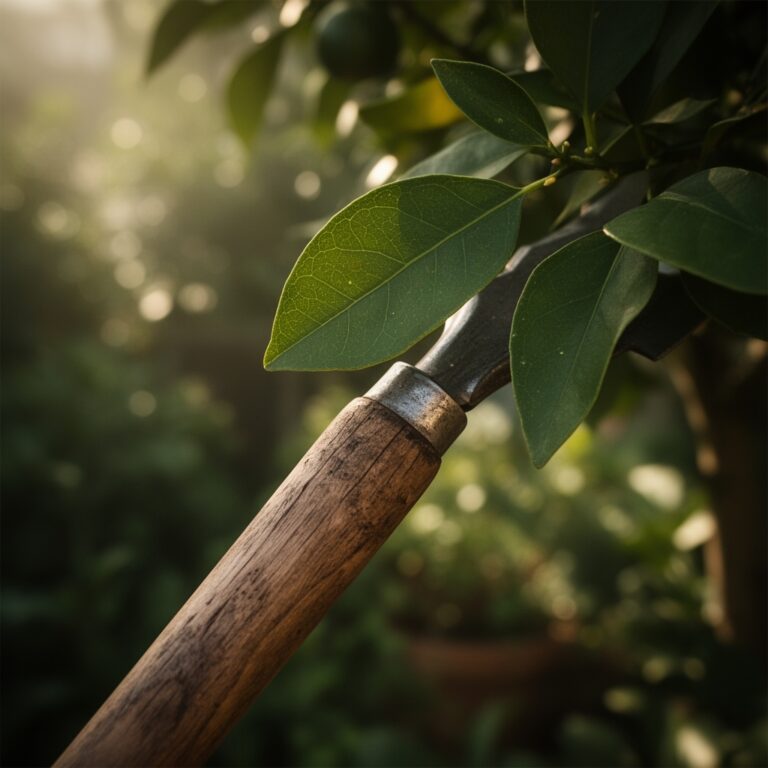
Assemble sterilized pruning shears or a razor blade. Carbon steel blades require isopropyl alcohol (70% concentration minimum) applied for thirty seconds before cutting. Glass vessels or jars permit root observation while preventing algae buildup common to translucent plastic containers.
Rooting hormone powder containing 0.1% indole-3-butyric acid (IBA) accelerates root emergence but remains optional for pothos. If transplanting to soil immediately, prepare a substrate blend of 40% peat moss, 30% perlite, and 30% pine bark fines. This mix maintains pH 5.5 to 6.5 with adequate cation exchange capacity for nutrient retention.
A balanced fertilizer rated 4-4-4 or 5-5-5 supports cuttings post-rooting. Organic options include blood meal, bone meal, and kelp in equal ratios. Synthetic alternatives should provide micronutrients including iron, manganese, and zinc chelates.
Timing
Execute pothos cuttings year-round in USDA Hardiness Zones 10 through 12 where outdoor temperatures remain above 55°F. Indoor propagation ignores seasonal constraints but benefits from spring timing when increasing photoperiods stimulate auxin production.
In zones 3 through 9, take cuttings between March and August. Avoid propagation during dormancy periods when metabolic activity slows and rooting hormone receptivity declines. Indoor environments with supplemental lighting extend this window through October.
Temperature stability matters more than calendar dates. Maintain ambient conditions between 68°F and 78°F throughout the rooting phase. Fluctuations below 60°F inhibit callus formation at cut sites, inviting fungal colonization.
Phases
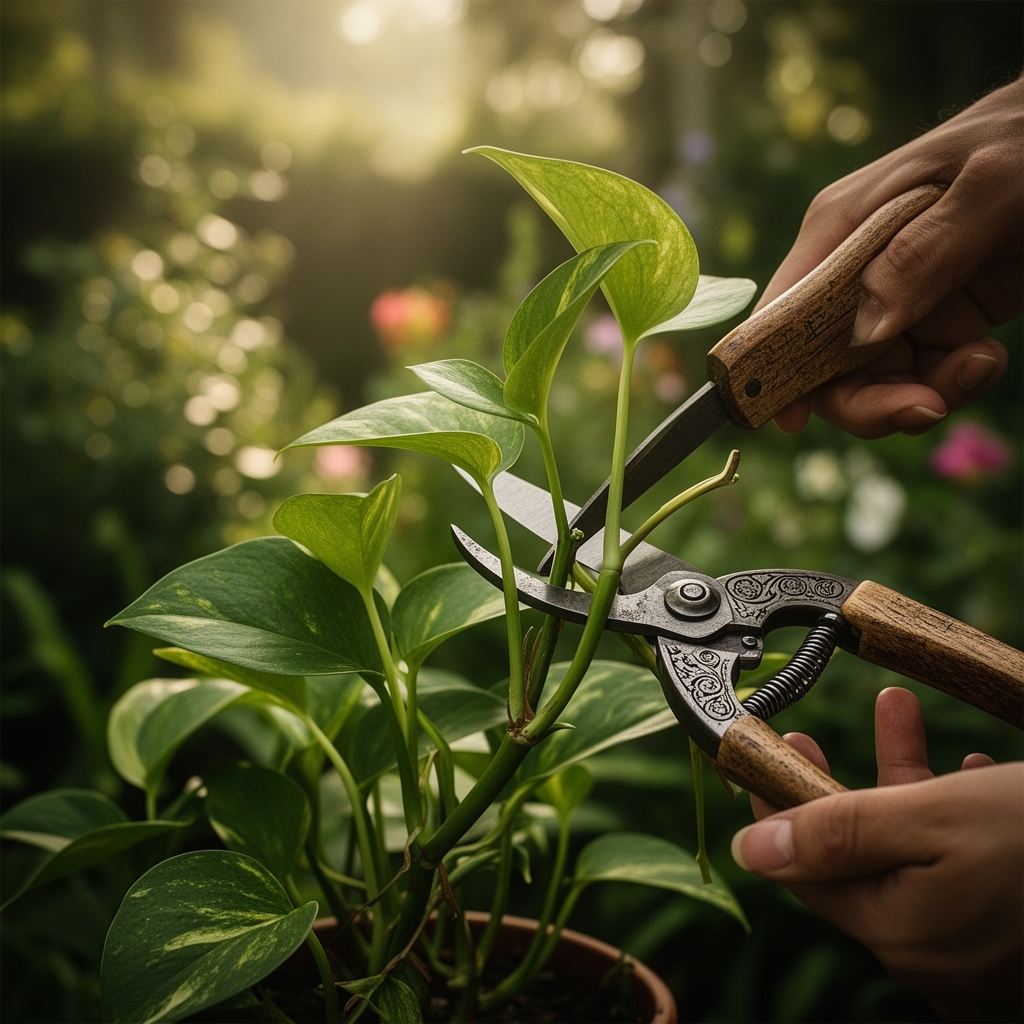
Selection and Cutting
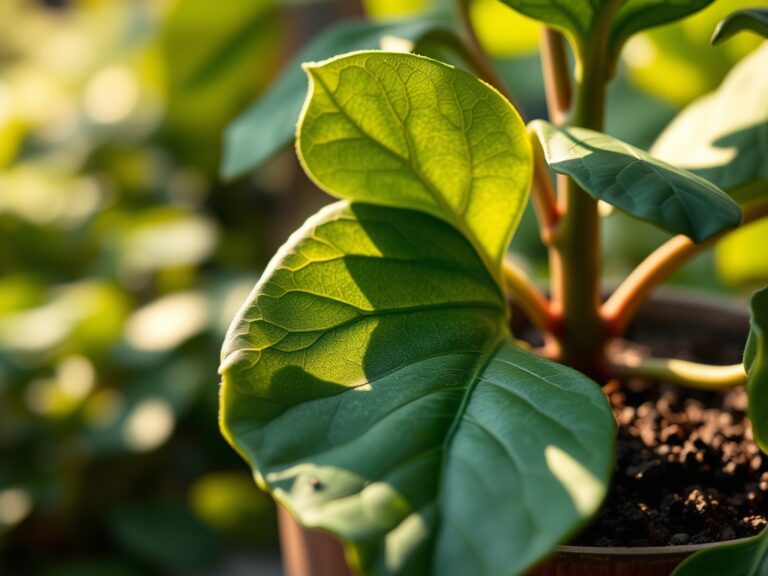
Identify stems with at least four mature leaves and visible aerial roots. Cut 0.25 inches below a node using a 45-degree angle to maximize surface area for water uptake. Each cutting should measure six to eight inches in total length.
Remove the lowest one to two leaves, leaving nodes bare. These submerged nodes generate adventitious roots within the first week. Retain upper leaves to continue photosynthesis, but trim damaged or yellowing foliage to redirect energy toward root development.
Pro-Tip: Harvest cuttings in morning hours when turgor pressure peaks. Stems contain maximum moisture content before midday transpiration stress.
Rooting Initiation
Place cuttings in room-temperature water, submerging at least two nodes while keeping leaf blades elevated. Change water every three days to prevent bacterial buildup and maintain dissolved oxygen levels. Cloudy water indicates microbial growth requiring immediate replacement.
Position vessels in bright, indirect light measuring 200 to 400 foot-candles. Direct sun exposure raises water temperature above 80°F, creating anaerobic conditions that suffocate developing root primordia. North or east-facing windows provide ideal illumination in northern hemisphere locations.
Pro-Tip: Add 0.5 teaspoon of mycorrhizal fungi inoculant per quart of water. Fungal hyphae colonize emerging roots, improving nutrient absorption capacity by 40% once transplanted to soil.
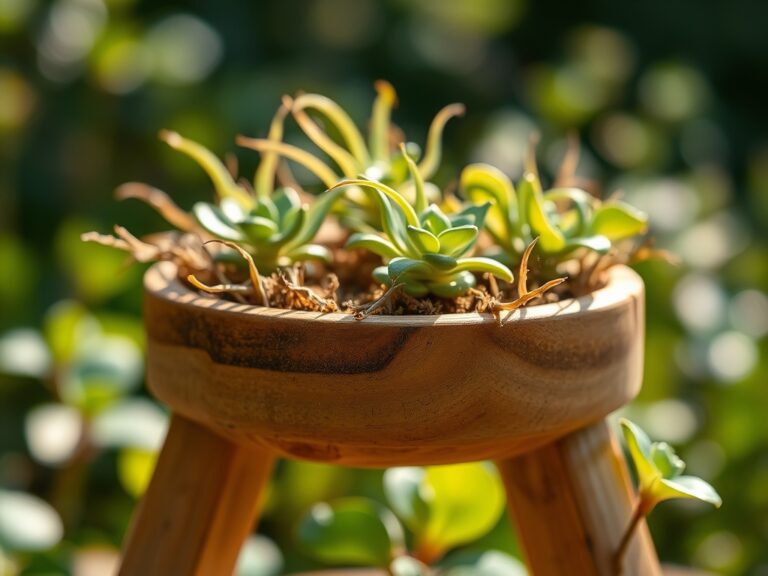
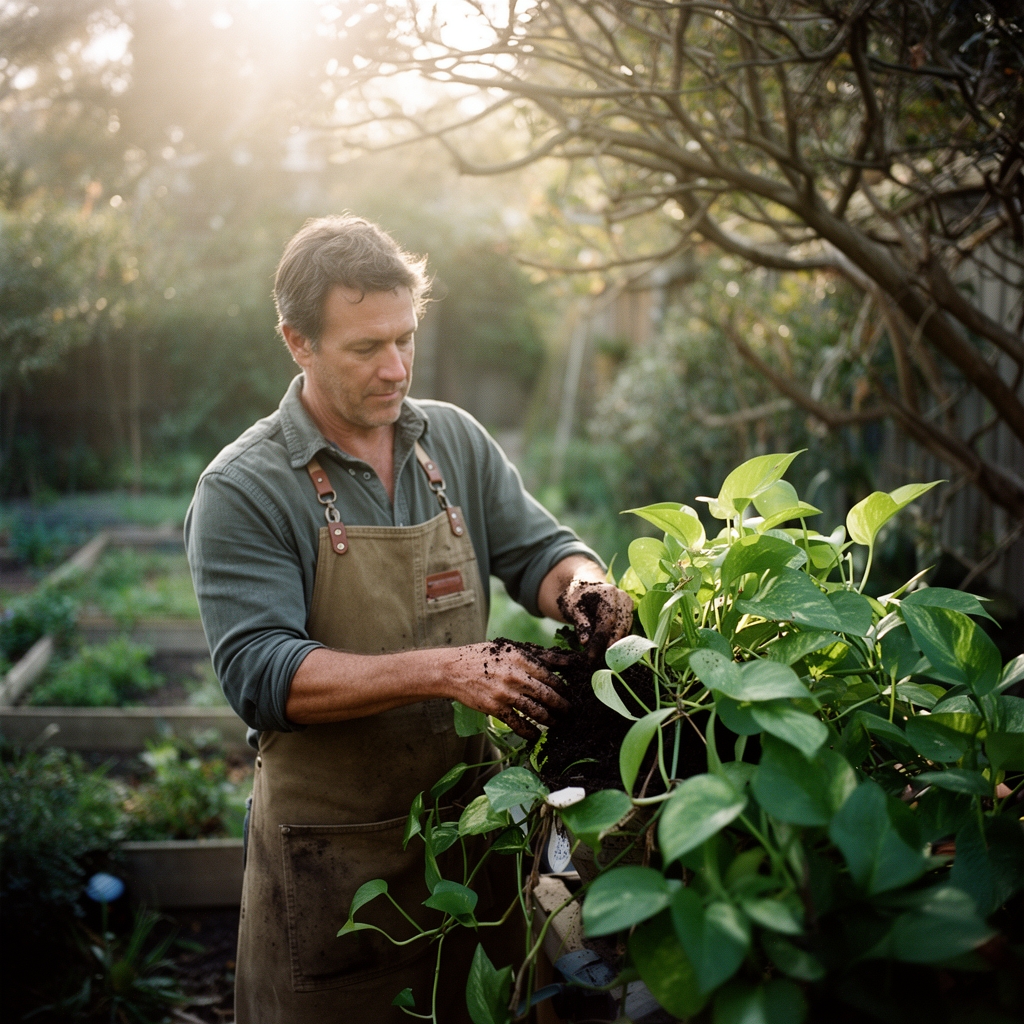
Transplanting to Substrate
Transfer cuttings to soil when roots reach two to three inches in length. Shorter roots lack sufficient surface area for moisture absorption, while roots exceeding four inches become brittle and prone to transplant shock.
Create a planting hole 1.5 times the root mass diameter. Position the cutting so the lowest node sits 0.5 inches below the soil surface. Firm substrate gently around roots, eliminating air pockets without compacting the medium.
Water immediately with 4 ounces per four-inch pot, ensuring even moisture distribution. Soil should feel damp but not saturated. Excess water displaces oxygen required for root respiration.
Pro-Tip: Apply diluted kelp extract (1:10 ratio) as a transplant drench. Cytokinins in kelp tissue stimulate lateral root branching, establishing a robust root system within three weeks.
Troubleshooting
Symptom: Brown, mushy stem bases with foul odor.
Solution: Stem rot from bacterial contamination. Discard affected cuttings. Sterilize all tools and vessels with 10% bleach solution for ten minutes. Reduce water level to expose the lowest node to air.
Symptom: Yellowing leaves with green veins.
Solution: Iron chlorosis from alkaline water (pH above 7.5). Switch to distilled or rainwater with pH 6.0 to 6.5. Add chelated iron supplement at 2 ppm concentration.
Symptom: No root development after three weeks.
Solution: Insufficient auxin activity. Re-cut stems 0.25 inches above previous cut site. Dip fresh cuts in 0.1% IBA rooting powder before returning to water. Increase ambient temperature to 75°F minimum.
Symptom: Black spots on submerged nodes.
Solution: Fungal infection, typically Pythium species. Remove cuttings and soak in hydrogen peroxide solution (1 tablespoon per cup of water) for five minutes. Rinse and place in fresh, sterile water.
Symptom: Wilting despite adequate roots.
Solution: Transplant shock from rapid environmental change. Acclimate rooted cuttings by gradually reducing water level over five days before transplanting. Maintain humidity above 60% for the first week post-transplant using a clear plastic dome.
Maintenance
Provide 0.25 inches of water per week once established in soil. Insert a finger 1 inch deep into substrate. Irrigate when soil feels dry at this depth. Overwatering suffocates roots and promotes Pythium root rot.
Feed every four weeks with liquid fertilizer diluted to half-strength (NPK 5-5-5 at 50 ppm nitrogen). Apply during watering cycles to prevent salt accumulation at the root zone. Flush soil with plain water every eight weeks to leach excess mineral deposits.
Prune growing tips monthly to encourage lateral branching. Cut 0.25 inches above a node using sanitized shears. Each pruning event redirects auxin to dormant axillary buds, producing fuller plant architecture within three months.
FAQ
How many nodes does a pothos cutting need?
Minimum two nodes per cutting. One node remains submerged for root formation while the second provides structural stability and leaf support.
Can I root pothos in soil without water propagation?
Yes. Dip freshly cut stems in rooting hormone and insert directly into moist substrate. Maintain 70% humidity using a propagation dome. Roots develop in fourteen to twenty-one days.
Why are my pothos cuttings rotting?
Bacterial or fungal contamination from unsterilized tools or stagnant water. Change water every two to three days. Ensure only nodes, not leaf tissue, remain submerged.
Do pothos cuttings need light to root?
Moderate indirect light supports photosynthesis in remaining leaves. Avoid direct sun, which heats water and stresses cuttings. Low light slows but does not prevent rooting.
When can I fertilize new pothos cuttings?
Wait until roots reach three inches and cuttings are transplanted. Apply quarter-strength liquid fertilizer (1-1-1 at 25 ppm nitrogen) two weeks post-transplant, then increase to half-strength at week four.