9 Handling Steps for Repotting a Large Indoor Palm
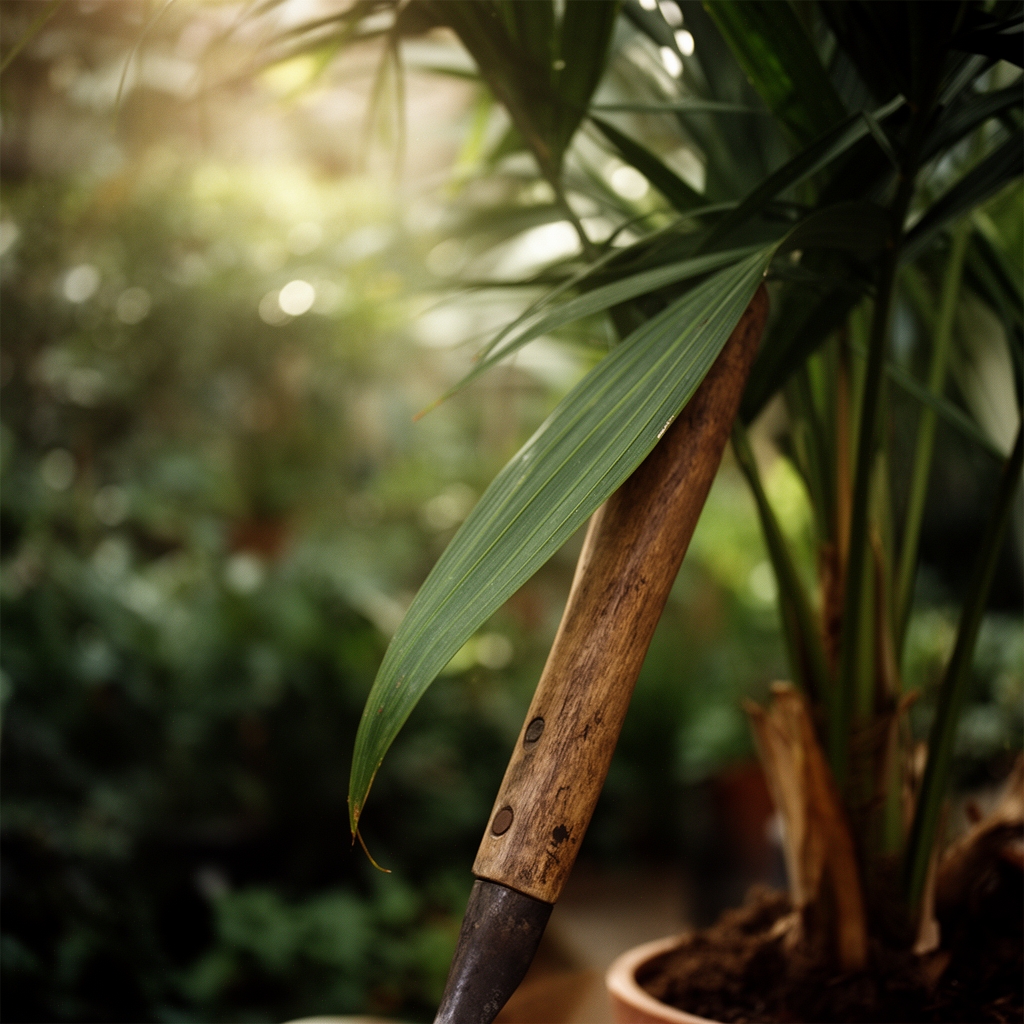
The moment a mature Kentia palm's roots begin spiraling through drainage holes, crown collapse accelerates. Circling roots strangle feeder systems and limit auxin distribution, triggering yellowing fronds and stunted growth. The steps for repotting a large indoor palm demand precision timing, proper soil chemistry, and methodical handling to avoid transplant shock in specimens weighing 40 pounds or more.
Materials

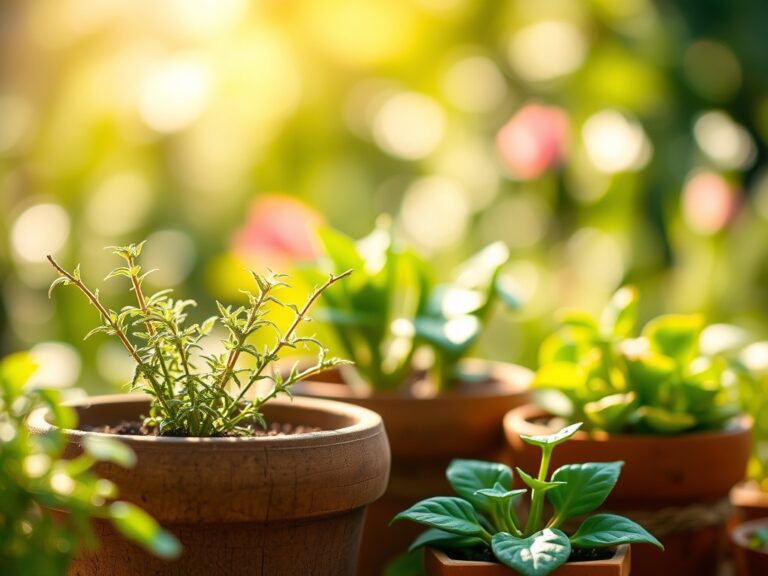
Select a container 2-4 inches wider than the current root ball. Drainage holes are non-negotiable. Palm-specific potting mix should maintain pH 6.0-7.0, with a cation exchange capacity above 10 meq/100g. Blend 60% peat moss or coir, 20% perlite, 10% coarse sand, and 10% composted pine bark.
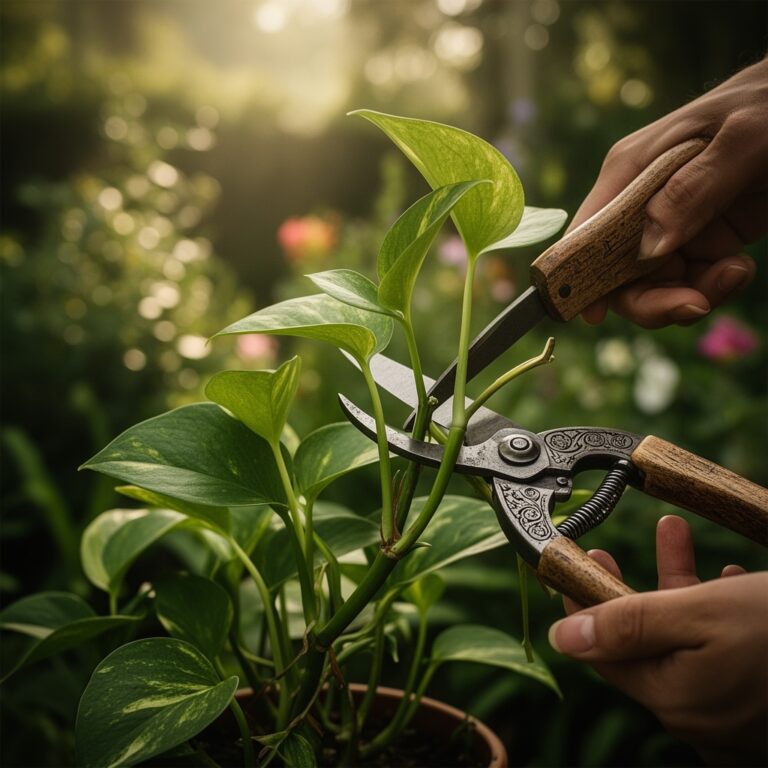
Incorporate a 3-2-2 slow-release organic fertilizer at 2 tablespoons per gallon of soil. Palms require low phosphorus to prevent toxicity. Add mycorrhizal fungi inoculant (Glomus species) at label rates to colonize new roots and enhance nutrient uptake. Prepare pruning shears sterilized in 10% bleach solution, work gloves, and a furniture dolly rated for 100 pounds.
Timing
Indoor palms exhibit minimal dormancy but slow metabolism between November and February in USDA Hardiness Zones 9-11. Repot during active growth from March through July when soil temperatures exceed 65°F and daylight extends past 12 hours. Specimens moved outdoors for summer benefit from repotting 2-3 weeks after the last frost date.
Avoid repotting during flowering or immediately after purchase. Retail palms often experience transport stress for 4-6 weeks. Allow acclimation in current containers before transferring.
Phases

Preparation Phase
Water the palm 24 hours before repotting to consolidate the root ball. Dry soil crumbles and damages feeder roots. Lay a tarp in the work area and position the new container nearby.
Tilt the existing pot to 45 degrees and tap the rim firmly against a padded surface. Rotate and repeat until the root ball loosens. For containers exceeding 14 inches, use a utility knife to score the interior edge, severing anchoring roots. Slide the palm free in one smooth motion to minimize root tearing.
Pro-Tip: Place the root ball on the dolly immediately to prevent back strain and allow easy rotation during inspection.
Root Inspection Phase
Examine the root mass under bright light. Healthy palm roots appear cream to tan with firm texture. Brown, mushy roots indicate Phytophthora root rot and require excision 1 inch below affected tissue. Sterilize blades between cuts.
Gently tease circling roots outward using gloved fingers. Slice vertical cuts 1 inch deep at four cardinal points around the root ball's perimeter. These incisions redirect growth outward rather than inward. Remove the bottom 0.5 inch of compacted roots if they form a solid mat.
Pro-Tip: Dust cut surfaces with rooting hormone containing 0.1% indole-3-butyric acid to accelerate regeneration.
Planting Phase
Fill the new container's base with 2-3 inches of prepared mix. Center the palm so the original soil line sits 1 inch below the rim. Palms planted too deep suffocate; exposed root flares desiccate.
Backfill around the root ball in 2-inch layers, tamping gently to eliminate air pockets without compressing soil structure. Maintain consistent density to ensure uniform water distribution. Stop adding soil 0.5 inch from the rim to create a watering basin.
Pro-Tip: Insert a moisture meter probe 4 inches deep at three locations to verify even moisture levels post-watering.
Establishment Phase
Water until runoff appears, then allow complete drainage. Do not use saucers for the first 2 weeks to prevent anaerobic conditions. Place the palm in indirect light with 200-400 foot-candles for 10 days. Gradual light increases prevent photosynthetic stress.
Withhold fertilizer for 6 weeks. Fresh potting mix contains sufficient nutrients, and early feeding burns regenerating roots.
Pro-Tip: Mist fronds daily with distilled water to maintain 50-60% relative humidity and reduce transpiration load.
Troubleshooting
Symptom: Fronds turn yellow from base upward within 2 weeks. Solution: Overwatering causes oxygen deprivation. Allow the top 2 inches of soil to dry completely between waterings.
Symptom: Brown leaf tips with papery texture. Solution: Fluoride toxicity from tap water. Switch to rainwater or distilled water exclusively.
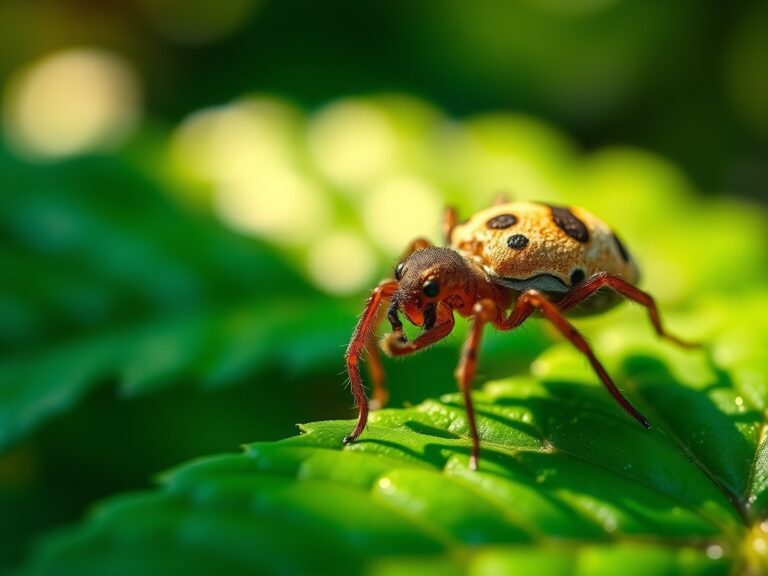
Symptom: White cottony masses on frond undersides. Solution: Mealybug infestation. Apply horticultural oil at 2% concentration weekly for three applications.
Symptom: Stunted new growth with dark green older fronds. Solution: Nitrogen deficiency. Top-dress with blood meal (12-0-0) at 1 tablespoon per 12-inch pot diameter.
Maintenance
Water when the top 2 inches of soil dry, typically every 7-10 days. Provide 1 inch of water per watering session, measured by placing a rain gauge in the soil surface. Drain saucers within 30 minutes.
Feed every 8 weeks during growing season with liquid fertilizer diluted to half-strength. Use a 3-1-2 formulation with micronutrients including manganese and iron. Flush soil every fourth watering by applying twice the container volume to prevent salt accumulation.
Wipe fronds monthly with a damp cloth to remove dust that blocks stomata. Maintain ambient temperatures between 65-80°F with no cold drafts below 55°F.
FAQ
How often do large indoor palms need repotting? Every 2-3 years when roots occupy 80% of container volume or growth rate declines despite proper care.
Can I repot a palm in winter? Only if indoor temperatures remain above 70°F and supplemental grow lights provide 14 hours of illumination daily.
What container material works best? Terra-cotta allows gas exchange but dries quickly. Glazed ceramic retains moisture longer and supports heavier palms.
Should I remove all old soil? No. Retain 30-40% of the original root ball to preserve beneficial microbe colonies and reduce transplant shock.
Why are lower fronds dying after repotting? Palms sacrifice older fronds to support new root growth. Loss of 2-3 basal fronds over 6 weeks is normal. Continued decline indicates root damage or watering errors.