7 Root-Health Benefits of Specialized Succulent Soil
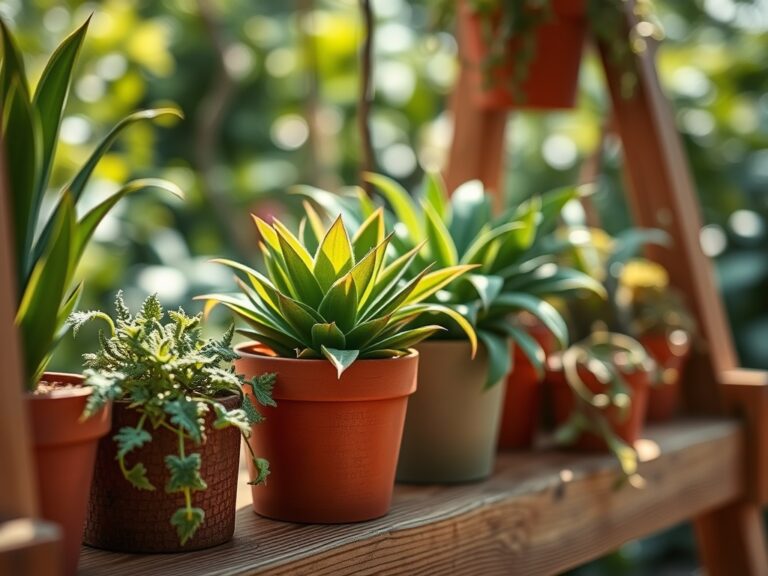
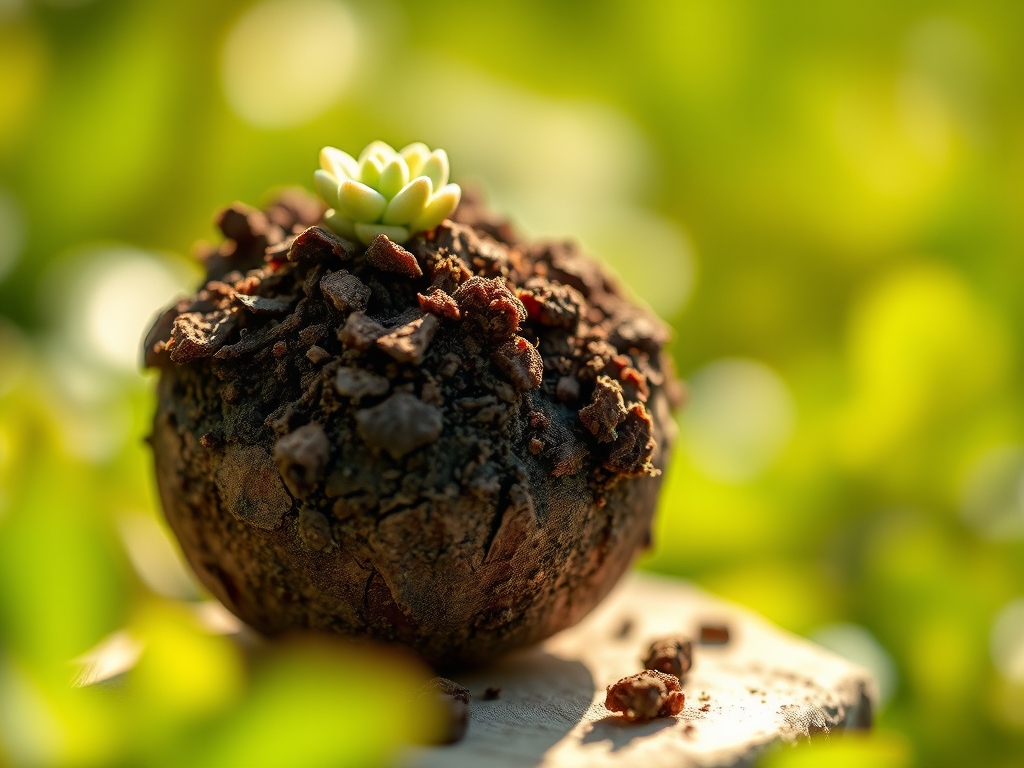
Crushing a handful of dry substrate reveals the gritty, porous architecture required for arid-adapted species. When you hydrate a healthy Echeveria, the immediate increase in turgor pressure firms the leaf tissue until it resists the slight pressure of a thumb. This physiological rigidity depends entirely on the root system's ability to uptake water without succumbing to anaerobic decay. Using a specialized succulent soil ensures the rhizosphere remains oxygenated even after heavy irrigation. Standard potting mixes retain too much moisture, leading to the collapse of cellular walls and the onset of opportunistic fungal pathogens. A professional grade mix provides the structural integrity needed for long term growth. It balances water retention with rapid drainage, allowing the fine root hairs to access moisture while preventing the central taproot from sitting in stagnant water. This balance is not a suggestion; it is a biological requirement for plants evolved in nutrient-poor, rocky environments where drainage is instantaneous and mineral content is high.
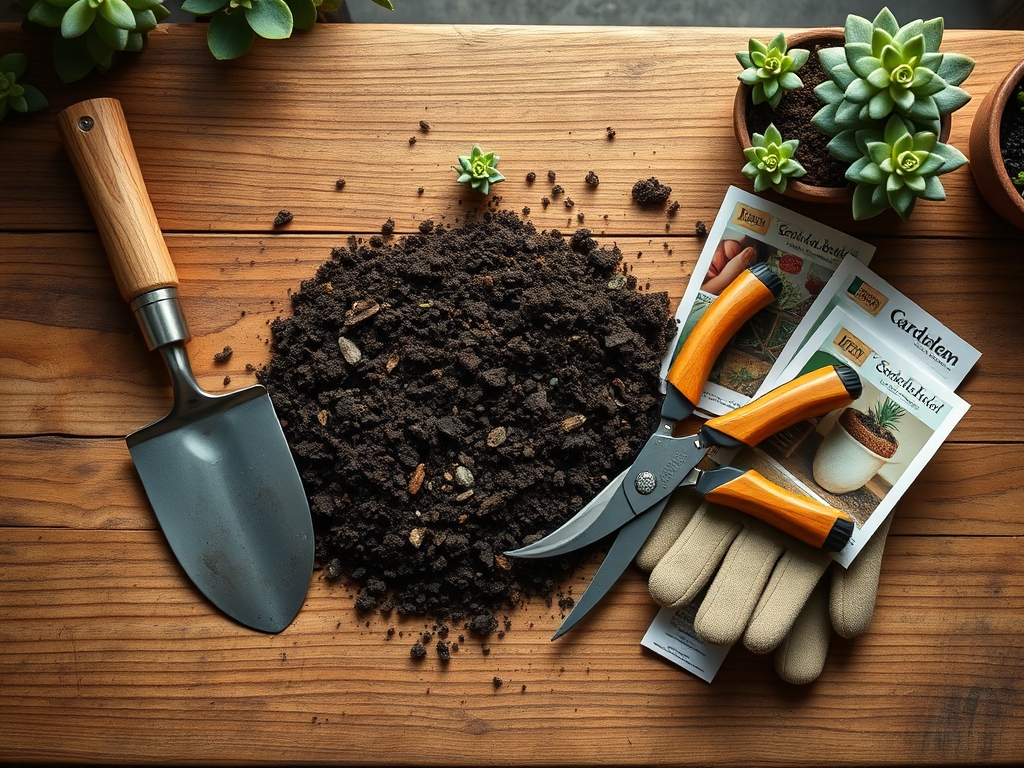
Materials:
The chemical composition of your substrate dictates the availability of nutrients. For most Crassulaceae and Cactaceae, maintain a **soil pH between 5.5 and 6.5**. This slightly acidic range optimizes the solubility of micronutrients like iron and magnesium. The NPK ratio for a specialized succulent soil should be low in nitrogen to prevent weak, etiolated growth. Aim for a **low-nitrogen formula such as 1-2-2 or 5-10-10**.
The physical texture must be a friable mineral blend. A high-performance mix typically consists of 40 percent organic matter (such as coco coir or composted pine bark) and 60 percent inorganic grit (such as pumice, perlite, or calcined clay). This ratio ensures a high Cation Exchange Capacity (CEC), allowing the soil to hold and release essential ions like potassium and calcium to the root hairs. Avoid fine sands that can clog macro-pores; instead, utilize particles sized between 2mm and 6mm to maintain gas exchange.
Timing:
Hardiness Zones dictate the metabolic rate of your succulents. In Zones 9 through 11, many species remain active year-round, but in Zones 8 and below, plants enter a period of dormancy when temperatures drop below 50 degrees Fahrenheit. The "Biological Clock" of a succulent is governed by the photoperiod. As day length shortens, the plant shifts from vegetative growth to a state of conservation or reproductive development.
Transplanting should occur during the early spring, typically two to three weeks before the last frost date, provided the plants are kept in a controlled environment. This timing aligns with the surge of auxins at the apical meristems, which signals the plant to begin new root production. Avoid major soil changes during peak summer heat exceeding 90 degrees Fahrenheit, as the plant may enter a semi-dormant state to prevent moisture loss through transpiration.
Phases:
Sowing
When starting from seed, use a finely sifted version of your specialized mix. Maintain a consistent surface temperature of 70 to 80 degrees Fahrenheit. Ensure the substrate is moist but not saturated to prevent "damping off" caused by Pythium fungi.
Pro-Tip: Maintain high humidity during the first 14 days to support initial turgor. The Biological Why involves the lack of a protective waxy cuticle in seedlings; they lose water rapidly through their epidermis until they develop mature succulent traits.
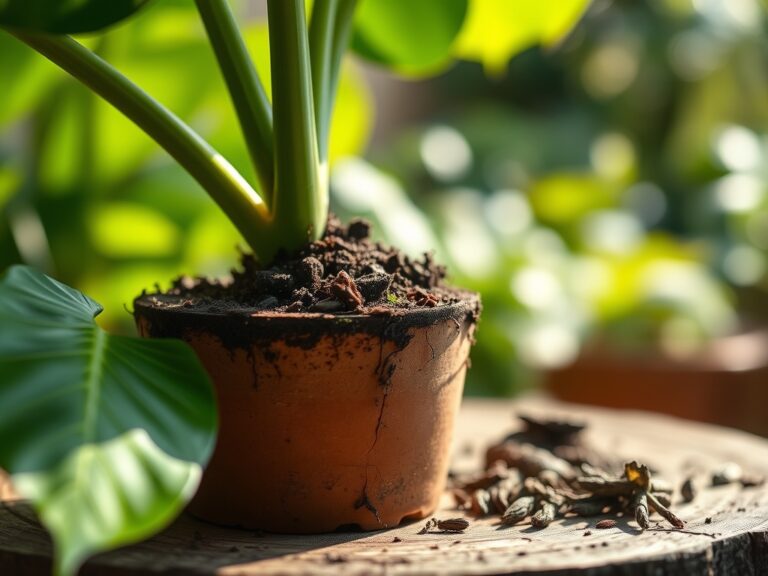
Transplanting
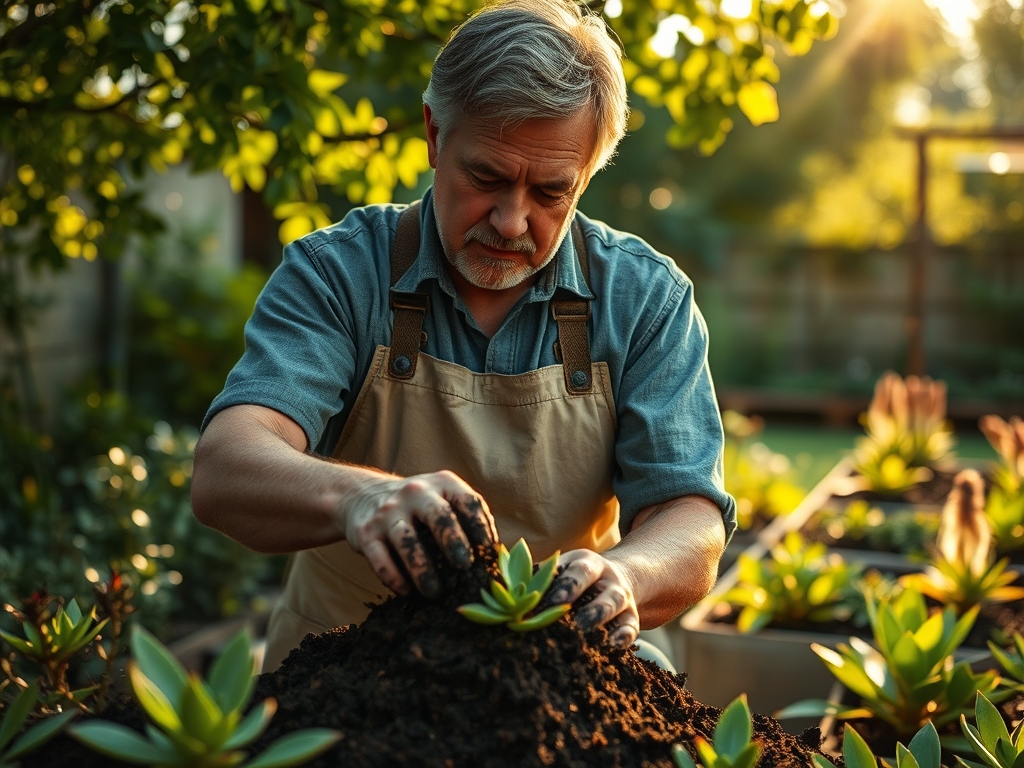
Remove the plant from its old container and gently tease the root ball. Using a specialized succulent soil, fill the new pot while leaving space for the roots to spread horizontally. Do not water immediately; wait 3 to 5 days for any damaged roots to callus over.
Pro-Tip: Dust the root zone with mycorrhizal fungi. The Biological Why is mycorrhizal symbiosis; these fungi extend the reach of the root system, increasing the surface area for phosphorus absorption and water uptake.
Establishing
During the first six weeks, monitor the plant for signs of new growth at the center of the rosette. Keep the plant in bright, indirect light to avoid UV scorch while the root system stabilizes.
Pro-Tip: Avoid high-nitrogen fertilizers during this phase to prevent auxin suppression. The Biological Why is that excessive nitrogen can inhibit the development of a robust, woody root system in favor of soft, vulnerable leaf tissue.
The Clinic:
Physiological disorders often stem from poor gas exchange in the root zone.
- Symptom: Yellowing of lower leaves and soft, translucent stems.
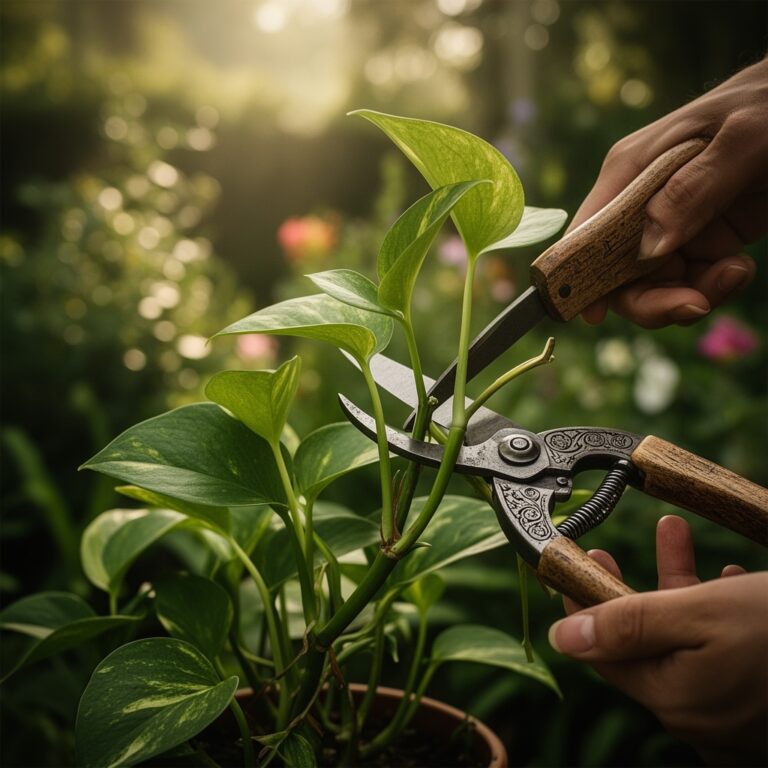
- Solution: This indicates over-saturation and root rot. Immediately remove the plant, prune away blackened roots with a bypass pruner, and repot into fresh, dry specialized soil.
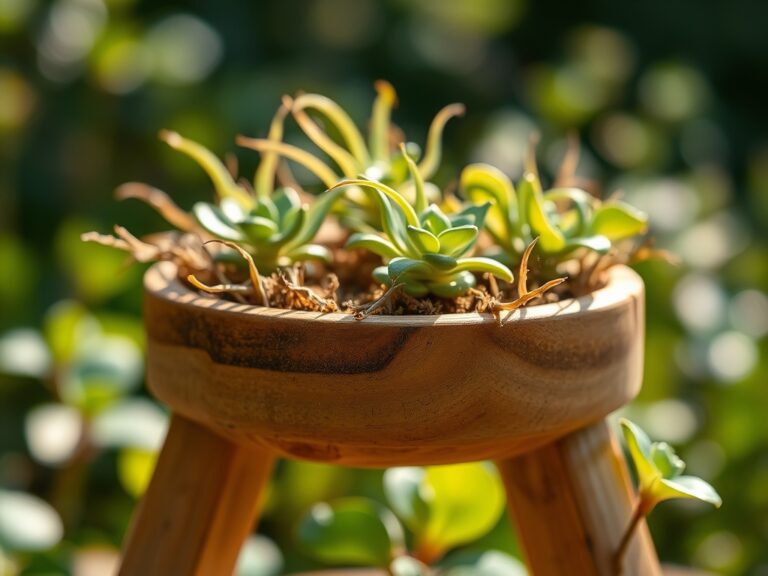
- Symptom: Wrinkled, deflated leaves despite frequent watering.
- Solution: This suggests "hydrophobic soil" or root death. If the soil has pulled away from the pot edges, it is no longer absorbing water. Submerge the pot in water for 20 minutes to re-hydrate the peat or coir components.
Fix-It for Nutrient Deficiencies:
- Nitrogen Chlorosis: Pale green or yellow leaves across the entire plant. Apply a balanced liquid fertilizer at half strength.
- Magnesium Deficiency: Interveinal chlorosis on older leaves. Supplement with a solution of one tablespoon of Epsom salts per gallon of water.
- Calcium Deficiency: Distorted new growth or "tip burn." Ensure the soil pH is not too low, as acidity can lock out calcium ions.
Maintenance:
Precision is required for long term health. Use a soil moisture meter to verify that the substrate is dry to a depth of 2 inches before re-watering. In outdoor settings, succulents generally require 1 inch of water every 7 to 10 days during the growing season. Apply water at the drip line to avoid moisture accumulation in the crown of the plant, which can lead to rot.
Utilize a hori-hori knife for weeding around the base of the plants to ensure no competition for nutrients. Every spring, top-dress the soil with a 0.5-inch layer of fresh worm castings or a thin layer of volcanic rock to replenish minerals. If the plant becomes "leggy" due to low light, use bypass pruners to take a cutting; allow the cut end to callus for 7 days before placing it back into specialized soil.
The Yield:
For those growing flowering succulents like Kalanchoe or Aloe, harvest flower stalks once 50 percent of the buds have opened. Use a sharp, sterilized blade to cut the stalk at the base. To maintain "day-one" freshness for indoor display, place the stems in a vase with room-temperature water and change the water every 48 hours. For medicinal Aloe, harvest the outermost, mature leaves by cutting at the very base of the plant. These leaves can be stored in a cool, dark place for up to two weeks without losing their internal gel viscosity.
FAQ:
Why is my succulent soil repelling water?
Peat-based soils become hydrophobic when completely dry. To fix this, use the "bottom watering" method. Submerge the pot in a basin of water for 15 minutes until the specialized succulent soil is fully re-hydrated and heavy.
Can I use regular garden soil for succulents?
No. Garden soil has a high clay content and small particle size. This leads to compaction and low oxygen levels in the rhizosphere. Using a specialized succulent soil provides the essential macro-pores required for gas exchange and drainage.
How often should I fertilize succulents?
Apply a low-nitrogen, water-soluble fertilizer once every four to six weeks during the active growing season. Stop all fertilization during the winter months when the plant's metabolic rate slows and it enters a period of dormancy.
What is the best pot material for succulent soil?
Terra cotta is preferred because it is porous. It allows moisture to evaporate through the walls of the pot, which complements the drainage properties of specialized soil. This prevents the "perched water table" effect found in plastic or glazed ceramic containers.