7 Custom Steps for Building a Vegetable Garden Bench Seat
The scent of damp, anaerobic decomposition signals a healthy compost pile while the turgor pressure in a ripening tomato leaf indicates optimal hydration. Integrating a structural element like a seating area requires more than carpentry; it demands an understanding of how physical structures alter the microclimate of the rhizosphere. When executing the steps for building a vegetable garden bench seat, the primary concern is the intersection of structural integrity and soil health. A bench provides a stable platform for observation and maintenance while minimizing soil compaction in adjacent beds. Compaction reduces the pore space necessary for oxygen diffusion to the roots. By following precise steps for building a vegetable garden bench seat, you create a permanent access point that protects the soil structure from the weight of the gardener. This ensures that the cation exchange capacity remains high and the microbial life within the top six inches of the substrate remains undisturbed by heavy foot traffic.
Materials:
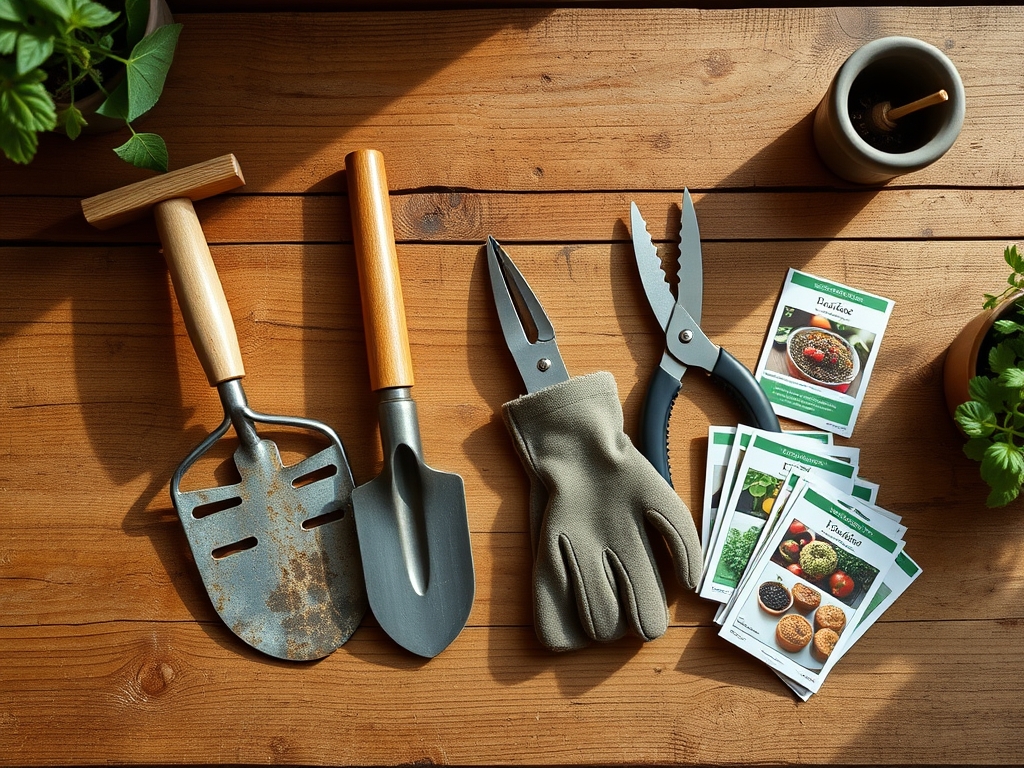
The foundation of any garden structure begins with the substrate it rests upon. For a vegetable garden, you require a **friable loam** with a **pH between 6.2 and 6.8**. This range ensures maximum bioavailability of macronutrients. Before construction, amend the site with a balanced **10-10-10 NPK ratio** fertilizer to support the surrounding heavy feeders like Brassicas or Solanaceous crops. The structural components should include **rot-resistant cedar or redwood 4×4 posts** and **2×6 planks**. Avoid pressure-treated lumber containing chromated copper arsenate (CCA) near edible crops to prevent heavy metal leaching into the root zone. You will also need **3-inch stainless steel deck screws** and **leveling gravel** to ensure drainage. The physical texture of the soil beneath the bench should be gritty enough to prevent water pooling, which can lead to fungal pathogens such as *Phytophthora* or *Pythium* in nearby plant roots.
Timing:
Construction must align with the biological clock of your specific Hardiness Zone. In Zones 5 through 7, the ideal window is the dormant season or early spring before the soil reaches a consistent 50 degrees Fahrenheit. This prevents the disruption of the vernalization process for overwintering crops. Building during the transition from the vegetative to the reproductive stage of your plants is risky; the physical disturbance can trigger abscission, where the plant drops flowers or immature fruit due to environmental stress. Aim to complete the bench at least three weeks before the last frost date to allow the soil to settle and the microbial community to stabilize before the peak growing season begins.
Phases:
Sowing the Foundation
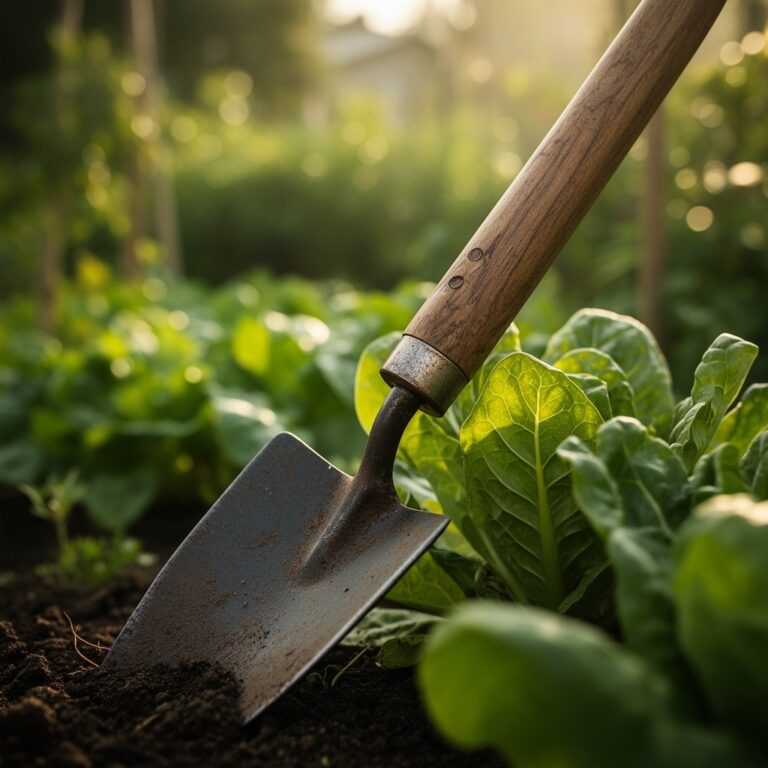
Clear a rectangular area measuring 48 inches by 18 inches. Excavate to a depth of 6 inches to remove existing vegetation and root mats. Backfill the base with 3 inches of crushed stone to facilitate drainage and prevent the wood from sitting in standing water. This prevents capillary action from drawing moisture into the wood fibers, which accelerates decay.
Pro-Tip: Proper drainage prevents anoxia in the soil. When roots are submerged in water-logged soil, they cannot perform cellular respiration; this leads to a buildup of ethanol and eventual root death.
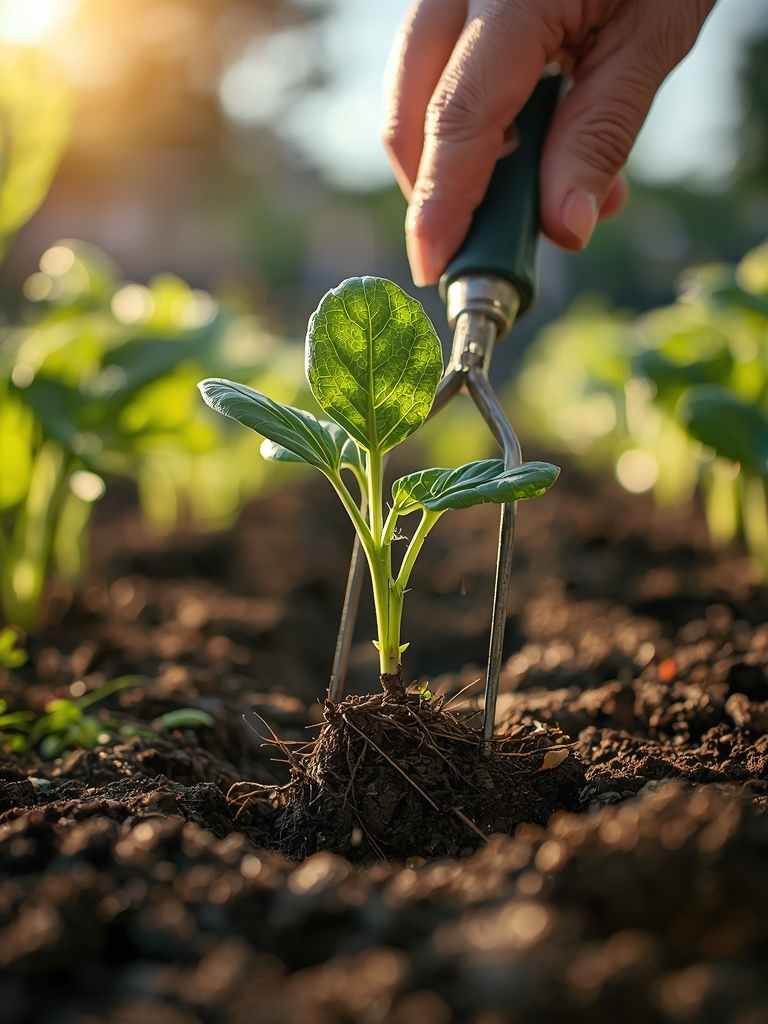
Transplanting the Structure
Set your vertical supports. Use a post-hole digger to reach a depth of 12 inches below the frost line to prevent heaving. Level each post precisely using a spirit level. Once the posts are plumb, backfill with a mix of native soil and gravel. Ensure the seat height sits at 18 inches, which is the ergonomic standard for reducing strain on the lower back during harvesting tasks.
Pro-Tip: Strategic placement of a bench can influence phototropism. A solid backrest can provide a windbreak or reflect light toward sun-loving plants, increasing the rate of photosynthesis in the lower canopy.
Establishing the Seat
Secure the horizontal planks with a 1/4-inch gap between each board. This gap is vital for airflow and prevents the accumulation of organic debris that fosters mold. Sand all edges to prevent injury. Once the structure is sound, mulch the area around the base with 2 inches of arborist wood chips to suppress weed growth and retain soil moisture for the neighboring vegetable beds.
Pro-Tip: High-quality mulch supports mycorrhizal symbiosis. These beneficial fungi extend the reach of plant roots, allowing for better phosphorus uptake and improved drought resistance in the surrounding crops.
The Clinic:
Physiological disorders often appear in plants adjacent to new structures due to changes in light or water distribution.
- Symptom: Interveinal Chlorosis. The leaves turn yellow while the veins remain green. This is a classic sign of Iron or Magnesium deficiency.
- Fix-It: Apply a foliar spray of chelated iron or Epsom salts (Magnesium Sulfate) at a rate of 1 tablespoon per gallon of water.
- Symptom: Blossom End Rot. A dark, leathery spot appears on the bottom of tomatoes or peppers. This is caused by localized Calcium deficiency often triggered by inconsistent watering.
- Fix-It: Maintain consistent soil moisture levels and ensure the soil pH is not too acidic, as low pH inhibits calcium uptake.
- Symptom: Tip Burn. The edges of lettuce or spinach leaves turn brown and crispy. This is often a result of high transpiration rates exceeding the roots' ability to supply water.
- Fix-It: Increase irrigation frequency during heat spikes and provide temporary shade using the bench structure or a 40 percent shade cloth.
Maintenance:
A garden bench requires the same rigorous maintenance as the plants surrounding it. Use a soil moisture meter twice weekly to ensure the area beneath and around the bench maintains a moisture level of 25 to 35 percent. Vegetables generally require 1.5 inches of water per week delivered at the drip line. Use a hori-hori knife to remove any weeds that emerge at the base of the bench before they go to seed. Annually, inspect the wood for signs of boring insects. Use bypass pruners to trim any overhanging foliage that might trap humidity against the wood; this prevents the microclimate from becoming a breeding ground for powdery mildew.
The Yield:
While the bench itself is not edible, its presence increases the efficiency of the harvest. For leafy greens, harvest in the early morning when turgor pressure is at its peak. This ensures the leaves are crisp and have a longer shelf life. Use a sharp blade to cut "cut-and-come-again" varieties 1 inch above the soil line. For fruiting crops like cucumbers or beans, harvest frequently to prevent the plant from entering senescence, the biological process of aging and dying off after seed production. Promptly cooling the harvest to 40 degrees Fahrenheit slows metabolic activity and preserves the nutrient density of the produce.
FAQ:
What wood is best for a garden bench near vegetables?
Use Western Red Cedar or Redwood. These species contain natural tannins and oils that resist rot and insects without the need for chemical treatments that could leach into the soil and affect plant health.
How deep should the bench posts be buried?
Posts should be buried 12 to 18 inches deep. In colder climates, ensure they reach below the local frost line to prevent soil heaving from displacing the bench and damaging nearby root systems.
Does a bench affect the soil pH?
Untreated wood has a negligible effect on pH. However, as wood chips or sawdust decompose, they can temporarily tie up nitrogen. Monitor the area and add a high-nitrogen organic amendment if nearby plants show yellowing.
How do I prevent the bench from attracting pests?
Maintain a 1/4-inch gap between slats for airflow and keep the area beneath the bench clear of leaf litter. This reduces the cool, damp habitats favored by slugs and snails that can damage young vegetable seedlings.