9 Steps to Prepare a Power Hedge Trimmer for Sharpening
The scent of damp earth and crushed xylem fills the air when a sharp blade meets a healthy hedge. Proper turgor pressure in the stems of Buxus or Taxus species ensures a clean cut; however, a dull blade crushes the vascular tissue instead of severing it. This leads to ragged edges and increased susceptibility to fungal pathogens. Learning how to prepare a hedge trimmer for sharpening is the critical first step in maintaining the structural integrity of your perimeter plantings.
Neglecting blade maintenance results in jagged wounds that disrupt the plant's ability to seal off damaged cells. When you understand the mechanical requirements of your equipment, you ensure that every pass through the foliage promotes rapid healing and maintains the aesthetic density of the hedge. Preparation requires a systematic approach to remove resinous buildup and stabilize the tool for precise metalwork.
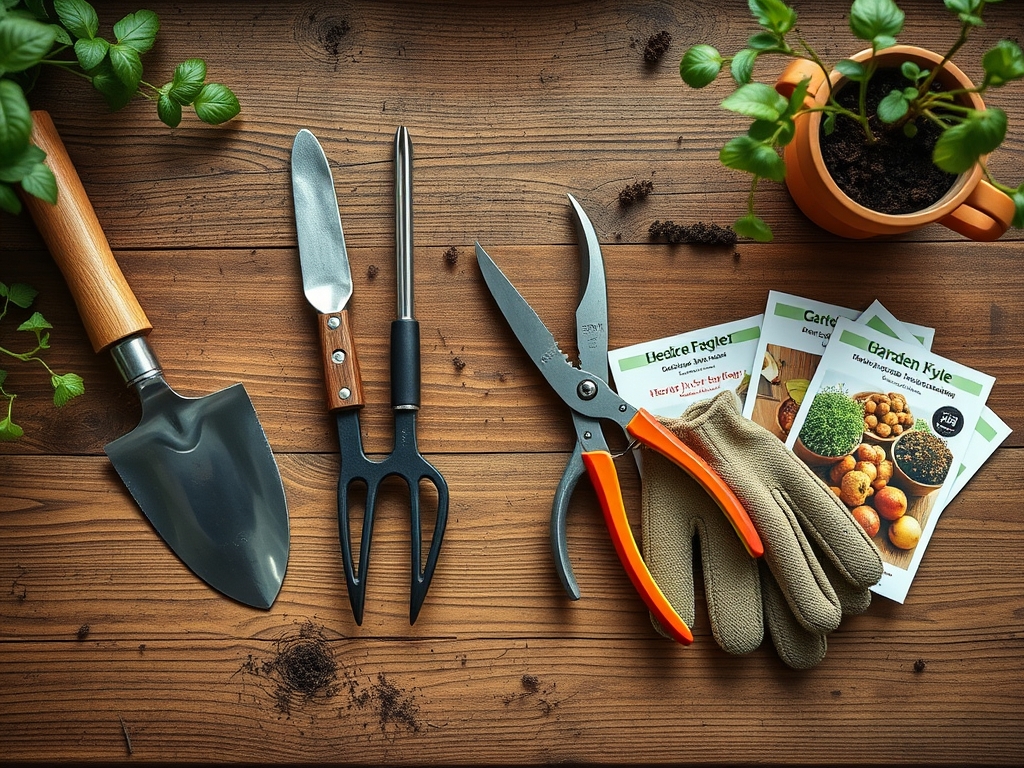
Materials:
While the trimmer itself is mechanical, the environment where you work should mimic a controlled laboratory. Position your workstation over a surface of **friable loam** or a clean concrete floor to prevent losing small fasteners. If you are working near a nursery bed, ensure the soil pH is between **6.0 and 7.0** to prevent any acidic runoff from cleaning agents from damaging the rhizosphere.
You will need a high-quality degreaser, a stiff nylon brush, and a lithium-based grease with an NPK equivalent of zero; it is purely a lubricant. Gather a set of bypass pruners to clear away any woody debris stuck in the teeth. Have a clean microfiber cloth and a specialized resin solvent ready. The physical texture of your workspace should be dry and stable to prevent the tool from slipping during the disassembly process.
Timing:
Hedge maintenance follows the biological clock of the plant. In Hardiness Zones 5 through 8, the ideal window for sharpening occurs during the dormant season, typically after the first hard frost but before the spring sap rise. This timing prevents the spread of pathogens that are active during the warm, humid months.
The transition from the vegetative stage to senescence in late autumn is the signal to pull the trimmer from the shed. Performing maintenance during this period ensures the tool is ready for the "spring flush" when rapid cell division occurs. Aim to complete your preparation when the ambient temperature is between 45 and 65 degrees Fahrenheit to ensure that cleaning solvents evaporate at a controlled rate without damaging plastic housings.
Phases:

Sowing the Workspace
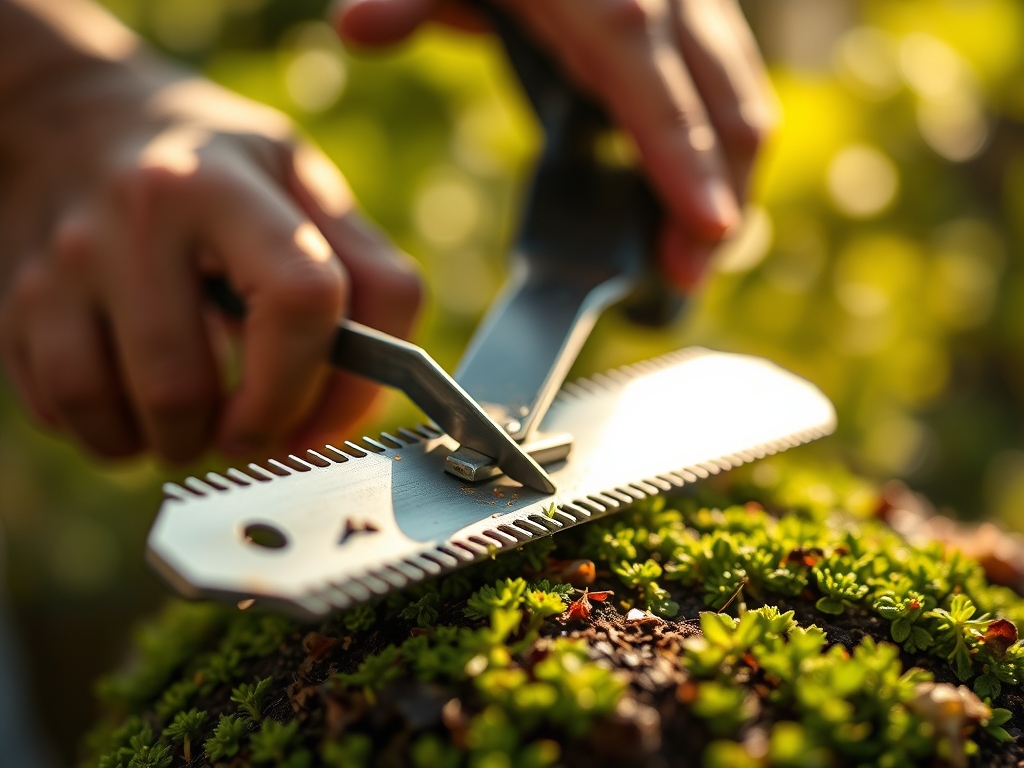
Begin by disconnecting the power source. For gas models, remove the spark plug wire to prevent accidental combustion. For electric or battery models, remove the power cell. Lay the tool on a flat, stable bench. Use a hori-hori knife to scrape away large chunks of dried sap and mud from the exterior casing.
Pro-Tip: Clearing the intake vents prevents overheating. This is vital because excessive heat can cause thermal expansion in the metal blades, altering the gap between the cutting teeth and reducing efficiency.
Transplanting the Blade Position
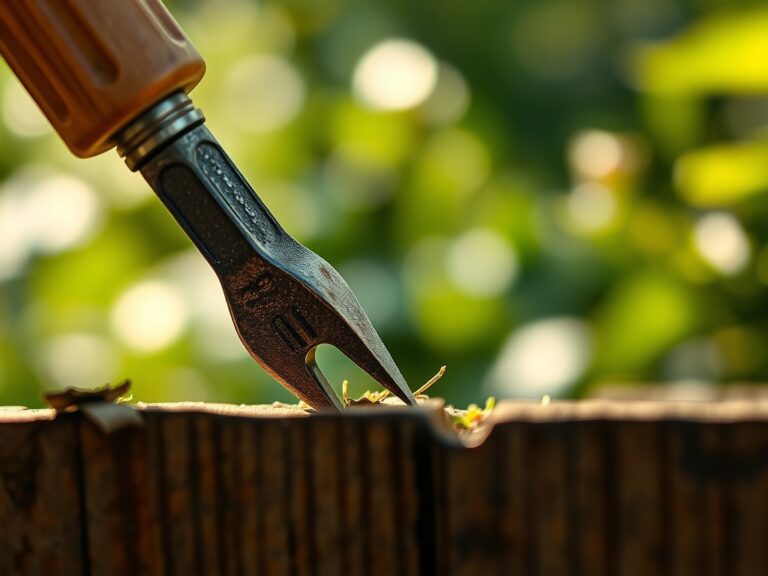
Manually align the cutting teeth so the top and bottom blades are perfectly matched. This exposes the maximum surface area of each individual tooth. Use a wooden dowel to slide the blades; never use your fingers. If the blades are seized, apply a penetrating oil and wait 15 minutes for the chemical to break the bond of oxidized sap.
Pro-Tip: Aligning the blades allows for uniform sharpening. This respects the mechanical symmetry required to maintain even tension across the cutter bar, preventing jagged cuts that lead to uneven auxin distribution in the plant.
Establishing a Clean Surface
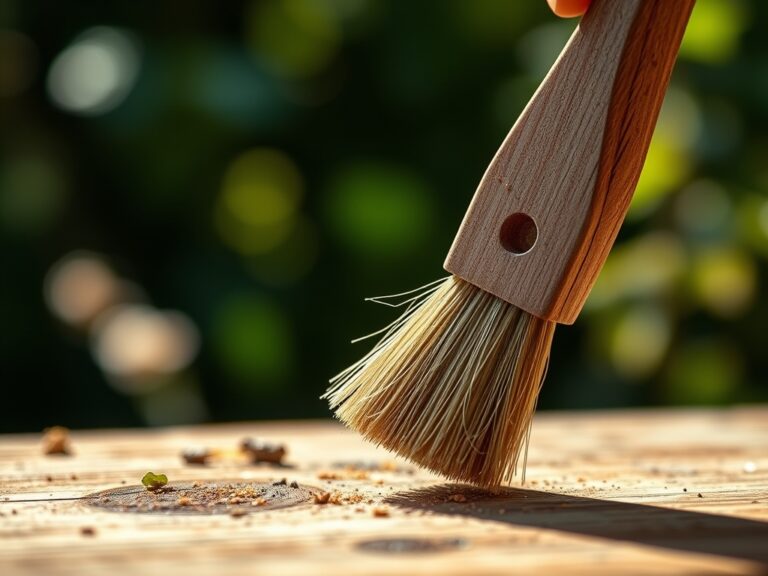
Apply a resin solvent to the entire length of the cutter bar. Let it sit for five minutes to dissolve the lignins and pectins left behind by the hedge. Scrub the teeth with a stiff brush until the steel is bright. Wipe away all residue with a clean cloth to ensure the sharpening file makes direct contact with the metal, not the debris.
Pro-Tip: Removing organic buildup prevents the "gumming" of sharpening tools. Clean blades ensure a smoother cut, which reduces the risk of necrosis at the tip of the leaf where the cell walls were severed.
The Clinic:
Physiological disorders in the hedge often stem from poor tool maintenance. Observe your plants for these symptoms:
- Symptom: White, frayed leaf tips. Solution: This indicates a dull blade is crushing the cell walls. Sharpen the trimmer immediately to restore a clean shear.
- Symptom: Localized dieback after pruning. Solution: This is often caused by pathogens introduced by a dirty blade. Use a 10 percent bleach solution to disinfect the blades during the preparation phase.
- Symptom: Yellowing of new growth (Chlorosis). Solution: While often a Nitrogen deficiency, it can also be caused by root stress from "shaking" the plant with a blunt trimmer. Ensure the soil has a cation exchange capacity (CEC) high enough to hold nutrients, and use a sharp tool to minimize mechanical vibration.
For Nitrogen chlorosis, apply a fertilizer with a 10-5-5 NPK ratio at the drip line to support the plant's recovery after a heavy pruning session.
Maintenance:
Post-sharpening maintenance is as critical as the preparation. After every 10 hours of use, check the blade bolts for tightness. Apply a light coat of machine oil to prevent oxidation. In the field, monitor the hydration of your hedges. Most woody perennials require 1.5 inches of water per week delivered at the drip line. Use a soil moisture meter to ensure the root zone is not waterlogged, as anaerobic conditions can weaken the plant's defense against the minor stress of pruning. Always carry your bypass pruners for small touch-ups that the large trimmer might miss.
The Yield:
When your trimmer is prepared and sharpened correctly, the "yield" is a flush of dense, healthy growth. For flowering hedges like Forsythia, time your pruning immediately after the blooms fade to avoid cutting off next year's buds. For evergreen hedges, the goal is a smooth, aerodynamic surface that sheds snow and resists wind damage. Handle the plant with care post-harvest by misting the cut edges if the weather is exceptionally dry; this maintains turgor pressure and assists the plant in its natural sealing process.
FAQ:
How do I know if the blades are clean enough?
The steel should show a consistent metallic luster with no dark spots of resin. Any remaining organic matter will clog your sharpening file and create an uneven edge on the blade.
Can I use water to clean the blades?
Avoid using plain water as it promotes rapid oxidation. Use a dedicated resin solvent or a high-percentage isopropyl alcohol to dissolve sap while ensuring the liquid evaporates quickly without leaving moisture behind.
Why must I remove the spark plug?
Removing the spark plug is a critical safety protocol. It prevents the engine from firing if the blade is moved manually, which could lead to severe injury during the cleaning and alignment process.
What is the best lubricant for the blades?
Use a dry silicone spray or a specialized blade lubricant. Avoid heavy oils that attract dust and grit, as these particles act as abrasives that dull the teeth during operation.