9 Steps for Preparing a Permanent Site for a Flourishing New Rhubarb Patch
The cool, damp smell of freshly turned loam is one of the first signs that spring soil has warmed enough to accept long-lived perennials like rhubarb. When your fingers sink into friable earth that crumbles just right, neither sticky nor dusty, you know the ground is ready. Preparing a site for a new rhubarb patch requires methodical attention to drainage, fertility, and sunlight exposure because this plant will occupy the same ground for a decade or more. A single crown can produce stalks for 15 years if you build the right foundation now, so skipping steps will cost you harvests later.
Materials & Supplies

Soil Amendments:
- Aged compost (2-3 inches thick across the bed)
- Well-rotted manure (avoid fresh manure; it burns roots)
- Bone meal or rock phosphate (0-10-0 or similar high-phosphorus formula)
- Sulfur or lime (to adjust pH to 6.0-6.8)
Fertilizers:
- Balanced organic fertilizer (5-10-5 NPK ratio for establishment)
- Liquid kelp or fish emulsion (for micronutrient support)
Tools & Infrastructure:
- Spade or garden fork (for deep tillage to 18 inches)
- Soil test kit (tests for pH, nitrogen, phosphorus, potassium)
- Landscape fabric or cardboard (for weed suppression)
- Mulch (straw, wood chips, or shredded leaves, 3-4 inches deep)
Planting Stock:
- Certified disease-free rhubarb crowns (look for varieties like 'Victoria' or 'Canada Red')
Timing & Growing Schedule
Hardiness Zones: Rhubarb thrives in USDA Zones 3-8, where it receives a necessary winter chill (temperatures below 40°F for at least 8 weeks). Southern gardeners in Zones 9-10 can attempt rhubarb as an annual but expect reduced vigor.
Days to Maturity: Rhubarb crowns require one full year of establishment before any harvest. Plan to wait until the second spring (12-14 months after planting) to pull stalks. Third-year plants hit full production.
Planting Windows:
- Spring planting: 4-6 weeks before last frost (soil temperature above 40°F)
- Fall planting: 6-8 weeks before first hard freeze (allows root establishment before dormancy)
Step-by-Step Instructions
Phase 1: Site Selection & Soil Testing
- Choose a location with full sun (minimum 6 hours daily) and excellent drainage. Test drainage by digging a 12-inch hole, filling it with water, and timing how long it takes to empty. Water should disappear in 3-4 hours. If it pools longer, build a raised bed or choose another spot.
Pro-Tip: Rhubarb tolerates partial shade in hot climates (Zone 7-8) where afternoon shade prevents heat stress.
- Conduct a soil test 60 days before planting. Send samples to your county extension office or use a home kit. Target pH is 6.0-6.8. Sandy soils below pH 6.0 need lime; clay soils above 7.0 need sulfur.
Pro-Tip: Add sulfur in fall for spring planting because it takes 3-4 months to alter pH effectively.
Phase 2: Deep Soil Preparation
- Clear the area of all perennial weeds, especially grasses with persistent rhizomes. Smother with cardboard for 6-8 weeks before planting or remove manually. Rhubarb competes poorly with weeds during establishment.
Pro-Tip: Lay cardboard directly on grass, wet it thoroughly, then pile 6 inches of compost on top. By planting time, the grass will have died and the cardboard will decompose.
-
Dig or till the bed to a depth of 18 inches. Rhubarb sends down deep taproots that need loose soil to anchor properly. Break up any hardpan layers with a garden fork.
-
Incorporate organic matter at a 1:1 ratio. For every cubic foot of native soil, mix in one cubic foot of aged compost or manure. This improves both drainage in clay and water retention in sand.
Pro-Tip: Mix in 2-3 pounds of bone meal per 100 square feet to boost phosphorus for root development.
Phase 3: Crown Placement & Establishment
-
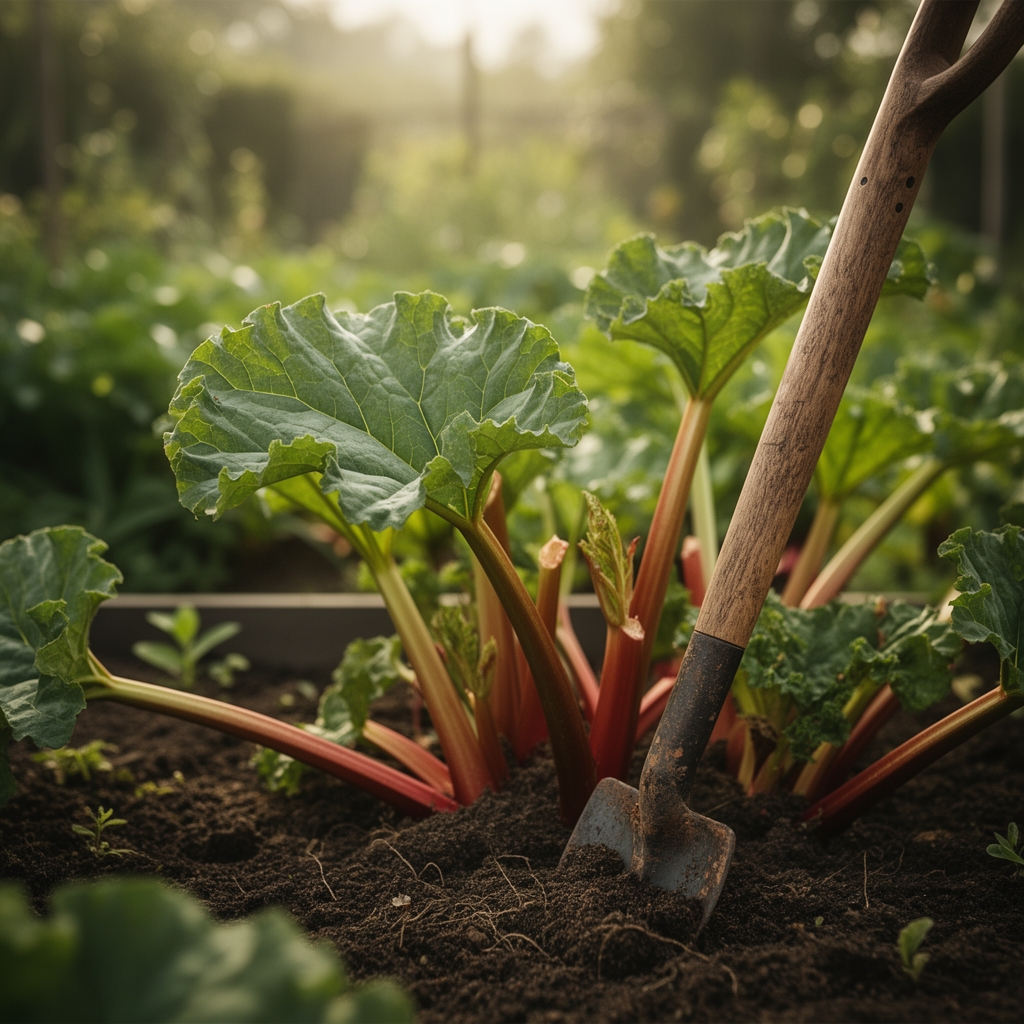
Dig individual planting holes 3 feet apart in all directions. Rhubarb crowns spread 3-4 feet wide at maturity. Each hole should be 12 inches deep and 18 inches wide.
-
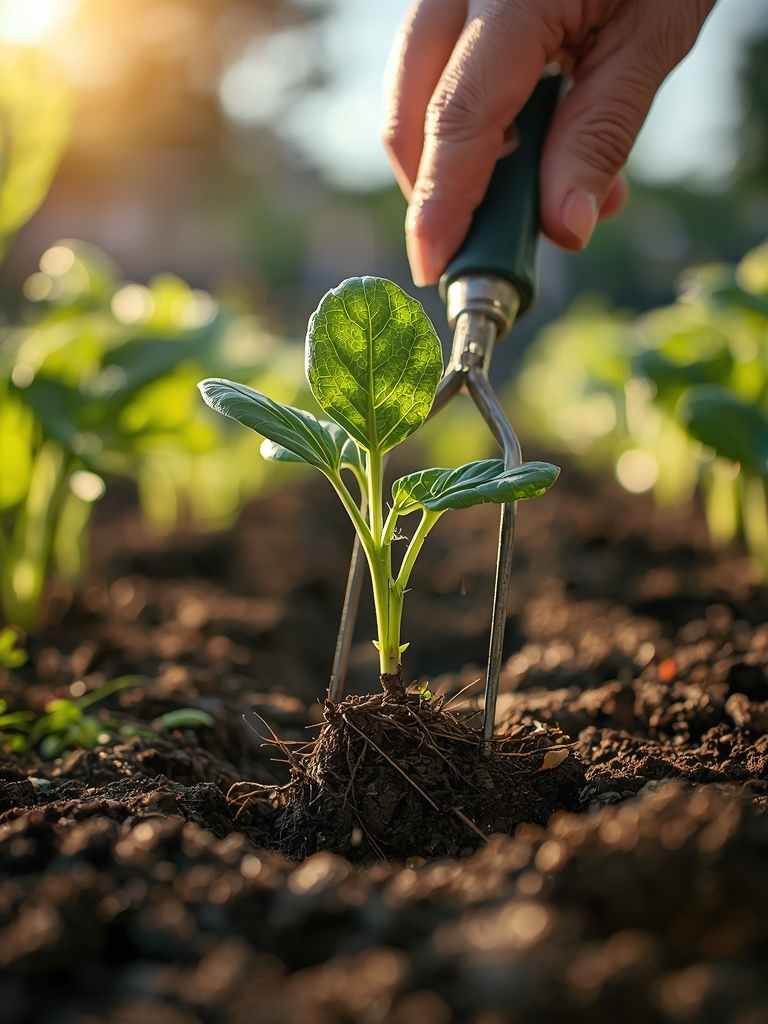
Position crowns so the buds (pink growing points) sit 1-2 inches below the soil surface. Planting too deep suffocates buds; too shallow exposes them to frost heave. Backfill with amended soil and firm gently.
Pro-Tip: Soak bare-root crowns in water with a tablespoon of kelp extract for 1 hour before planting to hydrate tissues and stimulate root hair growth.
- Water deeply immediately after planting (1 gallon per crown) and apply 3-4 inches of mulch. Keep mulch 2 inches away from the crown to prevent rot. Straw or shredded leaves work best because they break down slowly.
Pro-Tip: Mark each crown with a stake labeled with the planting date and variety. This prevents accidental disturbance and tracks harvest readiness.
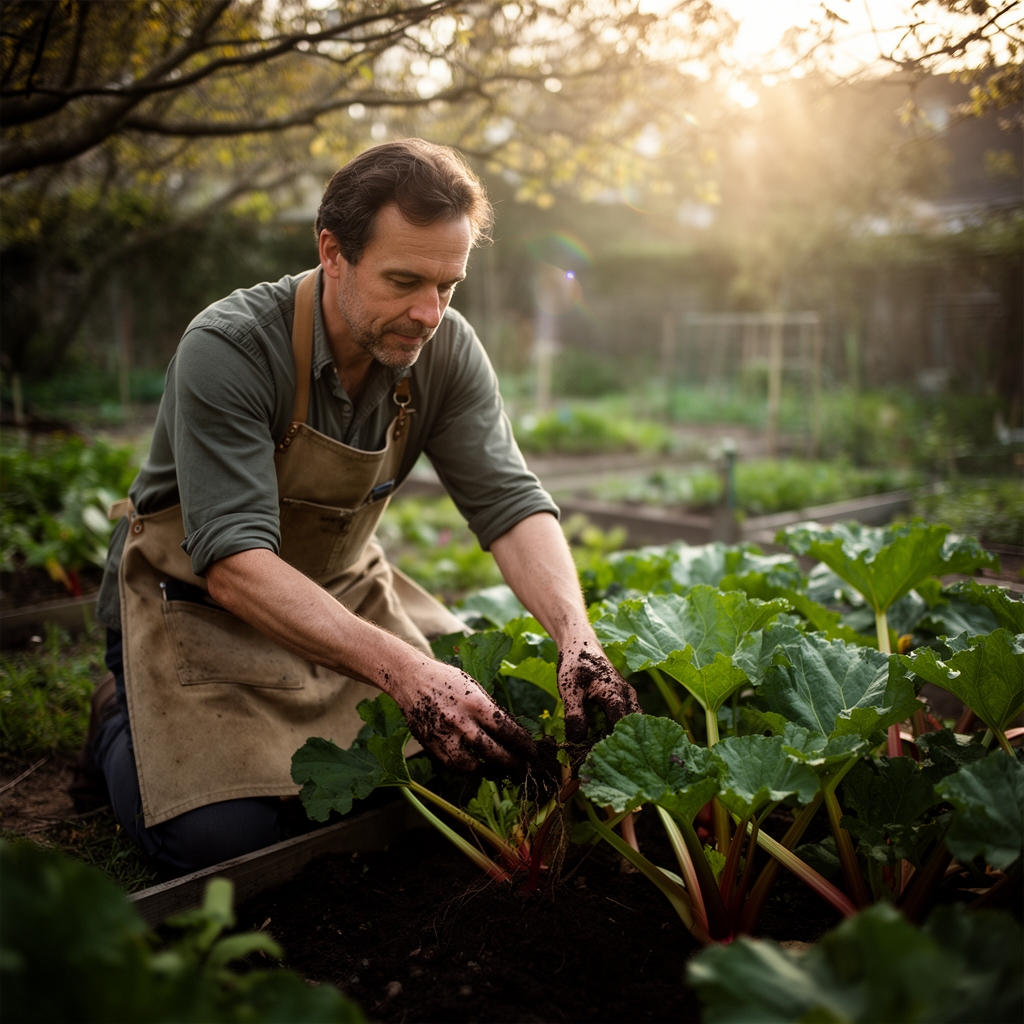
Phase 4: First-Year Management
- Remove all flower stalks that emerge in year one. Flowering drains energy from root establishment. Snap them off at the base as soon as you notice the thick, hollow stalks forming.
Pro-Tip: First-year flower stalks indicate the crown is mature enough to reproduce, but allowing bloom cuts next year's harvest by 30-40 percent.
Nutritional & Environmental Benefits
Rhubarb stalks contain significant amounts of vitamin K (supports bone health), calcium (though oxalic acid limits absorption), and vitamin C (immune function). One cup of cooked rhubarb provides 10% of daily potassium needs.
The large leaves create a dense canopy that suppresses weeds and cools soil, supporting beneficial soil organisms like mycorrhizal fungi. These fungi colonize rhubarb roots and extend nutrient uptake by up to 100 times the root surface area.
Early-season rhubarb flowers (if you allow a few to bloom in mature patches) attract mason bees and other native pollinators during the critical spring gap when few other plants flower. The nectar supports bee populations before fruit trees finish blooming.
Advanced Methods
Small Space Solutions: Grow rhubarb in 15-gallon containers (minimum 18 inches deep). Use a potting mix of 50% compost, 30% coconut coir, and 20% perlite. Container plants need division every 3-4 years instead of 8-10.
Organic & Permaculture Techniques: Companion plant rhubarb with nitrogen-fixing plants like comfrey or clover as living mulch. These accumulate nutrients that leach into the rhubarb root zone. Apply compost tea monthly during the growing season to boost beneficial bacteria populations.
Season Extension: Force early harvests by covering crowns with inverted buckets or forcing pots in late winter (when shoots are 1 inch tall). Darkness and warmth accelerate stalk growth, yielding tender pink stems 2-3 weeks earlier. This stresses plants, so force only one-third of your patch each year.
Troubleshooting
Symptom: Yellowing leaves with brown edges.
Solution: Check soil pH (likely too alkaline above 7.0). Apply sulfur and water deeply. May also indicate potassium deficiency; side-dress with wood ash (1 cup per plant) or greensand.
Symptom: Crowns rot and collapse in spring.
Solution: Poor drainage or planting too deep. Lift surviving crowns, improve drainage with sand or compost, and replant at correct depth.
Symptom: Stalks are thin and spindly.
Solution: Overcrowding or nutrient depletion. Divide crowns every 8-10 years. Apply 5-10-5 fertilizer in early spring at 1 pound per 10 square feet.
Symptom: Leaves develop orange pustules (rust).
Solution: Fungal infection favored by overhead watering. Remove infected leaves, water at soil level, and space plants for better air circulation.
Symptom: Holes in leaves but stalks intact.
Solution: Slugs or snails. Set beer traps or apply diatomaceous earth around crowns. Damage to leaves does not affect stalk quality.
Storage & Maintenance
Watering: Provide 1-1.5 inches of water weekly during active growth (spring through early summer). Reduce to 0.5 inches in late summer as plants enter dormancy. Drip irrigation or soaker hoses prevent foliar diseases.
Feeding Schedule:
- Early spring (when shoots emerge): Apply 5-10-5 fertilizer at 1 pound per plant
- Mid-summer (after harvest ends): Side-dress with compost (2 inches thick)
- Fall (before dormancy): Top-dress with aged manure (1 inch layer)
Post-Harvest Storage: Cut stalks into 1-2 inch pieces. Refrigerate in perforated plastic bags for up to 2 weeks. For long-term storage, blanch pieces for 1 minute, cool in ice water, drain, and freeze in airtight containers (lasts 12 months).
Winter Preparation: Allow foliage to die back naturally in fall. Cut dead leaves to ground level after first hard freeze. Apply 2-3 inches of compost or manure as mulch. This feeds soil organisms and insulates crowns.
Conclusion
Success with rhubarb hinges on three factors: deep soil preparation, strategic crown placement, and patient first-year management. The initial effort of building fertile, well-drained ground pays dividends for a decade or more of reliable harvests. Treat your rhubarb patch as a long-term investment in perennial food security, and it will reward you with tart, crisp stalks each spring when little else is ready. Share your planting experiences and regional variety recommendations in your local gardening club or online forum to help neighbors establish their own productive patches.
Expert FAQs
How deep should I prepare soil for a new rhubarb patch?
Dig or till to 18 inches deep. Rhubarb develops deep taproots that need loose, friable soil. Shallow preparation (less than 12 inches) leads to stunted growth and poor yields.
Can I plant rhubarb from seed or do I need crowns?
Crowns are superior. Seed-grown rhubarb takes 3-4 years to reach harvest size versus 1-2 years for crowns. Seeds also produce variable quality because rhubarb does not breed true to type.
What NPK ratio is best for establishing new rhubarb?
Use 5-10-5 or similar formulas with elevated phosphorus (the middle number). Phosphorus promotes root development, which is critical during the first year. Avoid high-nitrogen fertilizers that push leafy growth at the expense of roots.
How much space does each rhubarb crown need?
Allow 3 feet between crowns in all directions (9 square feet per plant). Mature rhubarb spreads 3-4 feet wide. Closer spacing increases disease pressure and forces premature division.
Should I remove flower stalks from newly planted rhubarb?
Yes. Snap off all flower stalks in the first year and ideally the second year too. Flowering diverts energy from root establishment and reduces future harvests by 30-40 percent. Let only mature (third-year-plus) patches bloom if desired for pollinators.