9 Best Pegboard Layouts for Maximizing Tool Storage
Gardeners lose an average of 22 minutes per session searching for misplaced tools among cluttered workbenches and shed corners. Best pegboard layouts for garden tool storage eliminate this waste by converting vertical wall space into indexed, accessible zones where every trowel, pruner, and dibber occupies a dedicated hook within arm's reach. A well-designed pegboard system mirrors the logic of a potting bench: tools are arranged by frequency of use, weight distribution, and task workflow, reducing fatigue and increasing transplanting throughput during spring's narrow planting windows.
Materials
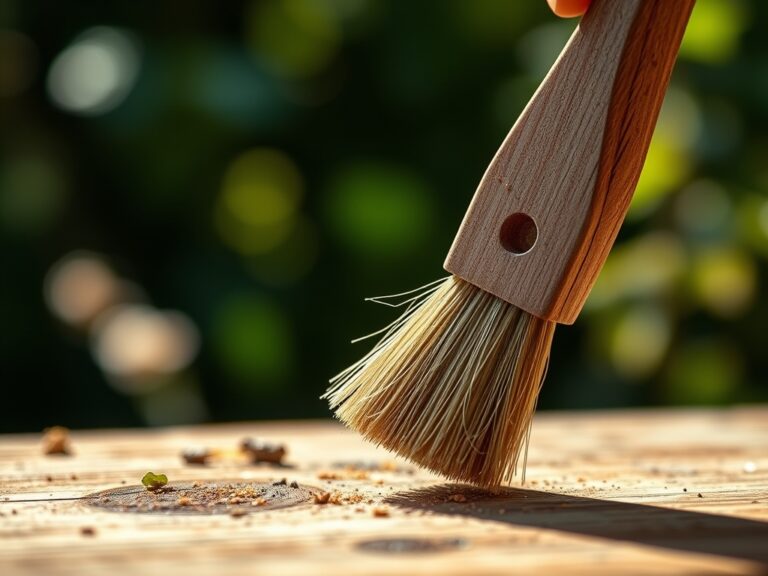
Select quarter-inch tempered hardboard pegboard rated for 50 pounds per four square feet. Mount it onto wall studs with two-inch standoffs to accommodate hook shanks. For corrosion resistance in humid potting sheds, choose powder-coated steel hooks rather than zinc-plated versions that flake after two seasons of moisture exposure.
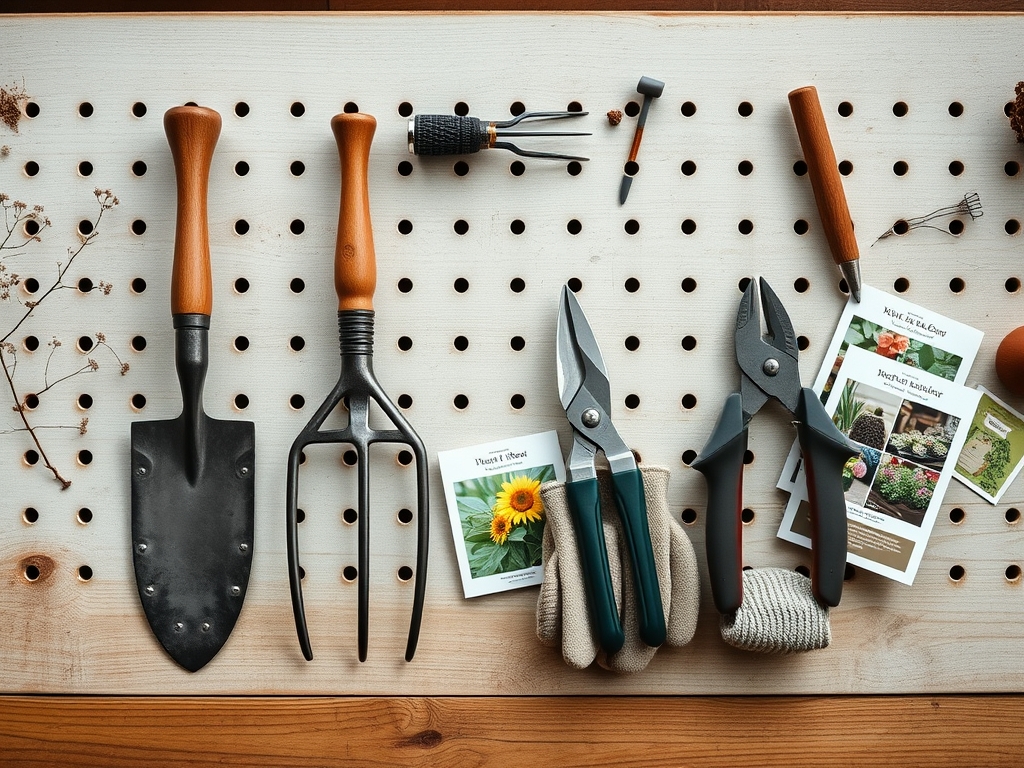
Organize your tool inventory by function and weight. Hand tools (trowels, cultivators, pruners) require single-prong hooks rated for three pounds. Long-handled implements (spades, hoes, rakes) need four-inch J-hooks or saddle brackets. Spray bottles and granular amendments in one-pound containers fit on two-inch utility hooks. Label each hook's shadow outline with a permanent marker to maintain order.
Consider the pegboard as a substrate with its own cation exchange capacity. Every tool's weight creates shear stress on the fiberboard matrix. Distribute heavy items across multiple hooks to prevent sagging. A five-pound post-hole digger should rest on two points of contact, not one.
Timing
Install pegboard systems during late winter (USDA Hardiness Zones 3-9: January through February) before spring's rush begins. This timing allows for a complete tool audit while soil remains frozen and outdoor work pauses. In Zone 10 and warmer, schedule installation during the dry season when humidity drops below 60 percent and adhesive caulks cure properly.
Frost-date windows dictate seasonal tool rotation. Two weeks before last spring frost, move transplanting tools (dibbers, soil blocks, labels) to eye-level pegboard zones. After first fall frost, shift harvest implements (pruners, harvest knives, collection baskets) to primary positions. This rotation matches auxin distribution patterns in plant growth: energy flows where it's most needed.
Phases
Sowing Phase: Initial Installation
Mount pegboard sheets with their long axis horizontal. Studs typically run 16 inches on center. Locate studs with a magnetic finder. Drill pilot holes through pegboard into studs. Use three-inch deck screws with washers. Leave a two-inch gap between wall and board using PVC pipe sections as spacers.
Pro-Tip: Apply a coat of marine-grade polyurethane to raw pegboard edges before mounting. This prevents moisture wicking through exposed fibers, extending board life from five years to twelve.
Transplanting Phase: Zone Assignment

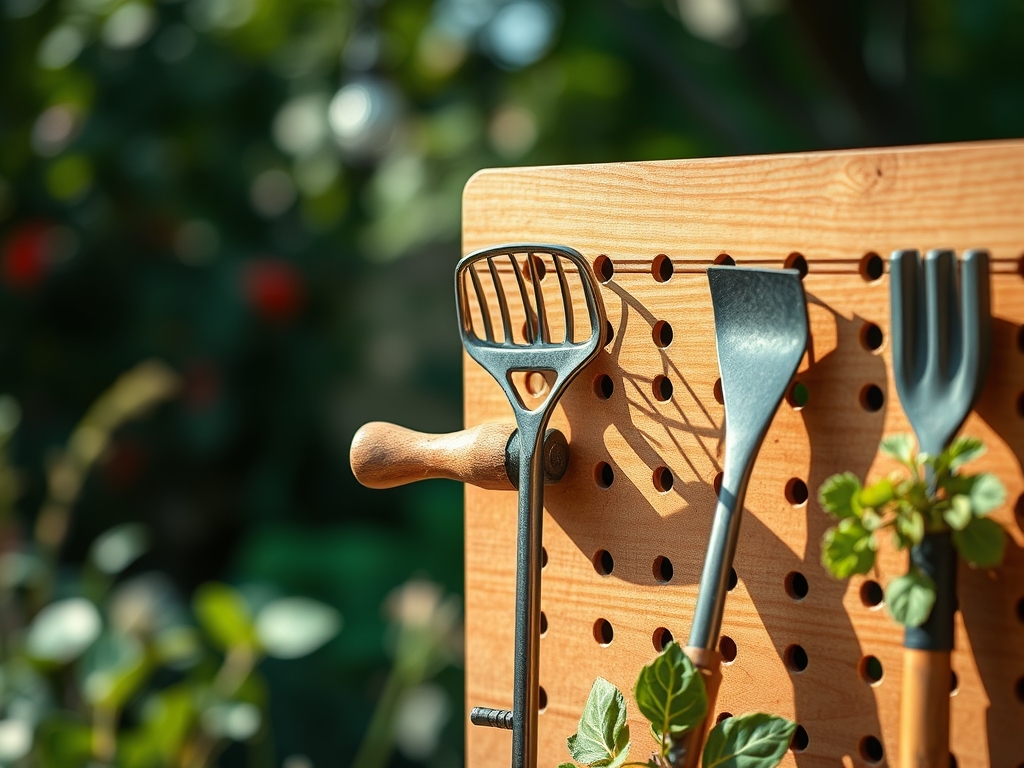
Divide the board into three horizontal zones. The top zone (above 66 inches) holds lightweight, infrequently used items: plant ties, spare labels, seed packets in labeled envelopes. The middle zone (36 to 66 inches) houses daily-use tools: pruners, trowels, cultivators, soil knives, and pH meters. The bottom zone (below 36 inches) supports heavy long-handled tools: spades, hoes, rakes, and broadforks.
Arrange tools within zones by task sequence. For potting workflows, position soil scoops left of pot stacks, dibbers center, and label markers right. This mimics the left-to-right progression of container filling.
Pro-Tip: Install a narrow shelf at 36 inches to catch soil crumbs and prevent them from contaminating stored tools below. Clean weekly with a bench brush.
Establishing Phase: Shadow Indexing
Trace each tool's outline onto the pegboard with a fine-point permanent marker. This shadow system provides instant visual feedback when tools go missing. After 30 days of use, evaluate which tools never return to their hooks. Relocate those shadows to lower-priority zones or remove hooks entirely to reduce visual clutter.
Pro-Tip: Photograph your completed layout at four angles. Print copies and laminate them. One stays in the shed for reference; one goes in your garden journal for insurance documentation.
Troubleshooting
Symptom: Pegboard Sagging in Center
Board lacks central support. Solution: Install a third standoff and screw into the center stud. For boards spanning three studs or more, add standoffs every 24 inches.
Symptom: Hooks Falling Out Under Load
Hole wear from repeated insertion cycles. Solution: Relocate hook to fresh hole two inches away. Apply thread-locking adhesive to hook shanks before reinsertion. Replace board sections showing more than 15 percent hole degradation.
Symptom: Rust Stains on Pegboard Surface
Moisture condensation on unprotected tool steel. Solution: Dry all tools with a cotton rag before hanging. Apply thin coat of camellia oil to carbon-steel blades monthly. Install a 40-watt incandescent bulb near the pegboard to maintain ambient temperature 3°F above dew point.
Symptom: Tools Blocking Each Other
Poor spatial planning. Solution: Maintain four inches of horizontal clearance between tool handles. Use depth-offset hooks: shallow hooks for thin items, deep hooks for bulky items.
Maintenance
Vacuum pegboard surfaces monthly with a brush attachment to remove dust and soil particles. Inspect hooks quarterly for corrosion or bending. Replace any hook that no longer sits perpendicular to the board surface.
Apply 1/8-inch of paste wax to exposed pegboard faces every six months. This seals the surface against humidity swings. Wipe tools with mineral oil before hanging to prevent moisture transfer from handles to board.
Tighten mounting screws annually. Wood studs shrink during winter heating cycles, creating 1/16-inch of play that accumulates into noticeable board movement.
FAQ
What spacing ratio works best for mixed tool sizes?
Allocate 60 percent of board space to small hand tools, 30 percent to long-handled implements, and 10 percent to accessories. This ratio matches typical garden task distributions.
Can pegboard hold a 12-pound electric tiller?
No. Pegboard's shear strength limits individual hook loads to eight pounds. Mount heavy power equipment on separate French cleats or wall-mounted brackets anchored directly into studs.
How do I prevent tool handles from splitting pegboard holes?
Choose hooks with rounded shanks rather than square cross-sections. Rounded profiles distribute load across more fiber surface area.
Should I paint my pegboard?
Only with breathable latex paint. Oil-based paints trap moisture inside the fiberboard matrix, promoting delamination. Leave natural if shed humidity stays below 55 percent year-round.
What's the ideal pegboard height for wheelchair users?
Mount the primary tool zone between 24 and 48 inches above floor level. Use angled hooks that tilt tools forward 15 degrees for easier one-handed removal.