8 Steps to Prepare a Functional Outdoor Kitchen Site
Learning how to prepare a garden for an outdoor kitchen requires more than clearing weeds and leveling dirt. The transition from ornamental beds or turf to a hardscape-adjacent culinary space demands soil amendments that support both structural stability and productive herb zones. Root systems must coexist with drainage fields, gas lines, and footer trenches without compromising the mycorrhizal networks that feed perennial aromatics.
Materials
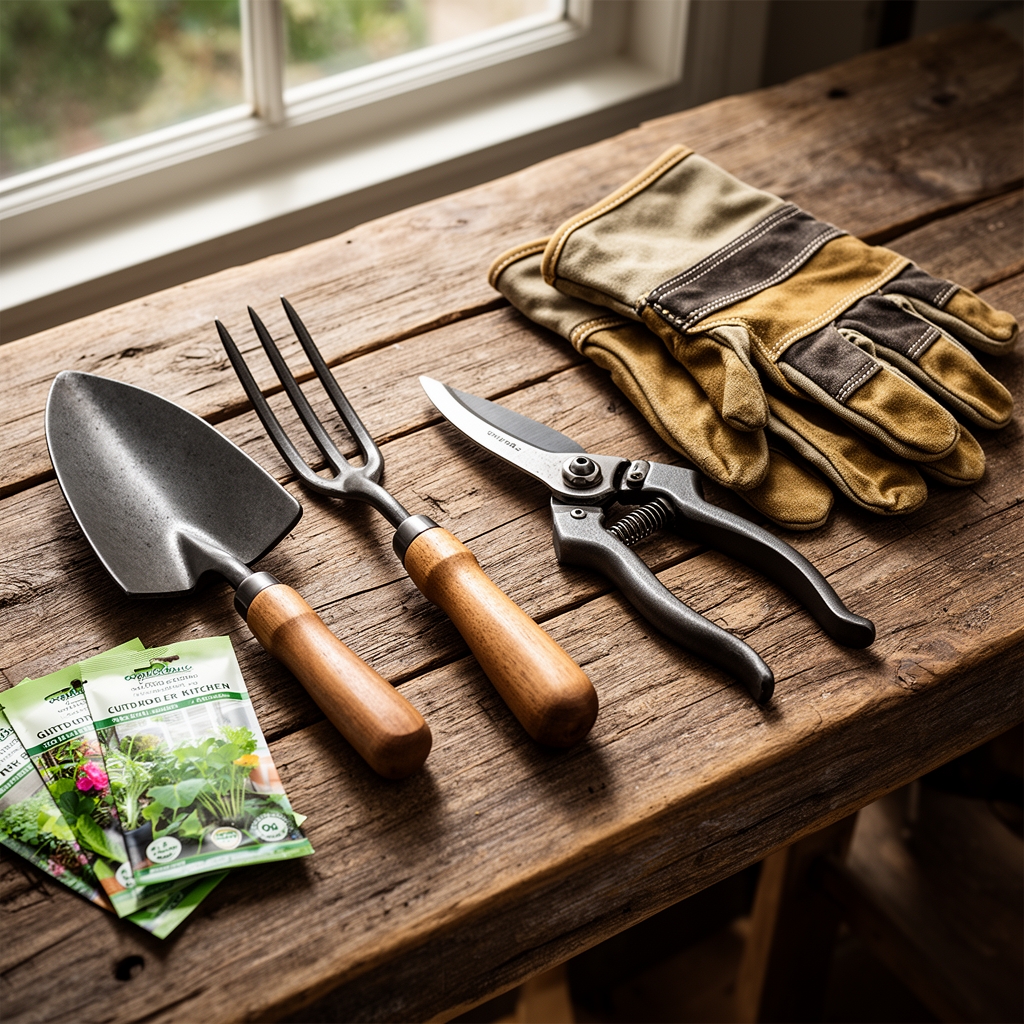
Soil amendments anchor this preparation. Begin with a bagged organic amendment rated 4-4-4 or 5-3-2, applying at 2 pounds per 100 square feet to establish baseline nitrogen without excessive vegetative flush. For acidic-preferring herbs like rosemary and thyme, incorporate sulfur at 1 pound per 100 square feet to lower pH from neutral 7.0 to 6.2–6.5. Calcitic lime serves the inverse function for basil and parsley, raising pH in naturally acidic soils.
Hardscape materials include crushed granite or decomposed granite at 3-inch depth for pathways, promoting drainage while suppressing annual weeds. Landscape fabric rated for 5-year UV resistance prevents subsurface root intrusion into utility corridors. Edging materials such as steel or cedar boards contain planting zones and prevent soil migration onto paver surfaces.
Cation exchange capacity improves with aged compost. Apply a 2-inch layer across planting beds, testing for a CEC above 10 meq/100g. This buffering capacity stabilizes nutrient availability during the first two seasons. Mycorrhizal inoculants in granular form, applied at transplant, colonize root hairs within 14 days and extend phosphorus uptake radius by 400 percent.
Timing
Hardiness zones dictate the safe window for excavation and planting. In Zones 7–9, site preparation begins in late February, two weeks before the last frost date. Soil temperatures must reach 50°F at 4-inch depth before transplanting woody perennials like sage. In Zones 4–6, delay until late April when freeze-thaw cycles subside, preventing heaving of newly installed pavers.
Summer preparation works in Zones 10–11, where mild winters permit year-round construction. Schedule grading and utility installation during the dry season to avoid compaction from wet clay. Transplant herbs during fall's cooler temperatures, allowing roots to establish before the next growth flush.
Frost-date windows govern plant introduction. Tender annuals like basil enter beds only after nighttime lows stabilize above 55°F. Hardy perennials tolerate light frost but require four weeks of root development before hard freezes below 28°F.
Phases
Sowing the Foundation
Excavate to 8 inches below final paver grade. Remove all organic material, including roots larger than 1/4 inch diameter, to prevent settling. Compact subgrade with a plate compactor in 2-inch lifts until density reaches 95 percent. Install a 4-inch crushed stone base, followed by a 1-inch leveling sand layer. This stratigraphy prevents differential settlement that cracks masonry and disrupts drainage.
Pro-Tip: Slope all surfaces 2 percent away from structures. This gradient translates to 1/4 inch per foot, sufficient to shed storm runoff without creating perceptible tilt.
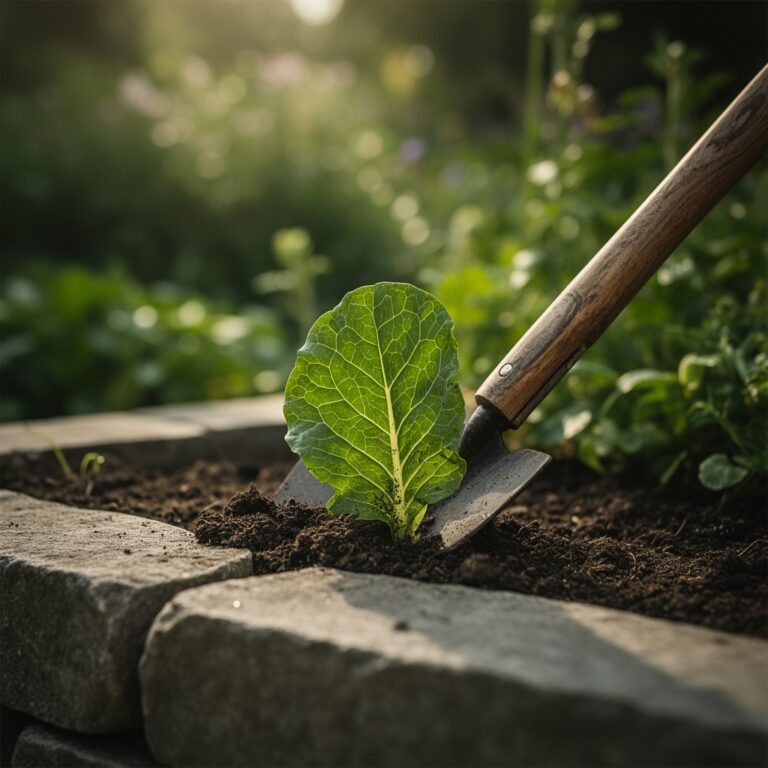
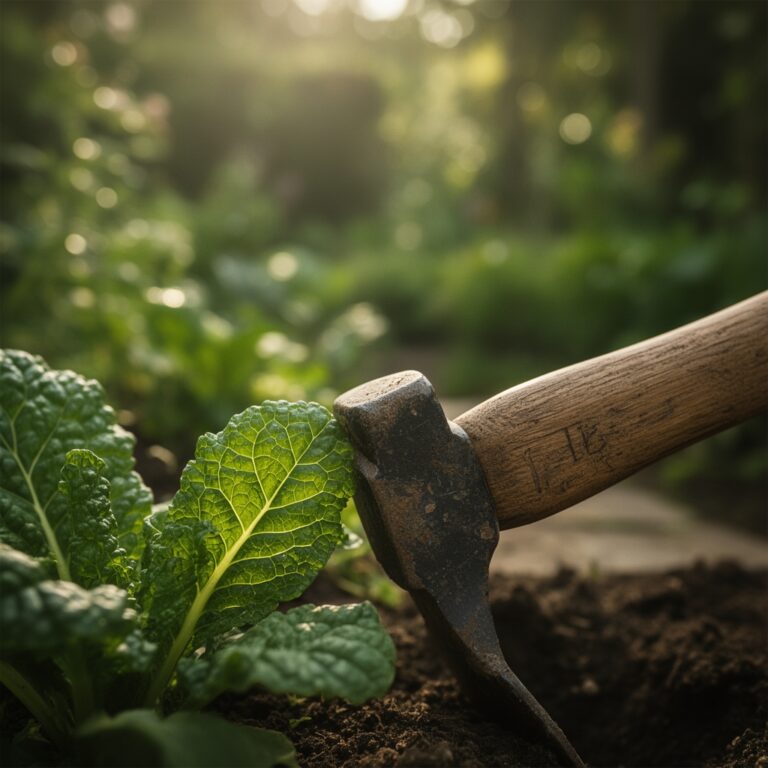
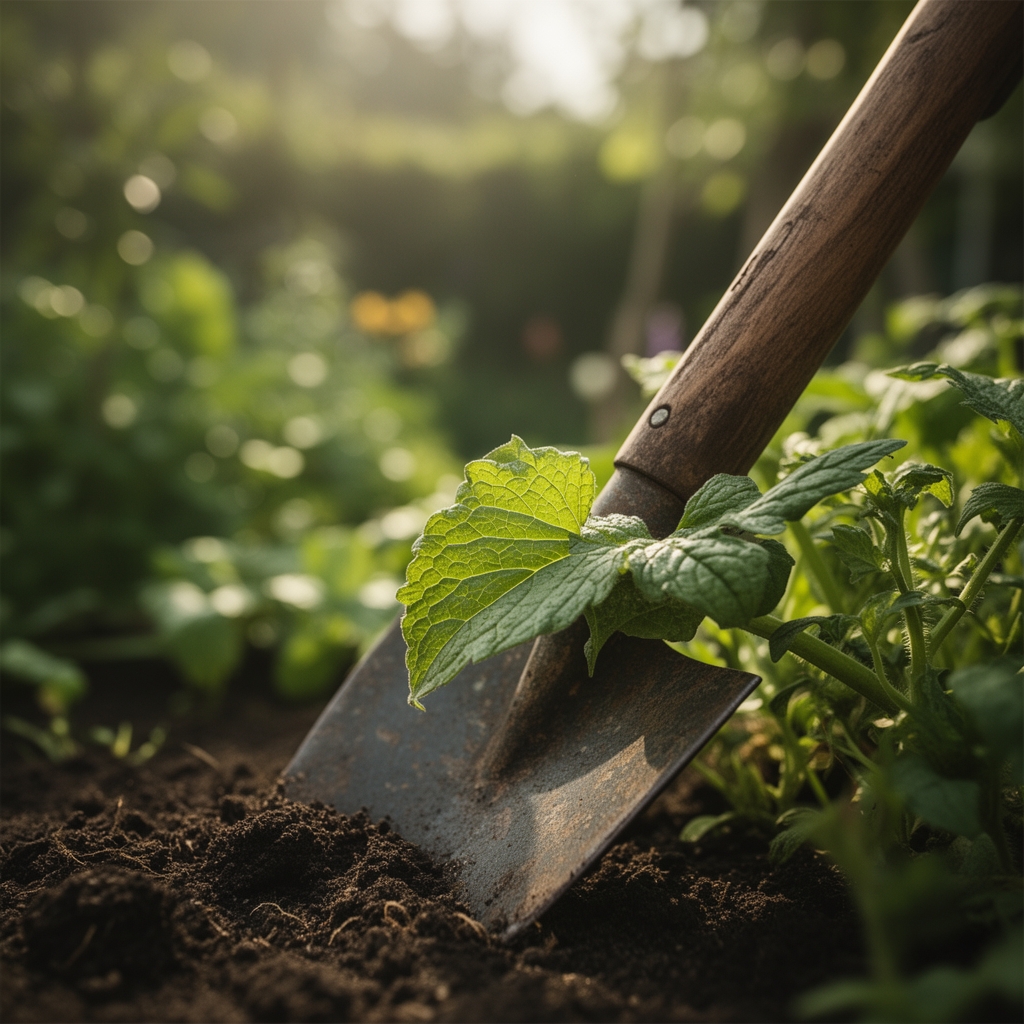
Transplanting Herb Zones
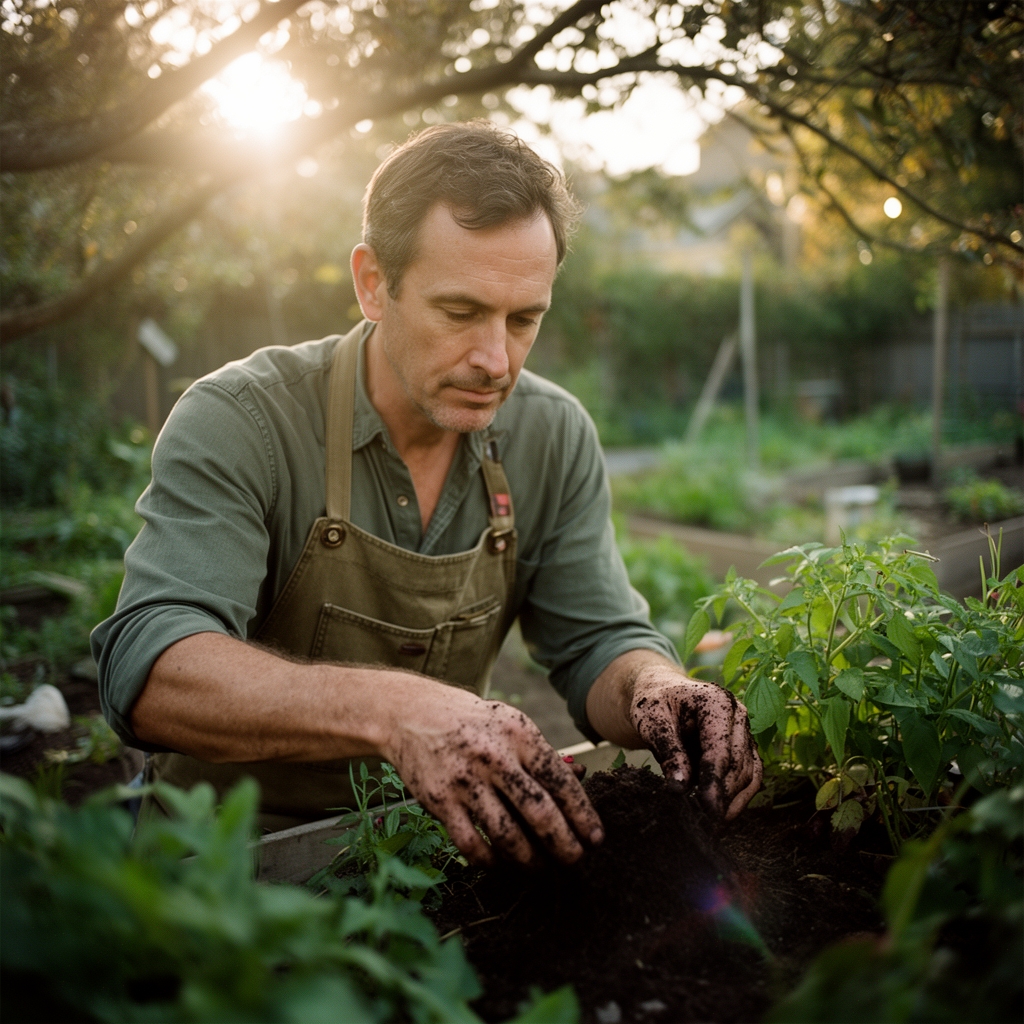
Locate herb beds within 6 feet of prep surfaces for convenient harvest. Dig planting holes twice the root ball width but no deeper than the original nursery depth. Backfill with native soil amended with 30 percent compost by volume. Tamp gently to eliminate air pockets, then water with 2 gallons per transplant to initiate root-to-soil contact.
Spacing follows mature spread dimensions. Rosemary requires 24-inch centers, thyme 12 inches, and basil 10 inches. Auxin distribution in crowded plantings skews toward vertical growth, reducing leaf production per stem.
Pro-Tip: Inoculate transplant holes with 1 tablespoon of Rhizophagus irregularis spores. This endomycorrhizal species colonizes 80 percent of culinary herbs and accelerates establishment by 35 percent.
Establishing Irrigation
Install drip lines on 12-inch centers within herb beds, positioning emitters 4 inches from transplant crowns. Use 0.5-gallon-per-hour emitters in sandy soils, 1.0 GPH in loam. Pressure-compensating models maintain uniform output across elevation changes exceeding 3 feet.
Run irrigation for 20 minutes every third day during the first month. Reduce frequency to twice weekly once new growth appears. Deep, infrequent watering trains roots to explore lower soil horizons, increasing drought tolerance.
Pro-Tip: Mulch herb beds with 1 inch of fine pine bark. Deeper layers promote fungal diseases in Mediterranean species adapted to sparse surface litter.
Troubleshooting
Symptom: Paver edges sink or tilt within first year.
Solution: Excavate affected section. Add 2 inches of crushed stone, re-compact, and reset pavers. Insufficient base depth or poor compaction causes 90 percent of hardscape failures.
Symptom: Basil leaves yellow with green veins (chlorosis).
Solution: Ferrous sulfate spray at 1 tablespoon per gallon corrects iron deficiency within 5 days. High soil pH above 7.2 locks iron into insoluble forms.
Symptom: Rosemary stems blacken at soil line.
Solution: Phytophthora root rot thrives in saturated soils. Remove affected plants, improve drainage with 4-inch-deep French drains, and replant in mounded beds 6 inches above grade.
Symptom: White powdery coating on sage leaves.
Solution: Powdery mildew spreads in humid microclimates. Increase plant spacing to 30 inches, prune interior stems to improve airflow, and apply sulfur dust at 3 pounds per 1,000 square feet.
Symptom: Thyme growth stunted, leaves pale.
Solution: Nitrogen deficiency in sandy soils. Side-dress with blood meal (12-0-0) at 1/4 pound per 10 square feet. Repeat every six weeks during the growing season.
Maintenance
Water established herbs with 1 inch per week during active growth, delivered in a single deep session. Sandy soils require split applications of 0.5 inches twice weekly. Clay soils tolerate weekly irrigation due to higher water-holding capacity.
Prune woody herbs to 4 inches above woody tissue in early spring, cutting at 45-degree angles to shed moisture. This renovates senescent stems and redirects auxin to basal buds.
Fertilize annually in spring with a 5-5-5 granular blend at 1 pound per 100 square feet. Slow-release formulations with methylene urea extend nitrogen availability for 90 days without leaching.
Remove spent annual herbs after first frost. Their decomposition invites soilborne pathogens that overwinter and infect subsequent plantings.
FAQ
How deep should I excavate for an outdoor kitchen patio?
Excavate 8 inches below finished grade in stable soils, 12 inches in clay prone to frost heave. This accommodates a 4-inch stone base, 1-inch sand layer, and 2-inch pavers.
Can I plant herbs directly in paver joints?
Low-creeping thyme tolerates foot traffic in joints wider than 1 inch. Fill joints with 50/50 sand and compost, then seed at 1/4 teaspoon per square foot.
What soil pH do most culinary herbs prefer?
Mediterranean herbs thrive at 6.2–6.8. Basil and parsley tolerate 6.5–7.2. Test soil annually and adjust with sulfur or lime as needed.
How long before I can use the kitchen after planting?
Hardscape cures in 48 hours. Herbs reach harvestable size in 60 days from 4-inch transplants when grown in amended soil with consistent moisture.
Do I need a permit for utility lines?
Gas, water, and electrical installations require permits in most jurisdictions. Contact local building departments before excavation to locate buried lines and obtain clearances.