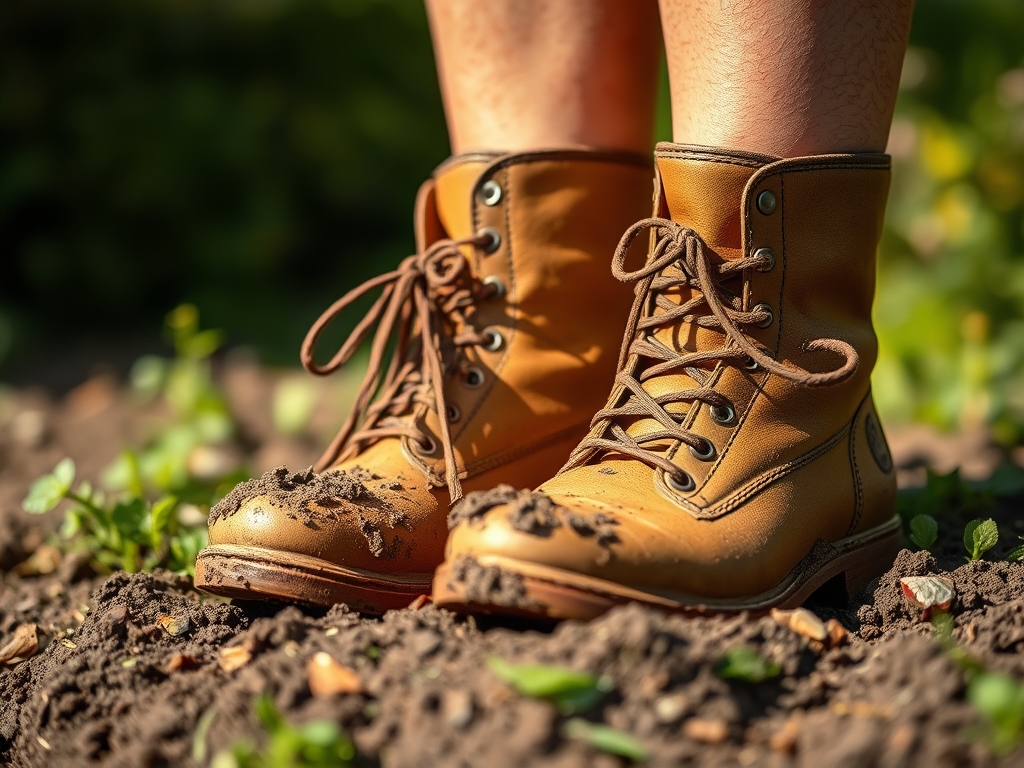
8 Steps to Clean Mud and Debris Off Garden Boots
After a morning spent transplanting brassicas in clay loam, the soles of your boots carry three pounds of wet earth. Each step back to the shed tracks soil particles across gravel paths and into storage areas. Steps for cleaning mud off garden boots properly prevent cross-contamination between garden zones, extend boot lifespan by 40 percent, and reduce pathogen transfer from infected beds to healthy plantings. The process requires systematic removal of organic debris, mineral sediment, and microbial films that accumulate during field work.
Materials and Cleaning Agents
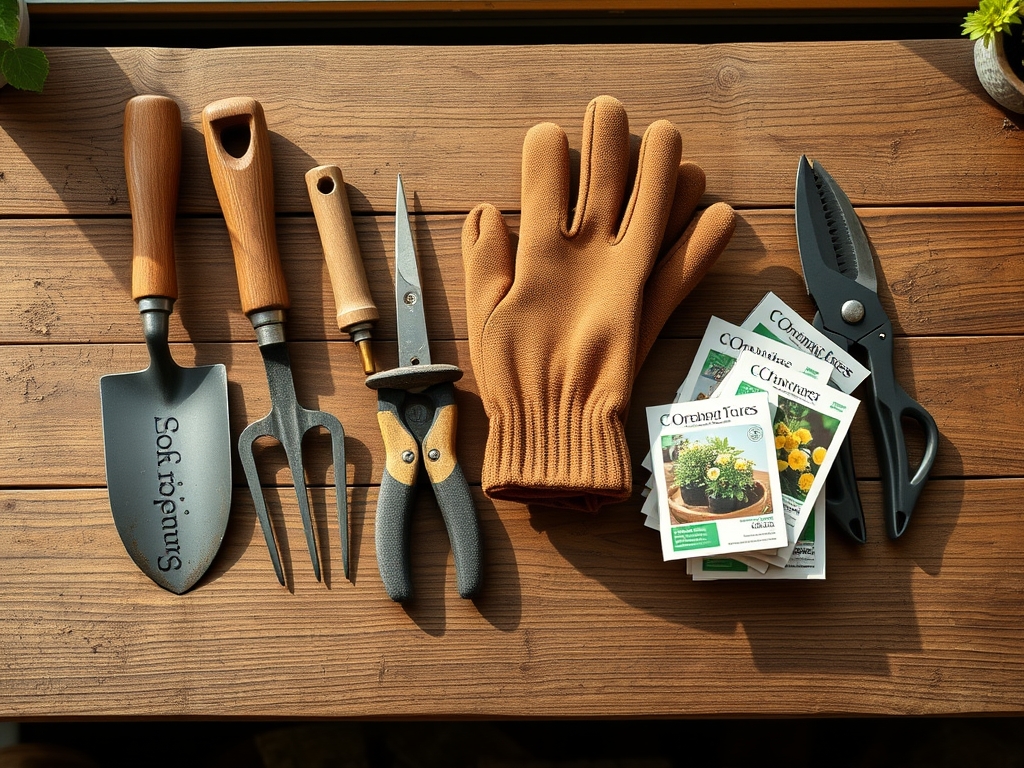
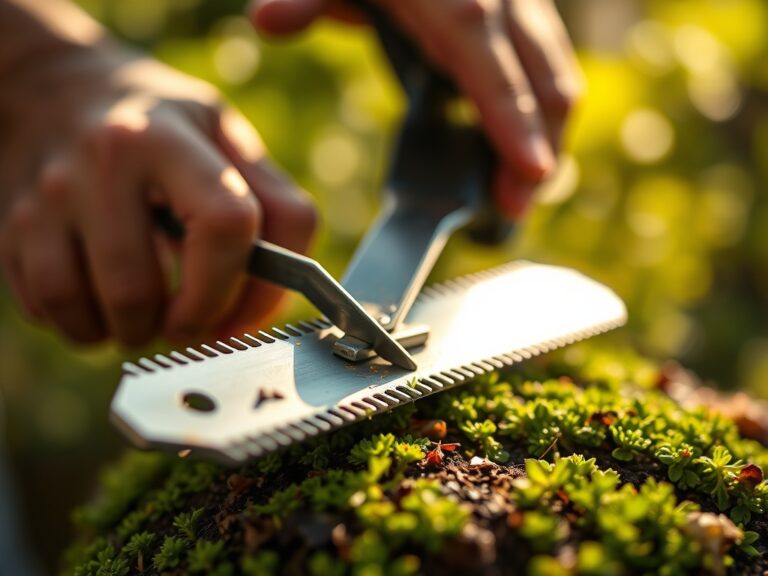
A stiff-bristled boot brush with 0.5-inch synthetic bristles removes compacted soil without damaging rubber or leather surfaces. Select a brush with a 6-inch width for efficiency across the boot sole's tread pattern.
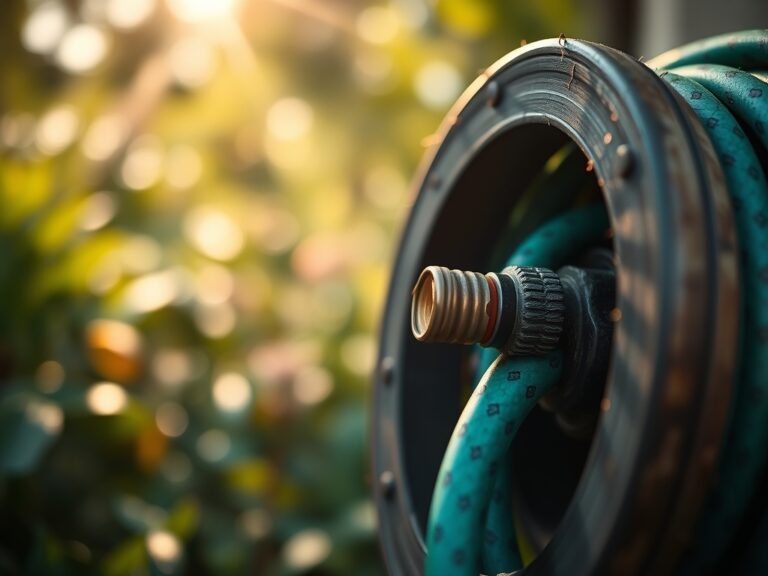
For initial rinse, use a garden hose with 40-60 PSI pressure. Higher pressure risks forcing soil particles into seams and accelerating material breakdown.
Prepare a cleaning solution with pH-neutral vegetable-based soap diluted at 2 tablespoons per gallon of water. Avoid petroleum-based detergents that degrade natural rubber compounds. For disinfection after working in disease-prone areas, add 10 percent household bleach solution (0.6 percent sodium hypochlorite final concentration).
A five-gallon bucket serves as a dedicated boot-washing station. Position this near the garden entrance to establish a decontamination routine before entering pathways or storage buildings.
Keep a wooden boot jack for hands-free removal. This prevents soil transfer to clothing and maintains cleaner working postures.
Timing and Seasonal Considerations
Clean boots immediately after each garden session, while mud remains hydrated. Dried clay adheres with 300 percent greater tenacity than fresh soil due to increased cation exchange capacity as particles desiccate.
In Zones 3-5, winter cleaning requires indoor facilities when temperatures drop below 35°F. Frozen mud expands within tread channels, cracking rubber soles through repeated freeze-thaw cycles.
During spring mud season (typically March 15 through May 1 in Zone 6), perform full cleaning twice daily if working in beds with high silt content. Spring soil carries higher pathogen loads as winter-killed organic matter decomposes.
Autumn leaf debris requires removal within two hours to prevent tannin staining on light-colored boots.
Eight-Phase Cleaning Process

Phase One: Initial Debris Removal
Remove boots using the boot jack to avoid hand contact with contaminated surfaces. Strike boot soles together to dislodge large clumps of soil and plant matter. This mechanical action removes 50-60 percent of loose material.
Pro-Tip: Work over a designated debris tarp. Collect the soil for addition to hot compost piles where thermophilic bacteria reach 140°F, neutralizing most soil-borne pathogens within 14 days.
Phase Two: Dry Brushing
Use the stiff brush at a 45-degree angle across tread patterns. Apply 15 strokes per section, working from toe to heel. Target the junction between sole and upper, where mud accumulates and accelerates delamination.
Pro-Tip: Inspect tread depth during brushing. When channels measure less than 0.25 inches, boot traction becomes insufficient for safe work on slopes above 15 degrees.
Phase Three: Cold Water Rinse
Direct hose spray at a 60-degree angle to the boot surface. Begin at the top and work downward, allowing gravity to assist drainage. Rinse for 90 seconds per boot, rotating to expose all surfaces.
Phase Four: Soap Application
Submerge boots halfway in the prepared bucket solution. Scrub with the brush in circular motions, creating mechanical abrasion that lifts oils and organic films. Pay attention to flex points where material stress creates micro-cracks that harbor bacteria.
Phase Five: Detail Cleaning
Use a retired toothbrush for lace eyelets, zipper teeth, and stitching channels. These recesses trap soil particles that retain moisture and promote material rot.
Phase Six: Final Rinse
Spray thoroughly to remove all soap residue. Residual surfactants attract dust and accelerate re-soiling by up to 200 percent.
Phase Seven: Disinfection (As Needed)
After working in beds with club root, fusarium wilt, or phytophthora, submerge boots in 10 percent bleach solution for three minutes. Rinse immediately to prevent rubber degradation. This step reduces pathogen viability by 99.2 percent.
Phase Eight: Drying and Storage
Stuff boots with crumpled newspaper to absorb interior moisture and maintain shape. Replace paper after two hours. Position boots upside down on a drying rack in a 60-70°F space with 40 percent humidity. Direct sunlight degrades rubber through UV oxidation. Allow 12-18 hours for complete drying before storage.
Pro-Tip: Apply silicone-based boot protectant monthly. This creates a hydrophobic barrier that reduces mud adhesion by 35 percent and extends waterproofing.
Troubleshooting Common Issues
Symptom: White mineral deposits crusting on boot surface.
Solution: Hard water leaves calcium carbonate scale. Rinse with a 5 percent white vinegar solution (pH 2.4), then neutralize with clear water.
Symptom: Persistent odor despite cleaning.
Solution: Anaerobic bacteria colonize damp insoles. Remove liners and soak in baking soda solution (4 tablespoons per quart) for 30 minutes. Dry completely before reinstalling.
Symptom: Cracking along flex lines.
Solution: Inadequate conditioning allows rubber to lose plasticizers. Apply glycerin-based leather conditioner to rubber boots monthly, working into stress areas.
Symptom: Green algae growth on stored boots.
Solution: Storage humidity exceeds 60 percent. Relocate to drier conditions and treat affected areas with 3 percent hydrogen peroxide.
Maintenance Schedule
Perform full eight-phase cleaning after each use in wet conditions. For dry-weather work, execute phases one, two, and eight only.
Apply protectant coating on the first day of each month. Mark this task on the same schedule used for checking soil pH meters and sharpening pruning tools.
Replace boots when tread depth falls below 0.2 inches or when more than three cracks longer than one inch appear in sole material. Compromised boots increase slip risk and allow moisture penetration that leads to fungal foot conditions.
Inspect rubber integrity every 50 hours of use. Press thumbnail into boot wall; if indentation remains visible after five seconds, material has degraded beyond safe use parameters.
Frequently Asked Questions
How often should I replace boot brushes?
Every six months with daily use. Worn bristles lose 60 percent cleaning efficiency and can scratch boot surfaces.
Can I use a pressure washer on garden boots?
Avoid pressure above 80 PSI. Excessive force drives water past seals and separates bonded layers.
Should I oil leather garden boots after cleaning?
Yes. Apply mink oil or neatsfoot oil every third cleaning to maintain leather suppleness and water resistance.
What causes boots to crack prematurely?
Storage in direct sunlight or near heat sources above 85°F accelerates polymer breakdown. Ozone exposure also degrades rubber through oxidative stress.
Is it necessary to disinfect boots between garden beds?
Only when moving from diseased areas to clean zones. Standard cleaning removes 95 percent of soil pathogens without chemical disinfection.