8 Quick Tips on How to Use a Garden Auger for Easy Corn Planting
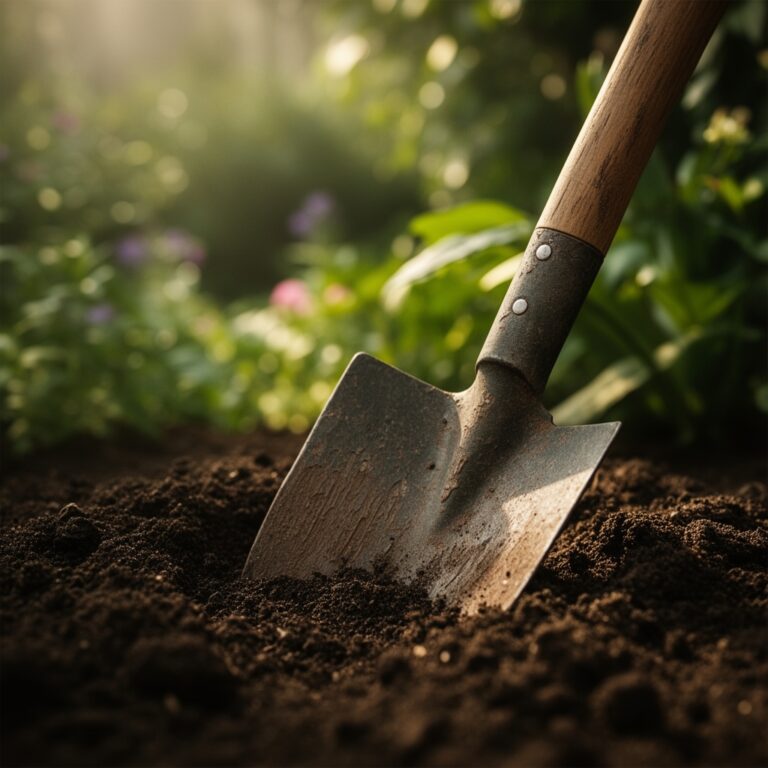
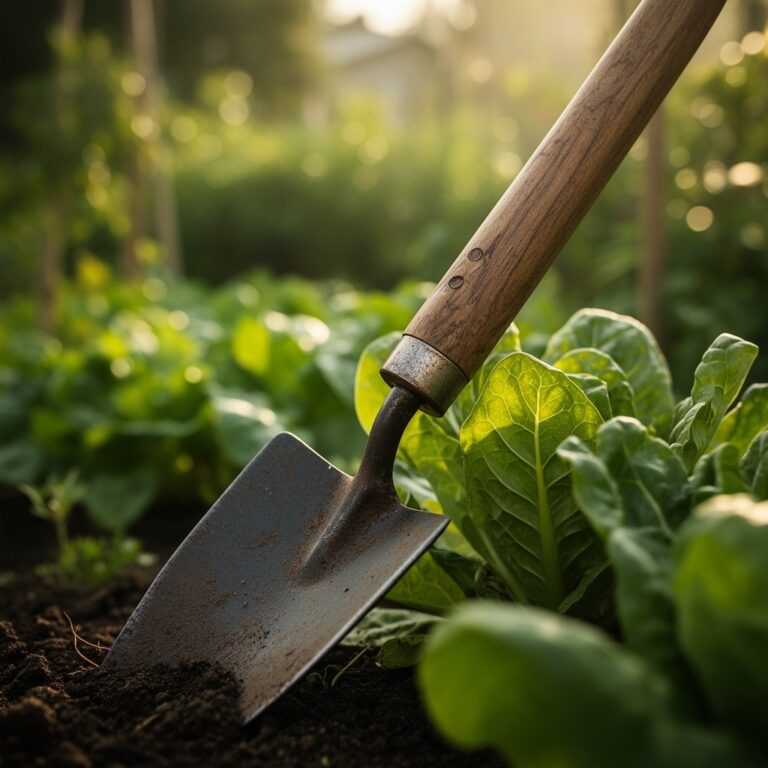
The metallic scrape of an auger bit biting into cool, damp soil at dawn carries a particular satisfaction that signals the start of planting season. That first twist sends the smell of earth particles rising up, mixing with morning dew as the tool carves perfect cylindrical holes in minutes instead of the backbreaking hour you'd spend with a shovel. Learning how to use a garden auger for planting corn transforms a tedious task into an efficient rhythm, letting you establish 50 plants in the time it once took to hand-dig a single row. The auger's spiral flutes lift compacted soil, create ideal depth consistency, and reduce transplant shock by preserving root zone integrity.
Materials & Supplies
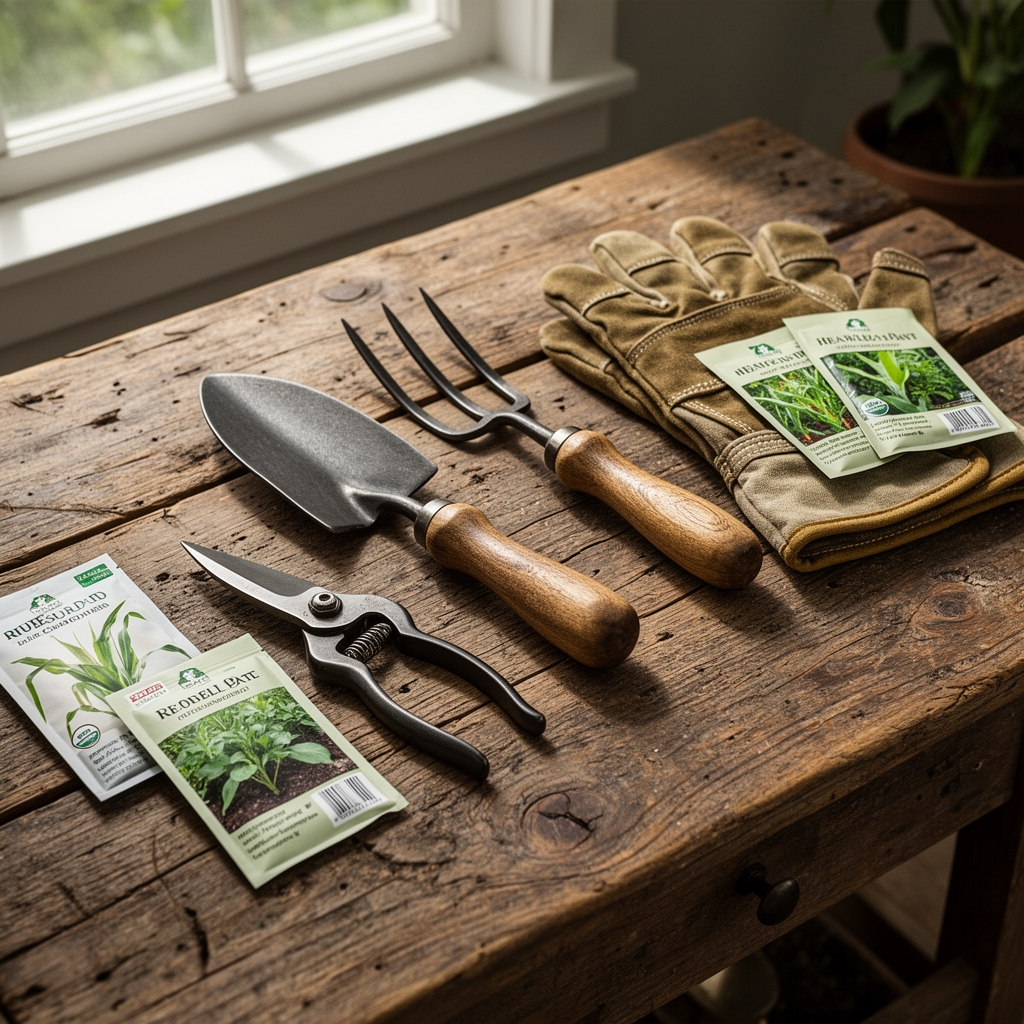
Power Equipment:
- 3-inch diameter auger bit (minimum 24 inches length)
- Corded drill (8 amps minimum) or 18V cordless with 2.0Ah battery
- Hex shank adapter (if needed for drill chuck compatibility)
Soil Amendments:
- Compost (finished, 18-month aged minimum)
- Mycorrhizal fungi inoculant powder (Glomus intraradices species)
- Granular fertilizer 5-10-5 NPK ratio (corn-specific blend)
- Dolomitic lime (if pH below 6.0)
Testing & Measuring:
- Soil pH meter (target range 6.0 to 6.8)
- Measuring tape
- Garden stakes and twine for row marking
Planting Materials:
- Corn seeds (su, se, or sh2 cultivar appropriate for your zone)
- Seedling transplants (if starting indoors)
- Mulch (straw or shredded leaves, 3-inch layer)
Timing & Growing Schedule
Corn demands soil temperatures above 60°F at 2-inch depth for reliable germination. In Hardiness Zone 5, direct sowing begins May 10-25. Zone 6 gardeners can plant April 25-May 10. Zone 7 starts April 5-20. Zone 8 sees earliest windows from March 15-30.
Calculate your planting date by counting backwards from your first expected fall frost. Standard sweet corn varieties require 65-90 days to maturity depending on cultivar. Early season types (65-75 days) work for short-season climates. Mid-season varieties (76-85 days) balance yield and time. Late season (86-90 days) produce maximum ear size but need longer growing windows.
Start seeds indoors 2-3 weeks before last frost only if using biodegradable pots. Corn roots resent disturbance. Transplant when seedlings reach 3-4 inches with two true leaves visible.
Stagger plantings every 14 days through mid-summer for continuous harvest. Stop planting 90 days before first frost to allow final crop maturation.
Step-by-Step Instructions

Phase 1: Sowing Preparation
Mark your rows 30 inches apart using stakes and twine. Corn requires block planting (minimum 4 rows) for proper wind pollination, not single-file rows.
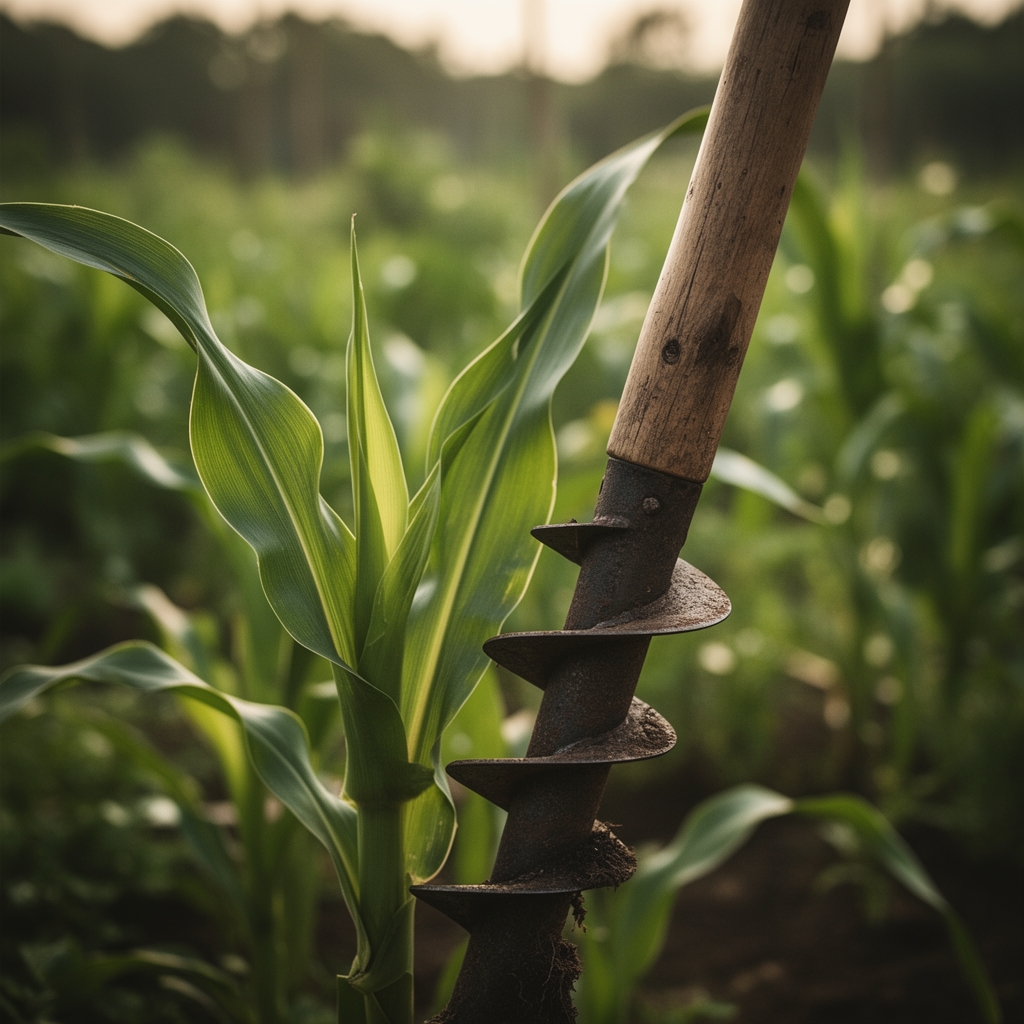
Attach the auger bit to your drill, ensuring the hex shank locks completely. Hold the drill vertically, trigger the motor to medium speed, and apply downward pressure as the bit enters soil. The auger self-feeds once engaged. Drill to 4-inch depth for seeds, 6-inch for transplants.
Pro-Tip: Spray the auger threads with cooking oil every 10 holes. Clay soil builds up on spiral flutes, reducing cutting efficiency by 40%.
Space holes 10-12 inches apart within rows. The auger leaves loose, friable soil around each opening, eliminating the need for additional tillage.
Phase 2: Transplanting Technique
Mix one tablespoon 5-10-5 fertilizer with excavated soil from each hole. Add one teaspoon mycorrhizal fungi powder directly to the hole bottom. These symbiotic organisms colonize corn roots within 7-10 days, extending effective root reach by 100-fold.
For direct seeding, drop 2-3 kernels per hole at 1.5-inch depth. Cover with loose soil and firm gently. Thin to one plant after true leaves emerge.
For transplants, remove seedlings from containers without disturbing root balls. Set transplant so the soil line matches its previous depth. Fill around roots with amended soil, pressing firmly to eliminate air pockets.
Pro-Tip: Water each hole before planting, not after. This settles soil against roots without creating surface crust that inhibits emergence.
Phase 3: Establishing Growth
Apply 3-inch straw mulch layer around plants once they reach 6 inches tall. Mulch suppresses weeds competing for nitrogen fixation resources and maintains consistent soil moisture.
Side-dress with additional 5-10-5 fertilizer when plants reach knee height (approximately 24 inches). Sprinkle 2 tablespoons per plant in a 6-inch circle around stems, then water thoroughly. Corn enters rapid growth phase at this stage, consuming nitrogen at peak rates.
Monitor for adequate moisture during tassel and silk formation. This 2-week window determines kernel development. Insufficient water during pollination reduces yield by 50%.
Pro-Tip: Snap off secondary tillers (suckers) only if plants show nitrogen deficiency yellowing. Otherwise, tillers contribute photosynthetic capacity without reducing main stalk yield.
Nutritional & Environmental Benefits
Fresh sweet corn provides 3.6 grams fiber per cup, supporting digestive health through resistant starch content. Yellow varieties contain 310 IU vitamin A from carotenoid pigments lutein and zeaxanthin, which protect retinal tissue.
Each ear delivers 17% daily magnesium requirements, essential for enzymatic functions in muscle and nerve systems. Corn supplies thiamine (B1), supporting cellular energy production and carbohydrate metabolism.
Dense planting blocks create microhabitats for beneficial insects. Mason bees (Osmia species) and native ground beetles shelter between stalks, providing pollination services and pest predation. Corn's extensive root system adds organic matter to subsoil layers, improving structure for subsequent crops.
Leaves contribute carbon-rich material for compost systems. A 100-square-foot corn patch generates approximately 40 pounds of stalk biomass for carbon cycling.
Advanced Methods
Small Space Adaptation:
Container growing requires minimum 5-gallon pots, 12 inches diameter. Drill drainage holes and fill with equal parts compost, peat, and perlite. Plant one seed per container. Group 16 containers in 4×4 grid for pollination success.
Organic & Permaculture Integration:
Interplant with climbing beans and winter squash in traditional three sisters guild. Auger 8-inch holes for squash transplants between corn rows. Beans planted 2 weeks after corn establish nitrogen-fixing nodules that benefit all three crops. This polyculture reduces pest concentration by 60% compared to monoculture.
Season Extension:
Use black plastic mulch in northern zones to warm soil 8-10°F above ambient temperature. Drill through plastic with auger at marked intervals. Plant through openings. This accelerates germination by 4-6 days.
Start final succession planting indoors 10 weeks before frost. Transplant 8-week seedlings for final harvest. Cover with row fabric when nighttime temperatures drop below 50°F.
Troubleshooting
Symptom: Auger binds or stalls in heavy clay soil.
Solution: Pre-water planting area 24 hours before drilling. Moisture content between 40-60% capacity allows optimal cutting action. Alternatively, switch to 2-inch diameter bit for initial penetration, then enlarge holes manually.
Symptom: Seedlings emerge unevenly with 30-50% germination gaps.
Solution: Soil temperature below 60°F causes seed rot. Wait 3-5 days for soil warming. Use soil thermometer at 8 AM for accurate readings. Cold, wet conditions favor fungal pathogens that destroy embryos.
Symptom: Plants develop purple-tinged leaves and stunted growth.
Solution: Phosphorus deficiency triggered by cold soil (below 55°F) that inhibits nutrient uptake. Apply liquid starter fertilizer (9-18-9 NPK) as foliar spray every 7 days until temperatures stabilize. Roots cannot access granular phosphorus in cold conditions.
Symptom: Auger holes collapse immediately after drilling in sandy soil.
Solution: Sandy soil lacks structure for vertical walls. Add 2 inches compost across planting area and incorporate to 8-inch depth. Organic matter increases particle cohesion. Alternatively, use trowel to create sloped-wall pockets instead of vertical holes.
Symptom: Ears develop incomplete kernel rows or unfilled tips.
Solution: Inadequate pollination from insufficient plant density or single-row planting. Corn is wind-pollinated. Each silk must receive pollen for kernel development. Plant minimum 16 plants in block formation. Hand-pollinate by shaking tassels over emerging silks daily for 5 days.
Storage & Maintenance
Corn requires 1 inch of water weekly, delivered in single deep soaking rather than multiple shallow irrigations. Deep watering encourages roots to penetrate 24-36 inches, accessing moisture reserves during dry spells. Install soaker hoses along rows for efficient delivery.
Monitor soil moisture at 4-inch depth using finger test. If soil feels dry at this level, irrigate immediately. Water stress during pollination (when tassels shed pollen) reduces kernel set permanently.
Apply side-dressing fertilizer twice during growing season. First application occurs at 12-inch height (knee-high stage). Second feeding happens when silks first appear. Use 2 tablespoons 10-10-10 NPK per plant, broadcast 6 inches from stalks.
Harvest ears when silks turn brown and dry. Test readiness by puncturing kernel with fingernail; milky liquid indicates peak sweetness. Sugars convert to starch within hours of harvest. Refrigerate immediately at 32-35°F to preserve quality.
For seed saving, leave selected ears on stalks until husks dry completely and kernels dent. This occurs 6-8 weeks after silk emergence. Harvest, remove kernels, and dry further indoors for 2 weeks. Store in airtight containers at 32-40°F with silica gel packets. Properly dried seed maintains 85% viability for 2-3 years.
Clean auger bits after each use. Remove soil with wire brush, then wipe threads with oiled rag. Store in dry location. Inspect hex shanks for wear annually. Replace bits when cutting edges show rounding or when drilling time per hole increases 50% above baseline.
Conclusion
The garden auger eliminates the physical strain and time waste of traditional hand-digging, letting you establish corn crops with precision spacing and optimal depth control in fraction of normal labor hours. This systematic approach combining proper hole preparation, strategic amendment placement, and consistent maintenance protocols produces vigorous plants that maximize both yield and nutritional content. Share your auger planting results and creative succession schedules with local garden clubs to help others discover this efficiency breakthrough.
Expert FAQs
How deep should I drill auger holes for corn planting?
Drill 4 inches deep for direct seeding, placing 2-3 kernels at 1.5-inch depth within the hole. For transplants, create 6-inch holes to accommodate root ball dimensions without cramping feeder roots that extend downward aggressively in first 10 days.
Can I use a garden auger in rocky or root-filled soil?
Auger bits deflect off rocks larger than 2 inches, causing drill torque and potential wrist strain. Survey planting area with probe rod first. Remove obstacles or relocate rows. Roots less than 0.5-inch diameter cut cleanly. Larger woody roots require manual extraction before auger use.
What drill power specifications work best for corn planting augers?
Corded drills rated 8-10 amps provide consistent torque through heavy clay. Cordless models need 18V minimum with brushless motors. Avoid compact 12V drills; they lack power for 3-inch bits in compacted soil. Two-handed grip drills offer better control than pistol-grip models.
Does auger planting improve corn germination rates compared to traditional methods?
Auger holes create uniform depth and loose soil structure that increases germination consistency by 15-25%. The cylindrical shape maintains moisture around seeds better than flat-bottom trenches. Even soil contact on all sides improves emergence timing, resulting in plants at identical growth stages for synchronized harvest.
How do I prevent soil compaction around auger holes?
Avoid drilling when soil moisture exceeds field capacity (when squeezed soil ball holds shape but no water emerges). Wet soil smears and compacts along hole walls, creating hardpan barriers that restrict root penetration. Optimal moisture feels slightly damp but crumbles easily when disturbed.