7 Steps to Install a Metal Garden Arch for Rose Support
The scent of climbing roses in full bloom travels 40 feet on a June afternoon, but only if the canes have proper vertical support to lift flowers into airflow. A metal garden arch transforms a flat border into a three-dimensional display of color and fragrance while improving air circulation around foliage to reduce powdery mildew. Steps for installing a metal garden arch require soil preparation, precise leveling, and strategic rose placement to ensure structural stability for canes that can reach 15 feet and weigh 30 pounds per side when mature.
Materials and Soil Amendment by Function
Select a metal arch with 7-gauge steel or thicker for zones 5-9 where wind load exceeds 15 mph. Galvanized or powder-coated finishes resist rust for 15-20 years. Anchor stakes must penetrate 18 inches below grade in clay soils, 24 inches in sandy loam.
Soil amendments should target a pH of 6.0-6.5 for optimal iron uptake. Incorporate 2 inches of composted pine bark (pH 5.5) into clay to improve drainage. Add 4-4-4 organic rose fertilizer at 1 cup per square yard to establish baseline nitrogen, phosphorus, and potassium. Bone meal (0-12-0) at half strength supports root development without excessive vegetative growth. Mix mycorrhizal fungi inoculant directly into planting holes at 1 tablespoon per rose to colonize roots and extend phosphorus acquisition by 300 percent.
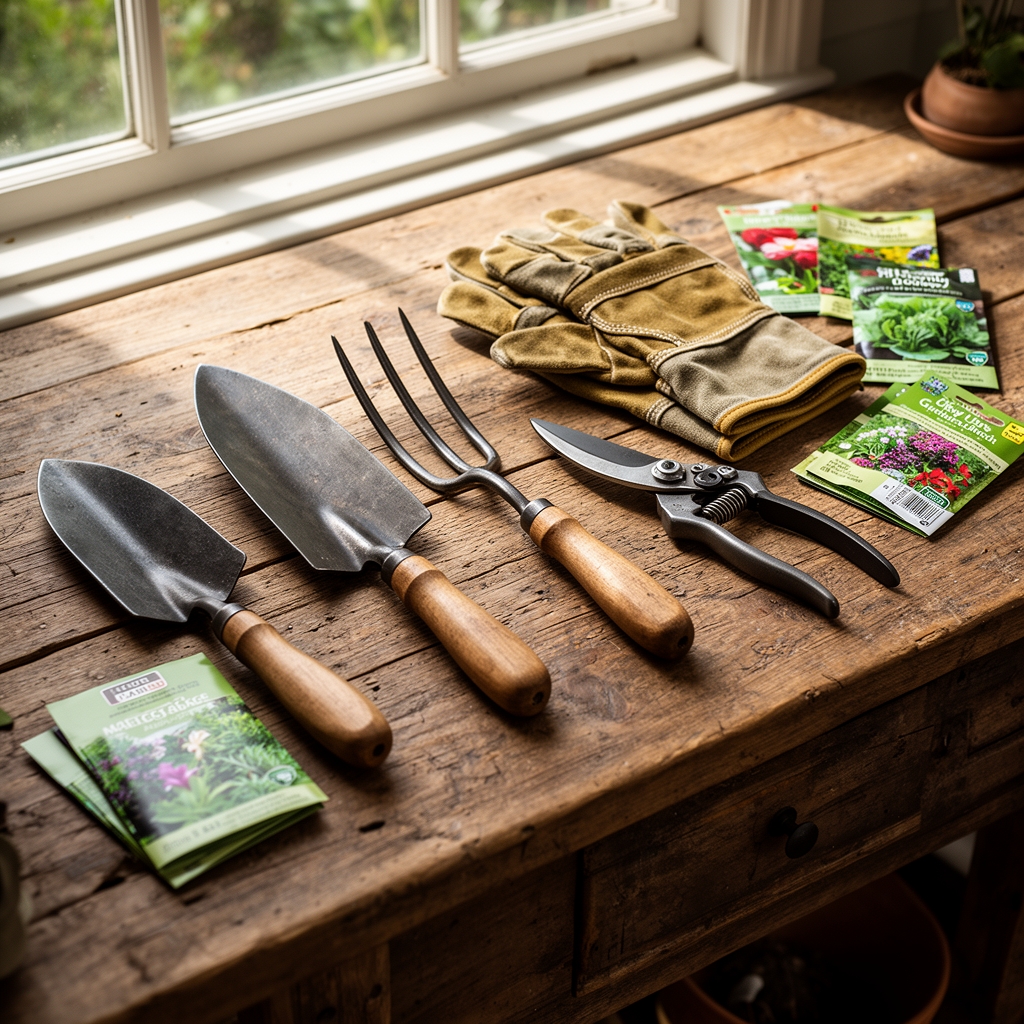
Tools include a post-hole digger, 4-foot level, rubber mallet, and compaction tamper. Concrete mix (one 60-pound bag per post) is optional but recommended for arches exceeding 8 feet in height or locations with freeze-thaw cycles.
Timing by Hardiness Zone
Install arches 4-6 weeks before the last spring frost date when soil temperature reaches 45°F at 6-inch depth. This allows roses planted simultaneously to establish roots before auxin-driven shoot elongation begins. In zones 7-9, October through November installation permits root growth during winter dormancy without top growth competition.
Zones 5-6 require spring installation only. Frost heaving can shift posts by 2 inches laterally, necessitating spring re-leveling. Wait until forsythia blooms to plant bare-root roses alongside newly installed arches.
Installation Phases

Phase One: Site Preparation and Foundation
Mark post locations with stakes and string. Verify 90-degree corners using the 3-4-5 triangle method: measure 36 inches along one side, 48 inches along the perpendicular, and adjust until the diagonal equals 60 inches. Excavate post holes to 24 inches deep and 10 inches wide. Remove rocks larger than 2 inches to prevent voids that compromise compaction.
Add 3 inches of crushed gravel to each hole for drainage. Set posts plumb using a 4-foot level in two perpendicular directions. Backfill with native soil in 4-inch lifts, compacting each layer with a tamper at 25 pounds of force. For permanent installations, pour concrete collars around posts, leaving the top 3 inches as soil for aesthetic purposes.
Pro-Tip: Score metal posts with 80-grit sandpaper below grade to increase surface area for concrete bonding, reducing rotational movement by 40 percent.
Phase Two: Assembly and Leveling
Attach crossbars and arch segments hand-tight initially. Measure diagonal distances across the top to confirm square geometry. Differences exceeding half an inch create stress points that crack welds under wind load. Tighten all bolts to manufacturer specifications, typically 20-25 foot-pounds for 3/8-inch hardware.
Check post verticality again after full assembly. Clay soils can compress unevenly under weight, tilting posts by 2-3 degrees. Re-level by excavating the higher side and adding compacted soil to the lower.
Pro-Tip: Apply anti-seize compound to all bolts to permit disassembly for off-season storage in zones 4-5 where ice accumulation exceeds 2 inches.
Phase Three: Rose Placement and Training
Plant one climbing rose 12 inches outside each post. Dig holes 18 inches deep and 24 inches wide. Position the bud union 2 inches below grade in zones 5-6, at grade level in zones 7-9. Prune roots to remove circling sections, cutting at 45-degree angles to expose cambium for rapid callus formation.
Water each rose with 3 gallons immediately after planting. Mulch with 3 inches of shredded hardwood bark, keeping material 4 inches away from canes to prevent crown rot.
Begin training canes at a 45-degree angle toward the arch when growth reaches 18 inches. Horizontal training redistributes auxin to lateral buds, increasing bloom count by 60 percent. Secure canes with soft rubber ties at 12-inch intervals.
Pro-Tip: Train canes in a spiral pattern around posts rather than straight vertical paths to maximize light interception and trigger more flowering spurs.
Troubleshooting Common Issues
Symptom: Posts lean 5-10 degrees after one season.
Solution: Excavate to 12 inches, add concrete collar, and guy-wire to stakes 6 feet away at 45-degree angles until concrete cures for 72 hours.
Symptom: Rust spots appear on galvanized steel within two years.
Solution: Coat with cold-galvanizing compound annually. Original galvanization averages 1.5 mils thick and depletes through oxidation.
Symptom: Rose canes slip down posts despite ties.
Solution: Install horizontal cross-wires at 18-inch vertical intervals using 14-gauge vinyl-coated steel wire, creating a ladder framework for tie attachment points.
Symptom: Arch sways 3-4 inches in wind.
Solution: Install diagonal braces from post tops to bases at ground level. This triangulates the structure and reduces lateral movement by 75 percent.
Maintenance Protocol
Apply 1 inch of water per week during the growing season, measured with rain gauges placed at the arch base. Irrigation frequency should maintain soil moisture at 60-70 percent field capacity, testable with a tensiometer reading of 10-20 centibars.
Feed roses monthly from April through July with 10-10-10 water-soluble fertilizer at half-strength (1 tablespoon per gallon). Cease nitrogen applications after August 1 to harden tissue before frost.
Inspect bolts each spring. Retighten any that turn more than one-quarter rotation by hand. Check for metal fatigue at welds, visible as hairline cracks or rust streaks radiating from joints.
Prune roses in late winter when buds swell but before leaf emergence. Remove dead wood and canes thinner than a pencil. Cut remaining canes to 36-48 inches, making cuts 1/4 inch above outward-facing buds at 45-degree angles.
Frequently Asked Questions
How deep should posts be set? Bury posts to one-third of total arch height, minimum 18 inches, to resist 25 mph winds when covered with 40 pounds of rose foliage.
Can arches be installed over existing roses? Yes, if roses are dormant. Prune canes to 18 inches, excavate 24 inches from crown centers, and work posts into place without severing major roots.
What spacing prevents crowding? Place arch posts 5-6 feet apart for standard climbing roses. Ramblers require 8-10 feet to accommodate 20-foot canes.
Do metal arches need winter protection? Remove ice accumulation exceeding 1 inch thickness to prevent structural stress. In zone 4, consider disassembling arches storing them horizontally.
How long until roses cover the arch? Vigorous climbers like 'New Dawn' achieve 50 percent coverage by year two, full coverage by year three with consistent training and feeding at 1/2 pound of 10-10-10 per plant per month.