7 Rotation Steps to Prepare a Temperate Vegetable Garden
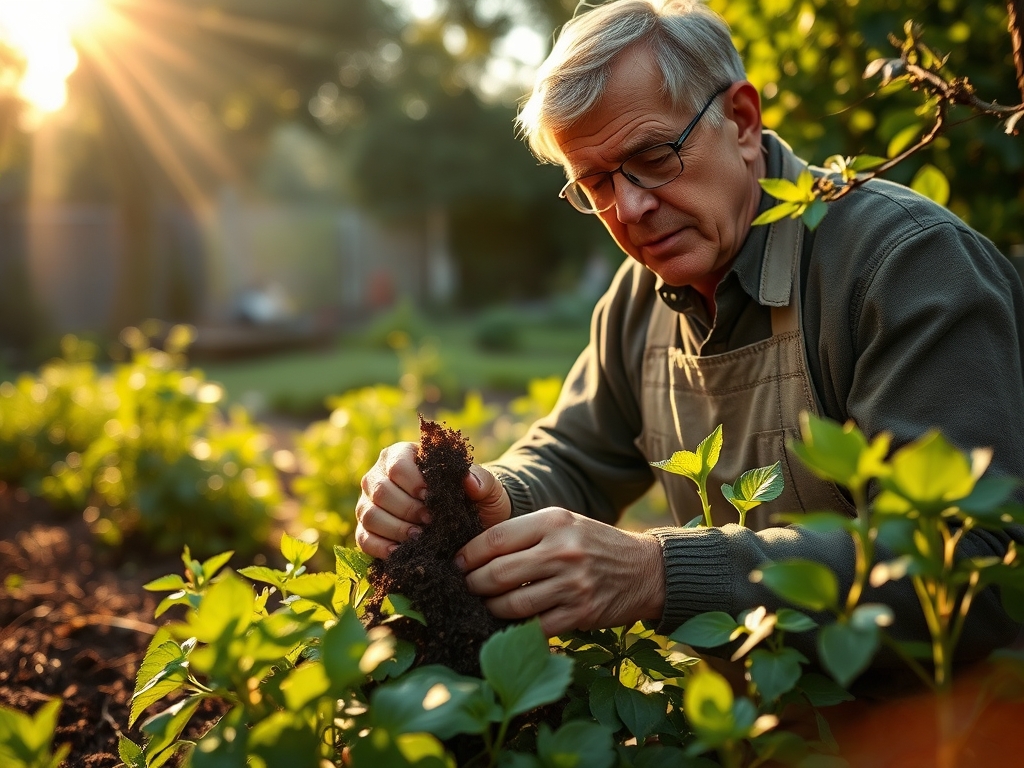
Damp earth exhales a sharp, metallic scent of geosmin as the spade breaks the surface. A healthy leaf maintains high turgor pressure; it feels firm and resilient under the thumb, a sign of optimal cellular hydration. Learning how to prepare a garden for a temperate vegetable garden requires more than superficial digging. It demands a rigorous understanding of soil chemistry and thermal windows. In temperate zones, the transition from winter dormancy to active growth is a narrow aperture. Success depends on manipulating the rhizosphere to support rapid nutrient uptake before the summer heat induces premature senescence. You are not merely planting seeds; you are engineering a biological engine. This process begins with the structural integrity of the soil and ends with the precise timing of the harvest. Every decision, from the Cation Exchange Capacity (CEC) of your loam to the specific N-P-K ratios of your amendments, dictates the metabolic efficiency of your crops. Precise preparation ensures that the root systems establish dominance before the first heat wave of the season.
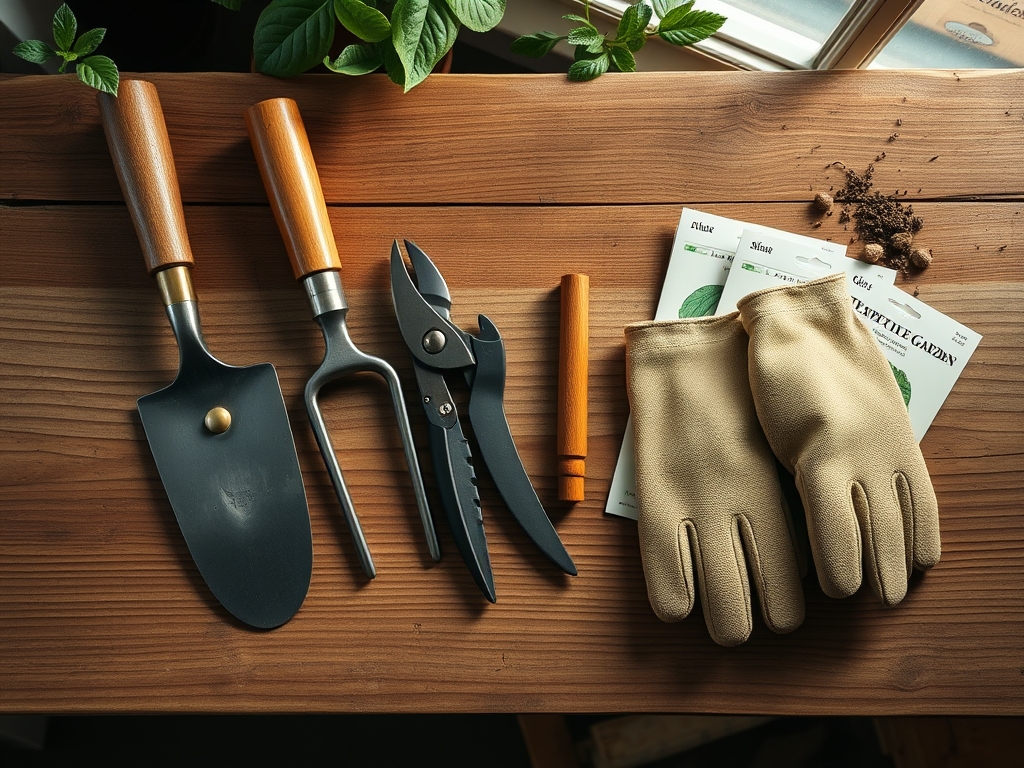
Materials:
The foundation of a temperate garden is a friable loam consisting of 40% sand, 40% silt, and 20% clay. This texture ensures adequate pore space for oxygen diffusion while maintaining water-holding capacity. Your soil must fall within a pH range of 6.2 to 6.8 to maximize nutrient availability. Outside this range, essential minerals become chemically locked and unavailable to the plant.
For heavy feeders like brassicas or nightshades, prepare a starter amendment with an N-P-K ratio of 5-10-10. The higher phosphorus and potassium levels encourage robust root development and cellular wall strength without forcing excessive, weak vegetative growth. You will also require high-quality organic matter with a Carbon-to-Nitrogen (C:N) ratio of 25:1 to 30:1. This ratio provides the necessary fuel for microbial activity without causing nitrogen immobilization. Stockpile aged compost, perlite for aeration, and elemental sulfur if your baseline pH exceeds 7.2.
Timing:
Temperate gardening is governed by the frost-free window, typically occurring between Hardiness Zones 5 and 8. You must calculate your planting dates based on the "Last Expected Frost." In Zone 6, this usually falls in mid-May. The biological clock of a vegetable is dictated by the photoperiod and cumulative growing degree days.
Vegetables transition from the vegetative stage (leaf and stem production) to the reproductive stage (flowering and fruiting) based on light duration and thermal accumulation. For example, peas require soil temperatures of at least 45 degrees Fahrenheit to germinate, while peppers demand a consistent 65 degrees Fahrenheit at night to prevent blossom drop. Use a soil thermometer to verify that the top 4 inches of soil have reached the target temperature for at least three consecutive days before introducing sensitive transplants.
Phases:
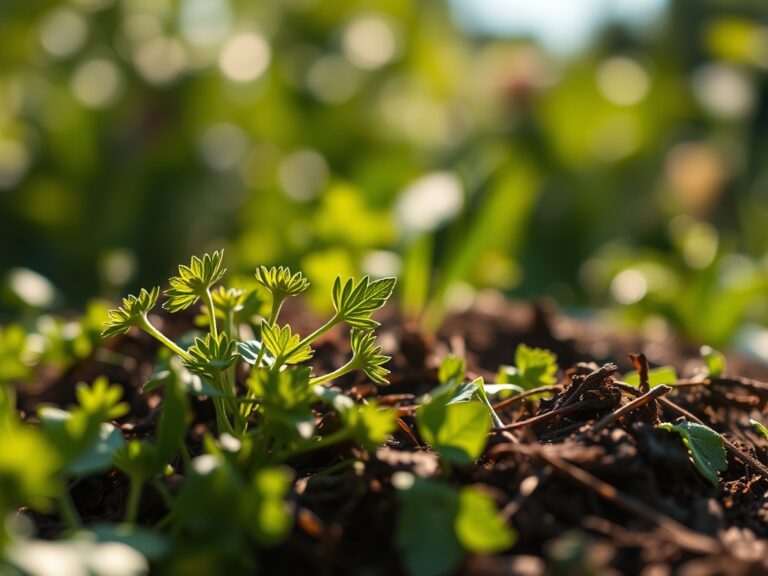
Sowing
Direct sow cold-hardy seeds like spinach and radishes at a depth exactly three times the diameter of the seed. This ensures the hypocotyl has enough energy to reach the surface before exhausting its endosperm reserves.
Pro-Tip: Monitor the soil moisture to prevent "crusting." If the surface hardens, the seedling cannot break through. This is a matter of mechanical impedance; a light dusting of vermiculite over the seed row reduces the physical pressure required for emergence.
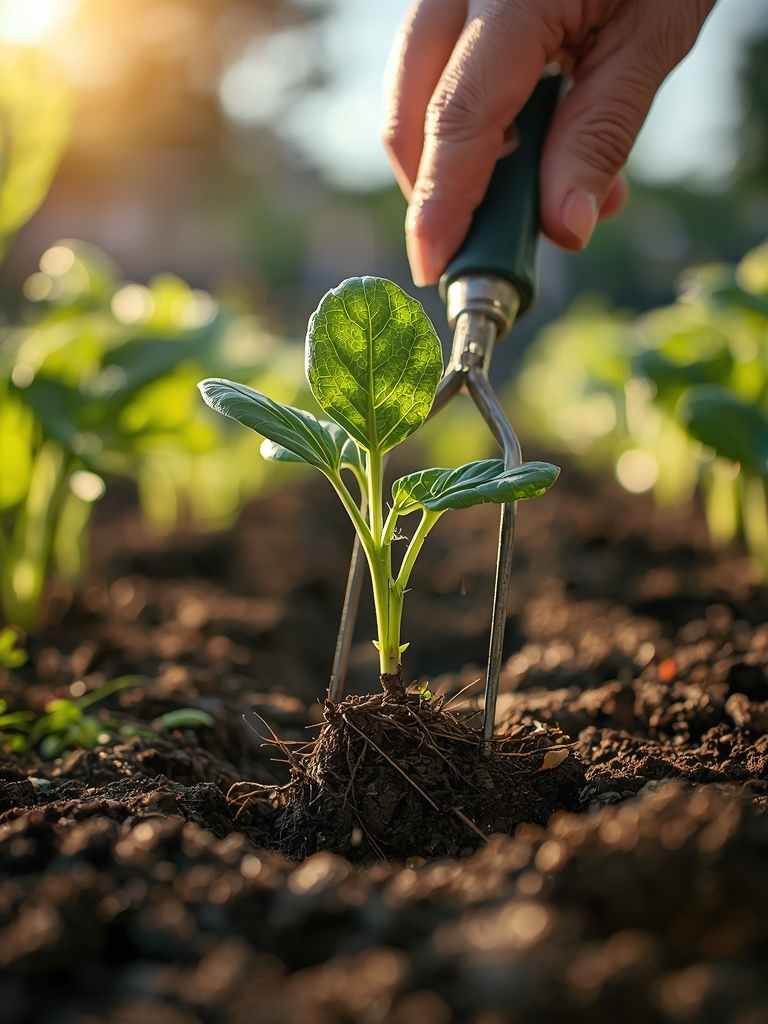
Transplanting
When moving seedlings from the greenhouse to the field, you must "harden off" the plants over 7 to 10 days. Gradually increase exposure to UV radiation and wind to thicken the waxy cuticle on the leaves. When placing the plant in the ground, ensure the root ball is saturated.
Pro-Tip: Use a seaweed-based kelp solution during transplanting to provide cytokinins. These plant hormones stimulate lateral bud development and reduce transplant shock by encouraging rapid cell division in the root tips.
Establishing
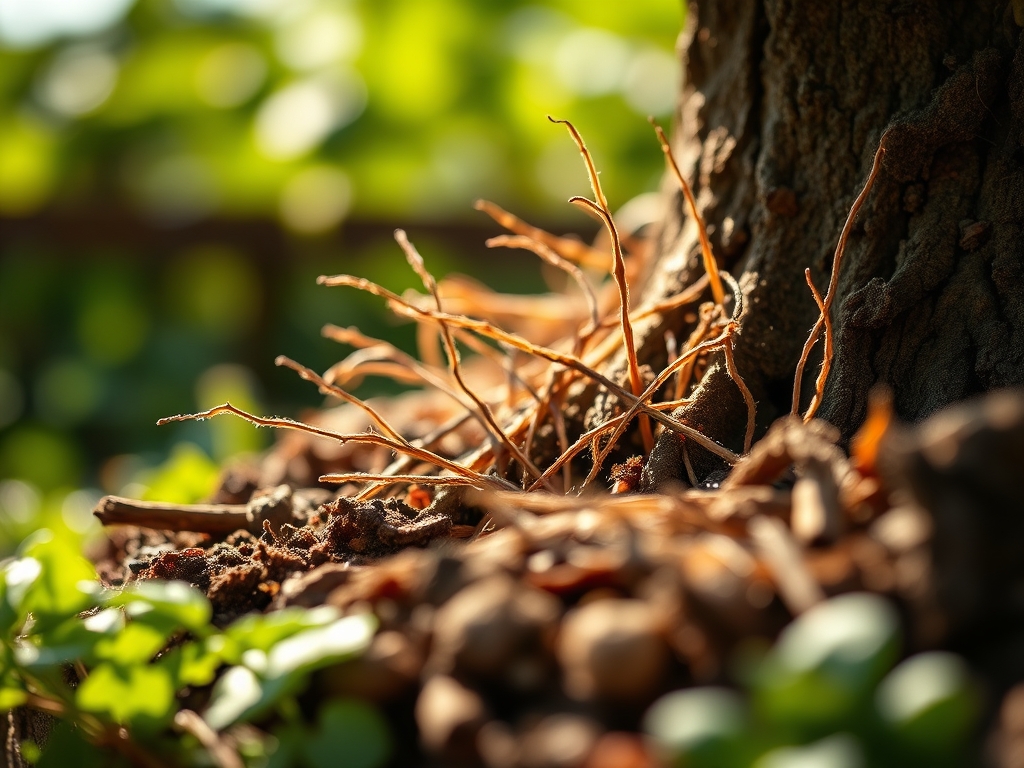
The first 21 days after planting are critical for establishing mycorrhizal symbiosis. These beneficial fungi extend the reach of the root system, allowing the plant to access phosphorus and water from micro-pores that roots cannot reach.
Pro-Tip: Avoid high-nitrogen synthetic fertilizers during this phase. Excessive nitrogen can suppress the symbiotic relationship between the plant and the fungi, as the plant "decides" it does not need the fungal partner if nutrients are too easily available in the topsoil.
The Clinic:
Symptom: Interveinal Chlorosis
Description: Leaves turn yellow between the veins while the veins remain green.
Solution: This is typically a Magnesium deficiency. Apply a foliar spray of Epsom salts (magnesium sulfate) at a rate of 1 tablespoon per gallon of water for immediate uptake through the stomata.
Symptom: Blossom End Rot
Description: A dark, leathery sunken spot on the bottom of tomatoes or peppers.
Solution: This is caused by a Calcium transport issue, often triggered by inconsistent watering rather than a lack of calcium in the soil. Maintain consistent soil moisture to ensure the transpiration stream can move calcium to the fruit.
Symptom: Purpling of Lower Leaves
Description: Older leaves develop a distinct purple or reddish hue.
Solution: This indicates Phosphorus deficiency, often occurring in cold, wet soils where root metabolism slows down. Increase soil temperature with black plastic mulch or wait for the soil to warm above 60 degrees Fahrenheit.
Maintenance:
Precision maintenance prevents physiological stress. Apply 1.5 inches of water per week at the drip line, rather than overhead. Overhead watering increases leaf wetness duration, which invites fungal pathogens. Use a soil moisture meter to verify that the moisture has penetrated at least 6 inches deep.
Keep your hori-hori knife sharpened for precise weeding; slicing weeds at the soil line prevents disturbance to the crop's shallow capillary roots. When pruning indeterminate tomatoes, use bypass pruners to remove "suckers" (axillary buds) smaller than 2 inches. This redirects the plant's energy from vegetative biomass to fruit production, a process known as apical dominance manipulation.
The Yield:
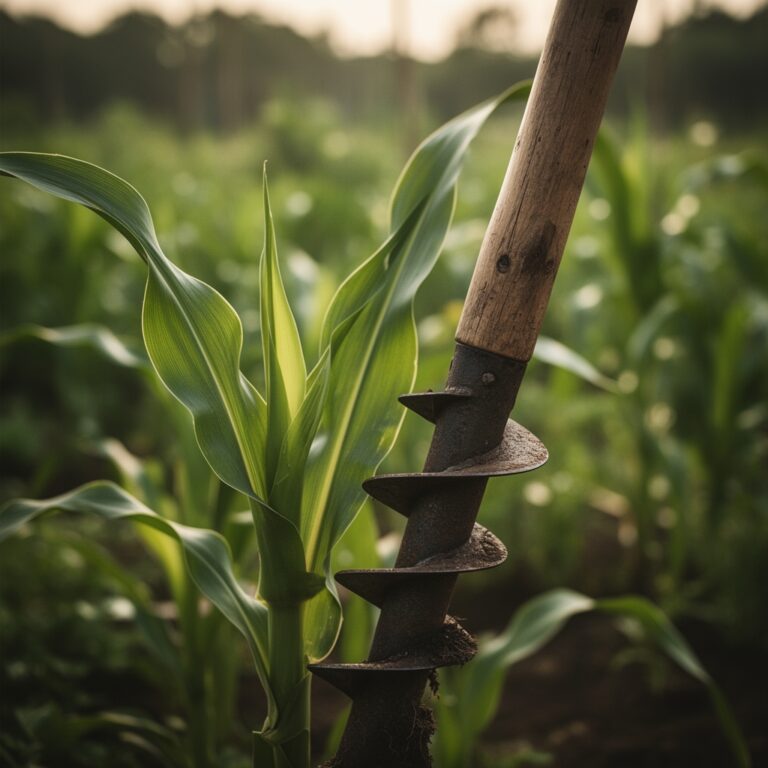
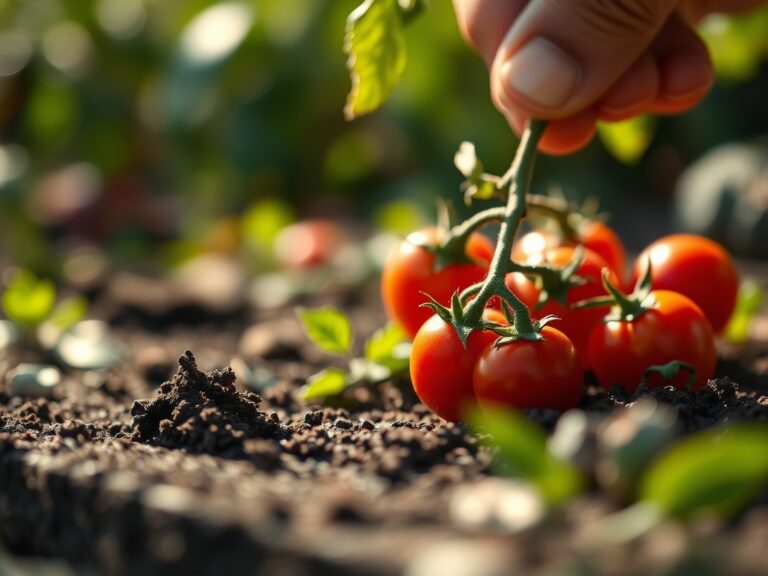
Harvesting is a race against enzymatic degradation. Most temperate vegetables should be harvested at peak turgidity, usually in the early morning before the sun triggers transpiration. For leafy greens, use a sharp blade to make a clean cut, minimizing the surface area of the wound to prevent moisture loss.
Post-harvest, "pre-cool" your produce immediately. This involves submerged cooling or refrigeration to remove field heat. Removing field heat slows the respiration rate of the vegetable, preserving the sugars and preventing the conversion of sucrose to starch. For example, sweet corn loses 50% of its sugar content within 24 hours if not cooled to 35 degrees Fahrenheit immediately after picking.
FAQ:
What is the best soil for a temperate garden?
The ideal substrate is a friable loam with a pH between 6.2 and 6.8. It should contain approximately 5% to 8% organic matter to support microbial life and ensure a high Cation Exchange Capacity for nutrient retention.
How do I fix yellow leaves?
If the yellowing is on new growth, it is likely an iron deficiency. If it appears on older, lower leaves, it is nitrogen chlorosis. Apply a balanced liquid fertilizer or chelated iron depending on where the symptom manifests.
When should I start my seeds?
Calculate your start date by subtracting the "days to maturity" and a 6-week nursery period from your area's last frost date. Ensure soil temperatures have reached at least 60 degrees Fahrenheit for most warm-season crops.
How much water do vegetables need?
Most vegetables require 1 to 1.5 inches of water per week. In sandy soils, split this into two applications. Use a rain gauge or soil probe to ensure water reaches the root zone at a depth of 6 inches.