7 Best Garden Forks for Turning and Aerating Heavy Vegetable Compost
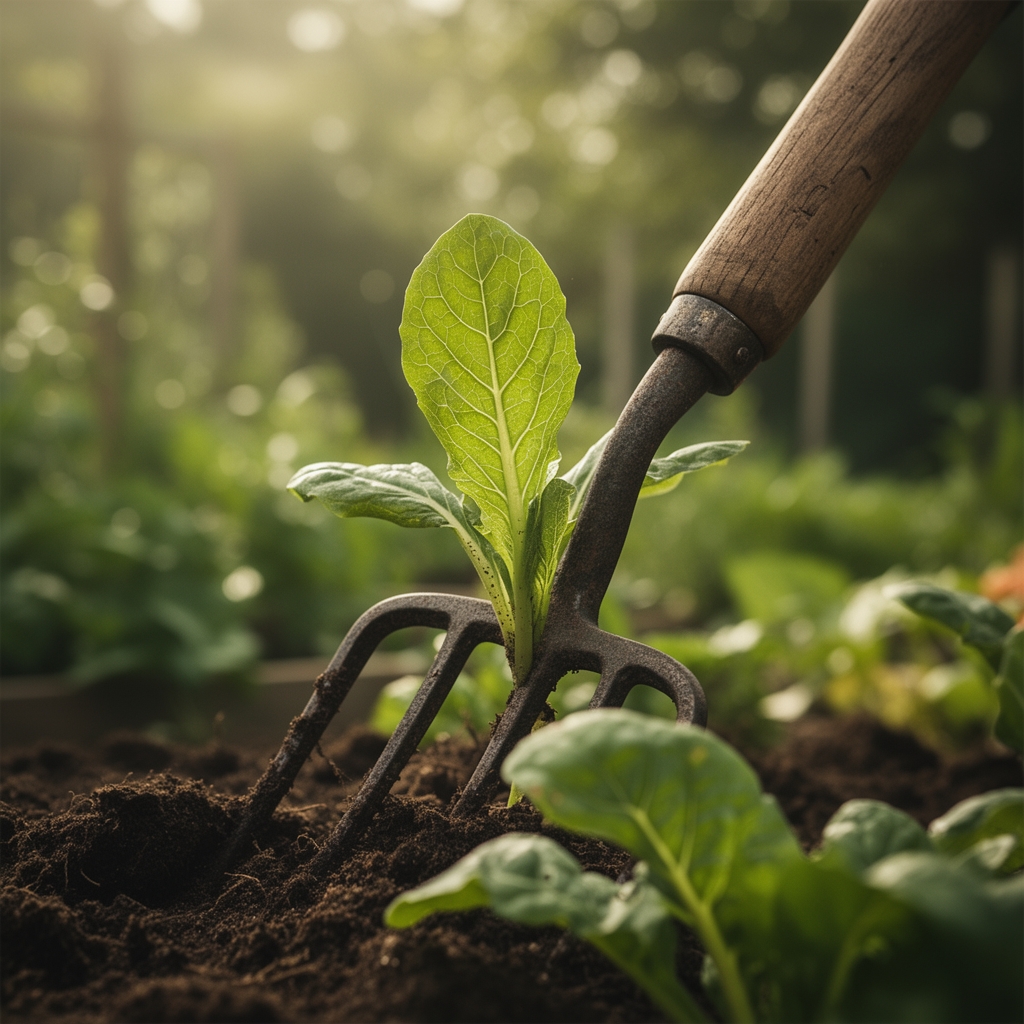
The smell of hot vegetable compost hits your nose before you even lift the tarp: earthy, pungent, faintly sulfurous when anaerobic pockets linger too long. Dense, wet compost clumps resist a shovel's blade, and your back protests after the third scoop. This is where the best garden forks for turning heavy vegetable compost prove their worth. A proper digging fork transforms back-breaking labor into efficient aeration, breaking apart compacted organic matter and introducing oxygen that thermophilic bacteria need to finish decomposition. The right tool makes the difference between a 90-day compost cycle and a six-month slog.
Materials & Supplies
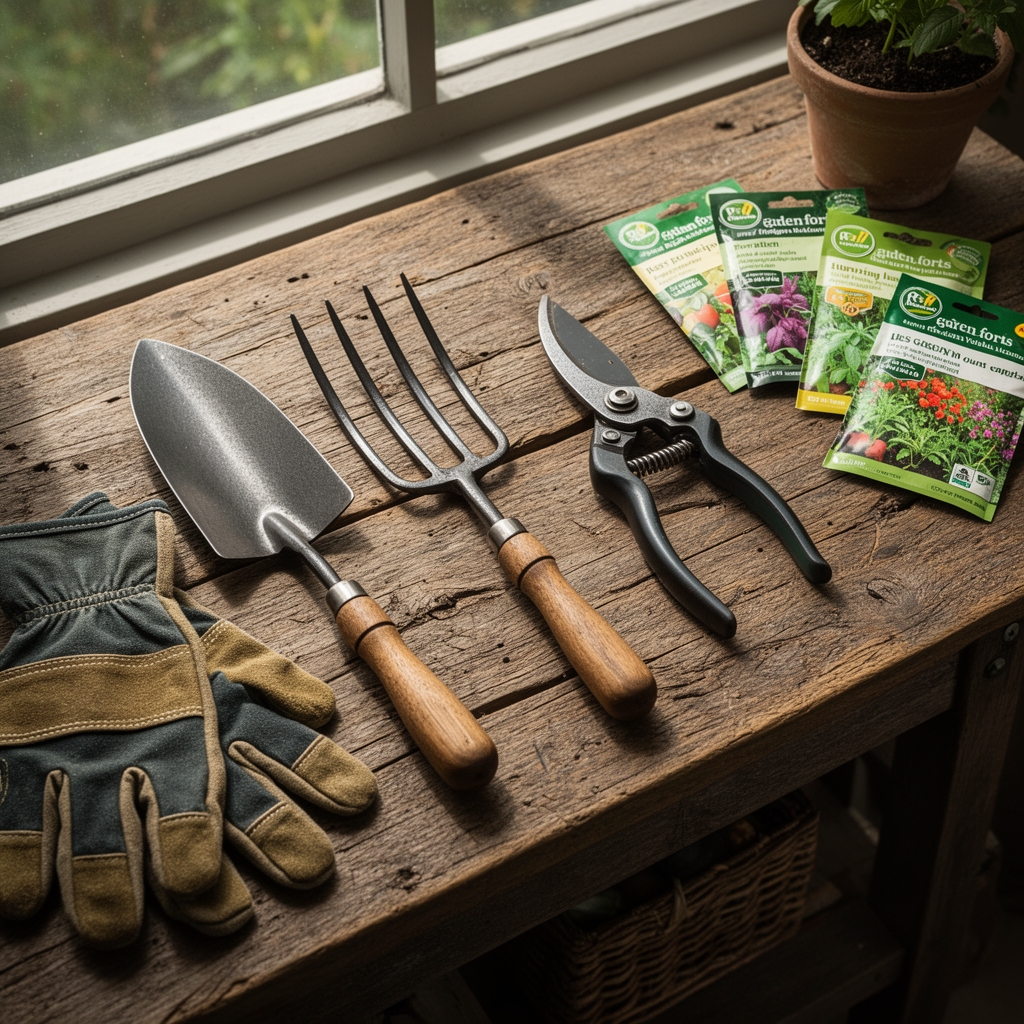
Essential Tools:
- Spear & Jackson Neverbend Professional Digging Fork (4 tines, carbon steel, 48-inch handle): Lifetime guarantee, forged socket design handles 200+ lbs of wet material per lift
- DeWit Perennial Fork (5 tines, boron steel, 42-inch ash handle): Dutch-forged, narrow profile penetrates compacted zones without bending
- Radius Garden PRO Stainless Digging Fork (4 tines, stainless steel, ergonomic resin grip): Lightweight at 3.2 lbs, ideal for smaller frames turning 3×3-foot bins
- Fiskars Ergo D-Handle Steel Fork (4 tines, welded construction, 30-inch D-grip): Short handle provides leverage in confined spaces, reinforced neck withstands prying
- Truper Tru Tough Manure Fork (10 tines, tempered steel, 54-inch hardwood handle): Wide head moves 1.5 cubic feet per scoop, best for turning windrows
- GREBSTK Long-Handled Pitchfork (6 tines, heat-treated steel): Extended 60-inch reach eliminates stooping, ballast-weighted for heavy loads
- Clarington Forge Border Fork (4 tines, hand-forged iron, 36-inch handle): Compact 6-inch head width accesses tight corners of multi-bin systems
Complementary Supplies:
- Compost thermometer (probe-style, 0-200°F range): Monitor core temps between 135-160°F
- pH meter: Target finished compost at 6.5-7.5 for vegetable gardens
- Mycorrhizal inoculant (Glomus intraradices strain): Add 2 tbsp per cubic yard during final turn
- Rock phosphate (0-3-0 NPK): Supplement phosphorus-poor vegetable scraps at 1 cup per 10 cubic feet
- Kelp meal (1-0.5-2 NPK): Introduce trace minerals, apply 0.5 lbs per cubic yard
Timing / Growing Schedule
Compost turning schedules align with microbial activity cycles. In USDA Hardiness Zones 6-9, active composting runs March through October when ambient temperatures sustain mesophilic bacteria (50-113°F range). Cold-climate gardeners in Zones 3-5 achieve peak decomposition May through September, requiring insulated bins or increased turning frequency to maintain heat.
Hot composting method: Turn every 3-5 days for the first two weeks. Core temperatures spike to 140-160°F within 48 hours if carbon-to-nitrogen ratio holds at 25:1-30:1. Reduce turning to weekly intervals once the initial heat phase passes (days 14-30). Finished compost matures in 60-90 days, depending on particle size and moisture content (aim for 50-60% moisture, "wrung-out sponge" consistency).
Passive composting method: Turn bins monthly. Decomposition extends to 6-12 months but requires less labor. Best for gardeners processing under 2 cubic yards annually.
Start seedlings in finished compost blends (50% compost, 30% peat or coir, 20% perlite) 6-8 weeks before last frost. Days to maturity for compost crops: tomatoes (70-85 days), squash (50-65 days), brassicas (55-75 days).
Step-by-Step Instructions
Phase 1: Initial Bin Setup (Day 1)
Layer green materials (grass clippings, vegetable scraps, 15-20% nitrogen) with brown materials (shredded leaves, cardboard, 75-80% carbon). Moisten each 6-inch layer until water barely drips when squeezed. Insert fork vertically along bin perimeter every 12 inches, rocking handle back 30 degrees to create air channels.
Pro-Tip: Sharpen fork tines with a mill bastard file at a 45-degree angle before first use. Keen edges slice through fibrous corn stalks and brassica stems rather than pushing them aside.
Phase 2: Active Turning (Days 3-21)
Drive fork tines 12-18 inches deep at bin center. Pull handle toward your body while lifting, transferring material to an adjacent empty bin or tarp. Flip outer layers to the core where temperatures peak. Break apart any matted clumps larger than a softball. Restack material in 8-inch lifts, watering lightly between layers if compost feels dry (below 40% moisture).
Pro-Tip: Turn compost in late afternoon. Morning moisture from dew adds unnecessary wetness; evening turning forces you to work in fading light. Mid-afternoon compost is driest and easiest to manipulate.
Phase 3: Curing and Screening (Days 30-90)
Reduce turning to biweekly. Compost transitions from dark brown to nearly black. Earthy smell replaces ammonia odors. Test readiness: squeeze a handful and observe structure. Finished compost holds shape briefly, then crumbles. No visible food scraps remain except woody stems and avocado pits.
Screen material through 0.5-inch hardware cloth. Return coarse fragments to active bins. Store finished compost in covered bins (moisture stays at 30-40%) or till directly into garden beds 2-4 weeks before planting.
Pro-Tip: Reserve 10% of each finished batch as compost starter for new piles. Mature compost contains billions of actinobacteria and decomposer fungi that inoculate fresh material, accelerating breakdown by 30-40%.
Nutritional & Environmental Benefits
Finished vegetable compost delivers balanced NPK ratios around 1-1-1, gentle enough for seedlings yet rich in humic acids that chelate micronutrients (iron, manganese, zinc). One cubic yard of mature compost (approximately 1,000 lbs) contains roughly 10 lbs nitrogen, 5 lbs phosphorus, and 10 lbs potassium, released slowly over 120-180 days.
Soil biology activation: Compost introduces 1 billion bacteria per gram and 1 million feet of fungal hyphae per teaspoon. These organisms form symbiotic relationships with plant roots, extending nutrient reach 100x beyond root hair zones. Mycorrhizal fungi increase phosphorus uptake by 300-500% in tomatoes and peppers.
Pollinator habitat: Compost piles left partially undisturbed provide overwintering sites for ground-nesting bees (Andrena spp.) and predatory beetles (Carabidae family) that consume cutworms and slug eggs. Maintain 6-inch undisturbed perimeter around bin edges during November-March in Zones 6-8.
Carbon sequestration: Each ton of finished compost sequesters approximately 600 lbs of atmospheric carbon in stable organic compounds. Backyard composting of 200 lbs of kitchen scraps annually offsets 0.3 tons CO2 equivalent, comparable to planting two deciduous trees.
Advanced Methods
Small-Space Systems:
Tumbler composters (50-gallon capacity) suit patios and urban gardens. Use a border fork (36-inch handle) to break up material before loading. Rotate drum daily for 14-day finished compost. Add 2 cups alfalfa meal (2.5-0.5-2 NPK) per batch to compensate for reduced volume and heat retention.
Vermicomposting: European nightcrawlers (Eisenia hortensis) process 50% of their body weight daily. A 2×2-foot worm bin with 2 lbs of worms converts 3-4 lbs of vegetable scraps weekly. Harvest finished castings (1-0-0 NPK plus beneficial microbes) every 90 days using a manure fork's wide spacing to sift worms from compost.
Organic & Permaculture Techniques:
Sheet composting (lasagna method): Layer 4 inches of cardboard, 6 inches of green waste, and 4 inches of finished compost directly on garden beds in fall. Cover with 6 inches of shredded leaves. Material decomposes in situ over winter. Plant directly into mulch in spring, using a spading fork to create planting pockets.
Biochar integration: Mix 10% hardwood biochar (inoculated with compost tea) into active piles. Biochar's porous structure (300 m² surface area per gram) houses nitrifying bacteria and retains 120% its weight in water, stabilizing moisture during turning.
Season Extension:
Insulate bins with 4-inch rigid foam panels (R-15 rating minimum) in Zones 3-5. Core temperatures hold above 100°F through December, extending active composting 6-8 weeks. Use a long-handled fork (54-60 inches) to reach bin centers without removing insulation panels.
Pallet bin systems: Three connected bins (each 4x4x4 feet) enable continuous batch processing. Turn Bin 1 (fresh material) into Bin 2 (active decomposition) every 5 days. Transfer Bin 2 to Bin 3 (curing) after 21 days. Harvest finished compost from Bin 3 while starting new material in Bin 1.
Troubleshooting
Symptom: Compost pile remains cool (under 100°F) after 72 hours.
Solution: Inadequate nitrogen. Add 2-inch layer of fresh grass clippings, blood meal (12-0-0), or coffee grounds (2-0.3-0.2). Remix pile thoroughly with fork, creating 50% new air pockets. Recheck temperature in 24 hours.
Symptom: Ammonia smell strong enough to water eyes when turning.
Solution: Excess nitrogen (C:N ratio below 20:1). Incorporate 4 inches of shredded paper, sawdust, or dry leaves per cubic foot of material. Turn daily for three days to volatilize trapped ammonia. Reduce green material in future batches by 25%.
Symptom: Fork tines bend when lifting heavy, waterlogged sections.
Solution: Moisture exceeds 65%. Spread soggy material in 3-inch layer on tarp under direct sun for 4-6 hours. Add dry browns at 3:1 ratio to wet greens. Invest in forged steel or boron steel fork (yield strength above 80,000 psi) for chronic wet-composting conditions.
Symptom: Matted clumps resist fork penetration; material smells sour.
Solution: Anaerobic zones formed. Shred clumps manually or with a machete into 2-inch pieces. Turn pile completely, adding coarse materials (wood chips, corn stalks) at 20% volume to improve air circulation. Insert aeration stakes (3-foot rebar or PVC pipe with drilled holes) vertically every 18 inches.
Symptom: Finished compost attracts rodents to storage bins.
Solution: Meat, dairy, or oily foods contaminated batch. Screen compost and bury questionable material 18 inches deep in active garden beds away from foundations. Store clean compost in rodent-proof metal bins or elevated wooden boxes with 0.25-inch hardware cloth floors.
Storage & Maintenance
Watering Protocol:
Active piles require 50-60% moisture. Check weekly by squeezing a handful; 1-2 drops should fall. Add water during turning if material feels dry to touch. Avoid hosing from above (creates channels); instead, use fork to create depressions every 12 inches and pour water directly into pockets (1 gallon per depression in 3×3-foot bins).
Feeding Schedule:
Supplement carbon-heavy piles (fall leaves, wood chips) with nitrogen boosters every 10 days: alfalfa pellets (3 cups per cubic yard), feather meal (13-0-0, 2 cups per cubic yard), or fish emulsion (5-1-1, diluted 1:5 with water, 2 gallons per pile). Avoid over-nitrogenating; target C:N of 25:1-30:1 for optimal decomposition speed without ammonia loss.
Tool Maintenance:
Rinse fork tines after each use, removing stuck organic matter with a stiff brush. Apply linseed oil to wooden handles monthly to prevent splitting. Store forks hanging or standing upright; leaning against walls bends tines over time. Sharpen tines biannually with a mill file, maintaining original bevel angle.
Post-Harvest Storage:
Finished compost loses 30% of soluble nitrogen within 90 days if left uncovered. Store in ventilated bins (slatted wood or concrete block with 1-inch gaps) out of direct rain. Maintain 30-40% moisture; too dry and microbial activity ceases, too wet and nutrients leach. Apply stored compost within 6 months for maximum fertility.
Conclusion
Turning heavy vegetable compost demands the intersection of proper tools, biological timing, and physical technique. The seven forks detailed here address every scenario from tight urban bins to sprawling three-bay systems, while the methods outlined compress months into weeks through strategic aeration and moisture control. Your soil biology, crop yields, and lower back will reflect the quality of your composting practice.
Share your finished compost analysis results (NPK test and pathogen screening) on local gardening forums. New composters benefit from seeing real-world data, and your documentation helps establish regional benchmarks for vegetable scrap decomposition rates.
Expert FAQs
Which fork works best for compost bins taller than 4 feet?
Use a long-handled fork (54-60 inches) such as the GREBSTK model. The extended reach allows you to access bottom layers without climbing into the bin. Pair with a step stool for leverage when pulling material from the base. Avoid short D-handle forks for tall bins; they force awkward reaching that strains rotator cuffs.
How often should I sharpen my compost fork tines?
Sharpen every 40-50 hours of use (roughly twice per composting season for active turners). Use a 10-inch mill bastard file at a 45-degree angle, stroking away from your body 15-20 times per tine edge. Sharp tines require 30% less force to penetrate compacted material, reducing repetitive strain injuries.
Can stainless steel forks handle the same loads as carbon steel?
Stainless steel (304 grade) has lower tensile strength (75,000 psi) than forged carbon steel (90,000+ psi). For wet compost exceeding 150 lbs per forkful, choose carbon steel with forged sockets (Spear & Jackson, DeWit). Stainless works well for bins under 3×3 feet or drier material where rust prevention outweighs load capacity.
What's the ideal tine spacing for vegetable compost versus leaf compost?
Vegetable compost with 2-4 inch particle size requires 2-2.5 inch tine spacing to catch material without clogging. Leaf compost (smaller particles) works best with 1.5-2 inch spacing. Wide-spaced manure forks (3-4 inches between tines) suit initial mixing but lose efficiency during final screening turns.
Should I turn compost when temperatures drop below 50°F?
No. Psychrophilic bacteria (cold-adapted decomposers) work slowly at 30-50°F, and turning accelerates heat loss. In Zones 3-6, cease turning after first hard freeze (soil temps below 32°F at 6-inch depth). Resume in spring when soil temperature reaches 50°F consistently. Insulated bins can extend turning through early December if core temps stay above 100°F.