6 Sturdy Steps to Prepare a DIY Plant Stand for Large Containers
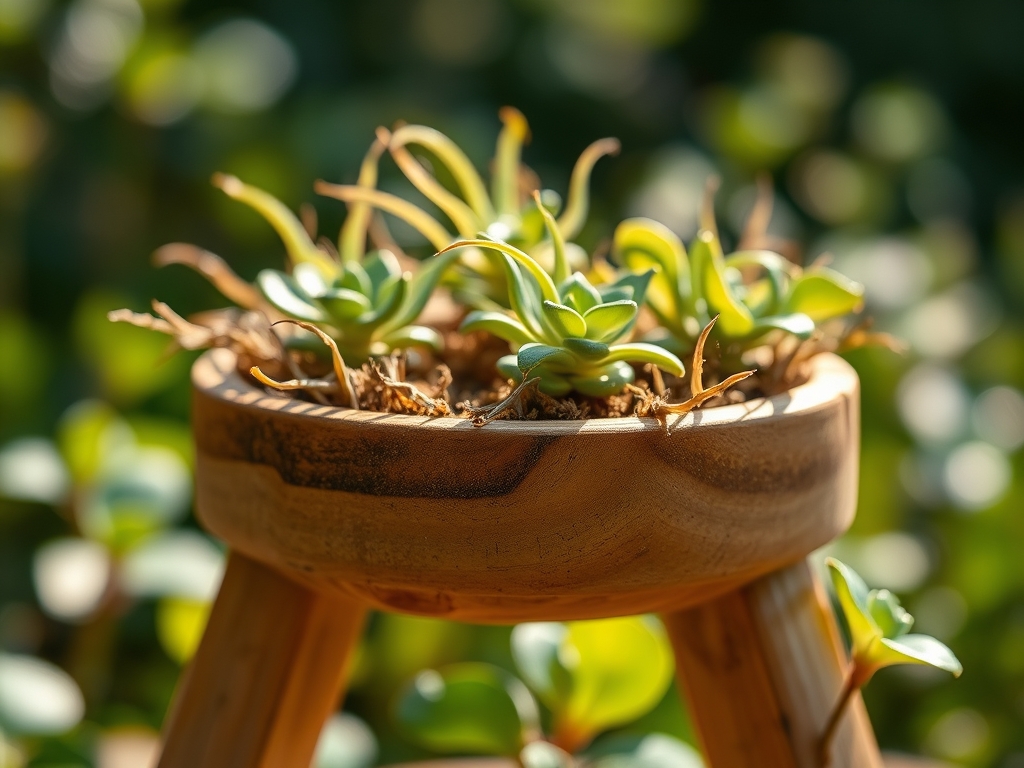
The smell of damp earth and the high turgor pressure of a healthy leaf signify a successful container environment. When a large ceramic pot reaches a weight of 80 to 120 pounds, the structural integrity of your flooring and the plant's root respiration are at risk. Learning how to prepare a DIY plant stand requires more than simple carpentry; it demands an understanding of load-bearing physics and the drainage requirements of the rhizosphere. A properly engineered stand prevents fungal pathogens from colonizing the base of the pot while ensuring that the root zone maintains adequate gas exchange. You must calculate the saturated weight of your substrate, which often exceeds dry weight by 40 percent, to ensure the stand does not fail under the mechanical stress of a fully hydrated specimen.
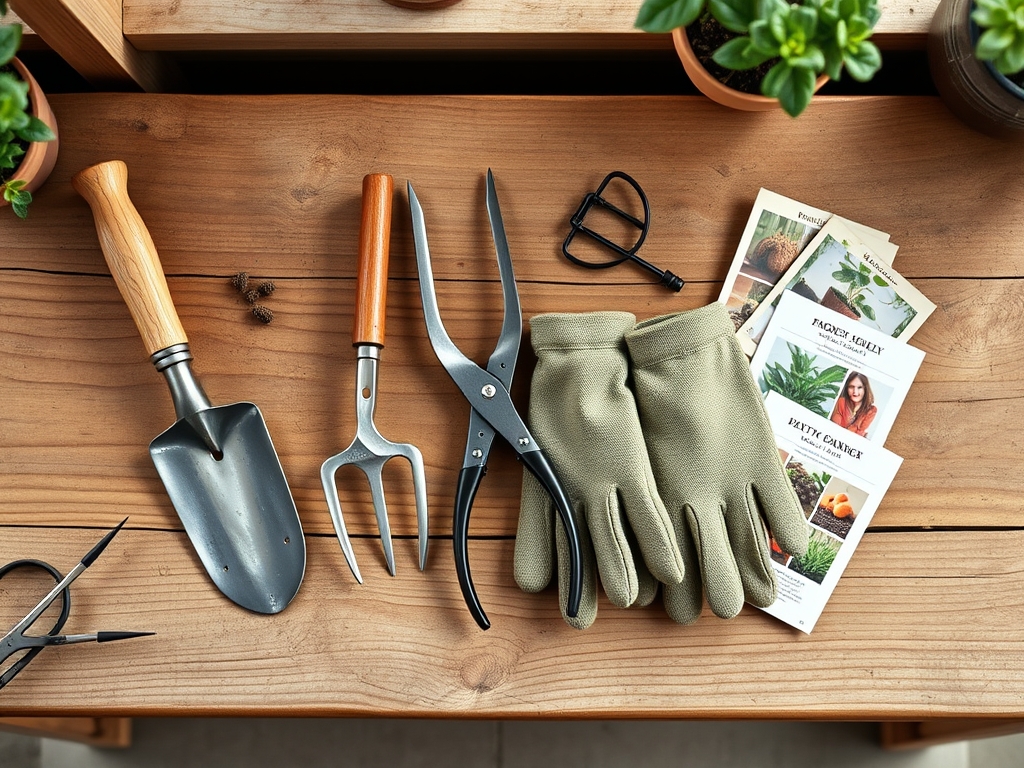
Materials:
A high-performance plant stand supports a container filled with a specific substrate profile. For large containers, aim for a friable loam texture that resists compaction. The chemical composition of the medium should maintain a pH between 6.0 and 7.0 for most temperate species to optimize nutrient availability.
The stand must accommodate the following inputs:
- Pressure-treated lumber or galvanized steel: These materials resist the high humidity of the microclimate near the pot base.
- Heavy-duty casters: Rated for at least 50 pounds per wheel.
- Substrate Components: A mix of 40 percent peat moss, 30 percent perlite, and 30 percent composted bark.
- NPK Ratios: For vegetative growth, select a fertilizer with a 10-5-5 ratio. For flowering specimens, pivot to a 5-10-10 ratio to support reproductive development.
- Cation Exchange Capacity (CEC): Incorporate calcined clay or vermiculite to increase the CEC, ensuring the medium can hold onto positively charged ions like Calcium (Ca2+) and Magnesium (Mg2+).
Timing:
Hardiness Zones dictate the window for moving large containers onto their stands. In Zones 5 through 7, the transition should occur after the last frost date, typically between late April and mid-May. Observe the biological clock of the plant. Moving a specimen during its vegetative stage (active leaf and stem growth) is preferable to moving it during the reproductive stage (flowering or fruiting), as the latter increases the risk of bud abscission due to mechanical shock.
Monitor the photoperiod. If a plant is transitioning from a greenhouse to an outdoor stand, it requires a 7 to 10 day hardening-off period. Failure to respect this window results in leaf scorch when the plant is suddenly exposed to high UV indices.
Phases:
Sowing and Substrate Prep
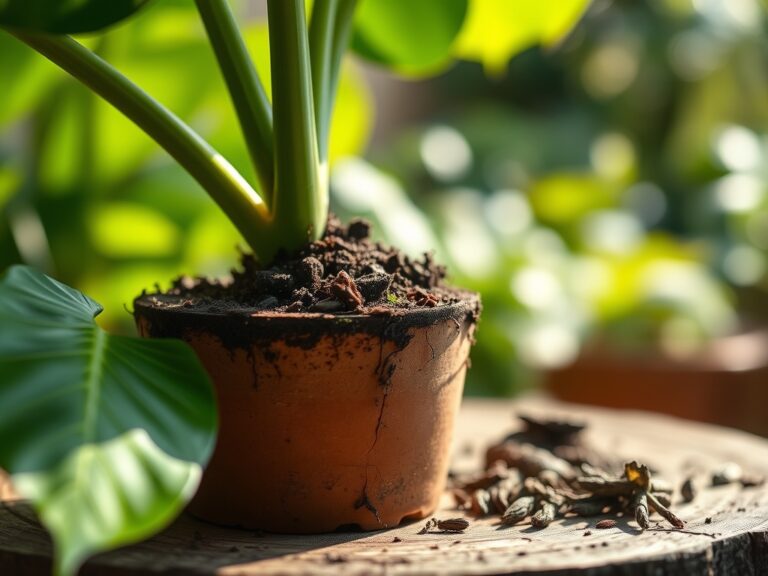
Before placing the container on the stand, fill the bottom 20 percent of the pot with coarse drainage material. This prevents the "perched water table" effect where saturated soil suffocates the lower roots. Ensure the stand allows for at least 2 inches of clearance from the ground to facilitate airflow.
Pro-Tip: Mycorrhizal fungi should be incorporated into the root zone during this phase. Biological Why: Mycorrhizal symbiosis increases the effective surface area of the root system by up to 1,000 times, significantly improving phosphorus uptake and drought resistance.
Transplanting
When moving a large specimen, maintain the original soil line. Planting too deep leads to stem rot; planting too shallow causes root desiccation. Center the pot on the stand to distribute the center of gravity directly over the support legs.
Pro-Tip: Use a liquid seaweed extract during the first watering post-transplant. Biological Why: Cytokinins in the extract stimulate cell division in the root apical meristem, which helps the plant overcome transplant shock and re-establish turgor.
Establishing
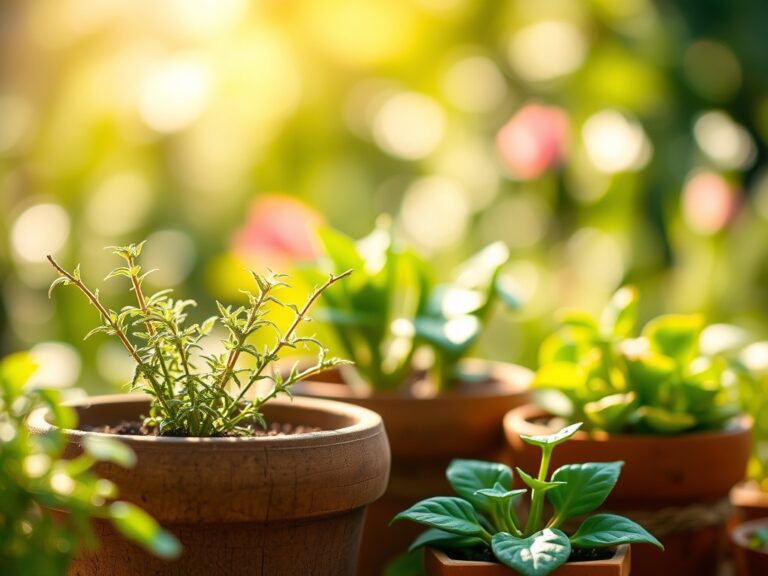
During the first 21 days, monitor the soil moisture daily. The stand should be positioned to optimize light exposure based on the plant's specific phototropic needs. Rotate the stand 90 degrees every week to ensure even canopy development.
Pro-Tip: Pinch back the terminal buds of leggy plants. Biological Why: This interrupts auxin suppression from the apical meristem, allowing lateral buds to grow and creating a fuller, more stable plant architecture.
The Clinic:
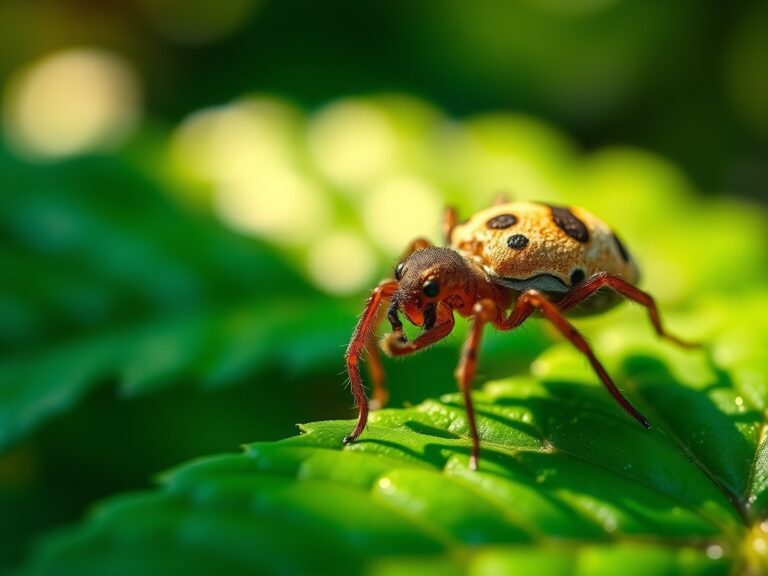
Physiological disorders often manifest when the container environment is decoupled from the plant's needs.
-
Symptom: Interveinal chlorosis on young leaves.
Solution: This indicates an Iron (Fe) deficiency, often caused by a pH above 7.0.
Fix-It: Apply chelated iron and adjust the substrate pH with elemental sulfur. -
Symptom: Marginal leaf burn or "scorching."
Solution: This suggests Potassium (K) deficiency or high salt accumulation from synthetic fertilizers.
Fix-It: Flush the container with 3 volumes of water relative to the pot size to leach excess salts. -
Symptom: Edema (small bumps or blisters on the underside of leaves).
Solution: This occurs when the plant absorbs water faster than it can transpire.
Fix-It: Increase airflow beneath the stand and reduce watering frequency. -
Symptom: Stunted growth with dark purple leaf undersides.
Solution: This is a classic Phosphorus (P) deficiency, common in cold soils below 55 degrees Fahrenheit.
Fix-It: Move the stand to a warmer location or use a water-soluble high-phosphate fertilizer.
Maintenance:
Precision is required for long-term container health. Apply 1.5 inches of water per week at the drip line. Use a soil moisture meter to verify that the moisture has reached the bottom third of the root ball before re-watering.
Pruning is essential to manage the weight on the DIY stand. Use bypass pruners for clean cuts on living tissue; use an anvil pruner only for dead wood. For root-bound plants, use a hori-hori knife to slice vertically through the outer inch of the root ball. This "root pruning" encourages the growth of new, more efficient feeder roots rather than allowing the roots to continue their unproductive circular path.
The Yield:
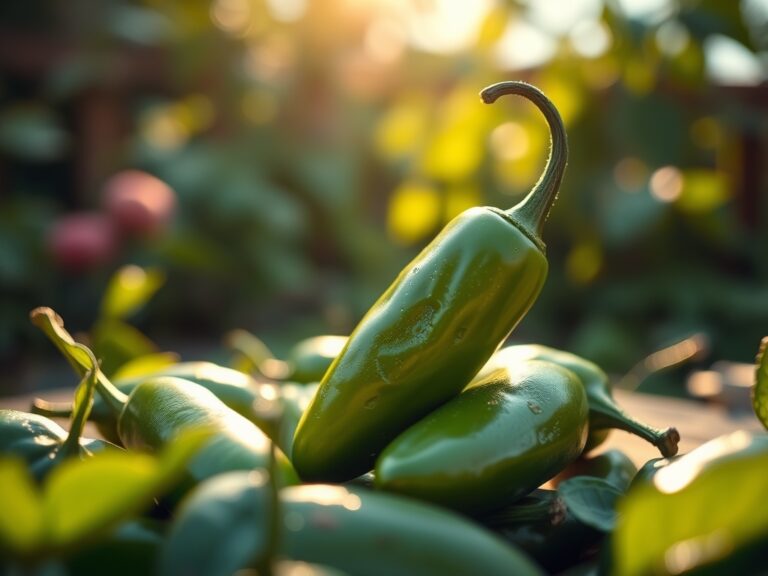
For those growing edibles or floral crops in large containers, timing the harvest is a matter of cellular sugar concentration or "Brix levels." Harvest leafy greens in the early morning when turgor pressure is at its peak. This ensures the cells are fully hydrated, providing maximum crispness.
For flowers, cut when the first two petals begin to unfurl. Immediately submerge the stems in 110-degree Fahrenheit water containing a carbohydrate source (sugar) and an acidifier (citric acid). This "pulsing" technique forces water up the xylem, extending the post-harvest life and maintaining "day-one" freshness for up to 14 days.
FAQ:
What is the best wood for a DIY plant stand?
Use Western Red Cedar or Black Locust. These species contain natural tannins and oils that resist decay and fungal pathogens. They maintain structural integrity in high-moisture environments without the need for heavy chemical treatments.
How much weight can a 2×4 plant stand hold?
A well-constructed stand using vertical 2×4 posts can support over 400 pounds. The weak point is typically the fasteners. Use 3-inch stainless steel deck screws to ensure the joints do not shear under the weight of saturated soil.
Why does my large container need to be elevated?
Elevation prevents heat transfer from hot pavement and ensures drainage holes remain unobstructed. It facilitates oxygen diffusion into the rhizosphere, preventing anaerobic conditions that lead to root rot and the buildup of toxic gases.
How do I prevent the stand from tipping?
Ensure the base width of the stand is at least 25 percent wider than the diameter of the pot. This lowers the center of gravity and provides a stable footprint against high winds or accidental impact.