6 Steps to Replace the Trimmer Line on a Weed Eater
The scent of crushed cellulose and damp earth signals the height of the growing season. Maintaining a precise edge on your landscape requires a high-torque string trimmer; however, mechanical efficiency drops when the spool depletes. Mastering the steps for replacing a trimmer line on a weed eater ensures your maintenance schedule remains uninterrupted. Without a sharp, properly tensioned line, the tool tears rather than cuts. This reduces the turgor pressure of the grass blade and leaves the plant vulnerable to fungal pathogens.
Proper vegetation management begins with the mechanical integrity of your equipment. A frayed or improperly wound line causes excessive vibration, which can lead to premature engine wear or operator fatigue. When the line length is inconsistent, the centrifugal force becomes unbalanced. This imbalance disrupts the clean shear required to maintain the health of the rhizosphere. A clean cut allows the plant to seal the wound quickly, preventing the loss of vital fluids and maintaining the internal osmotic pressure necessary for rapid recovery after a heavy mow.
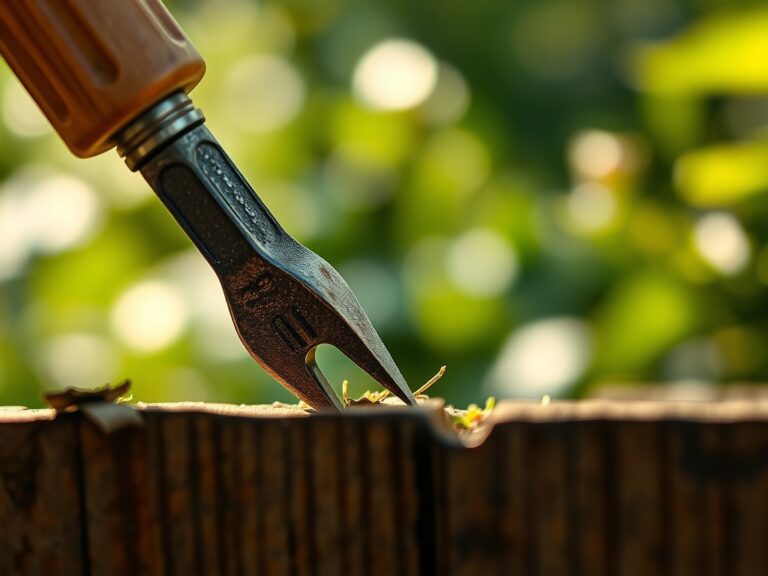
Materials:

Before addressing the mechanical components, evaluate the environment where the tool operates. For turfgrass thriving in a **friable loam** with a **pH of 6.5**, the nutritional requirements are specific. Ensure the soil profile maintains an **NPK ratio of 4-1-2** during the peak vegetative state. High nitrogen levels promote the rapid elongation of cells, necessitating frequent trimming. You will need **.080-inch or .095-inch professional grade co-polymer line**, a pair of **bypass pruners** for clean snips, and a clean workspace free of grit that could enter the spool housing.
Timing:
In Hardiness Zones 5 through 8, the primary window for aggressive trimming aligns with the spring flush. This occurs when soil temperatures consistently reach 55 degrees Fahrenheit. This temperature threshold triggers the biological clock of cool-season grasses, moving them from semi-dormancy into a vigorous vegetative stage. Perform line replacement before the grass reaches its reproductive stage; once the plant begins seed head production, its energy diverts from leaf repair to genetic propagation. Aim to trim when the dew point has dropped and the blades exhibit full turgor to ensure the cleanest possible fracture.
Phases:

Sowing the Line
The first step involves measuring and cutting the new line. For most standard residential spools, a length of 10 to 15 feet is optimal. Use your bypass pruners to create a sharp, angled tip at both ends of the line. This facilitates easier insertion into the spool anchor points. If the line is old and brittle, soak it in a bucket of water for 24 hours. This rehydrates the plastic, increasing its flexibility and resistance to snapping during high-velocity impacts with woody stalks.
Pro-Tip: Rehydrating the line mimics the way plant cells maintain structure through turgor pressure. A hydrated polymer is more elastic, allowing it to absorb kinetic energy without fracturing, much like a well-watered stem bends rather than breaks in high winds.
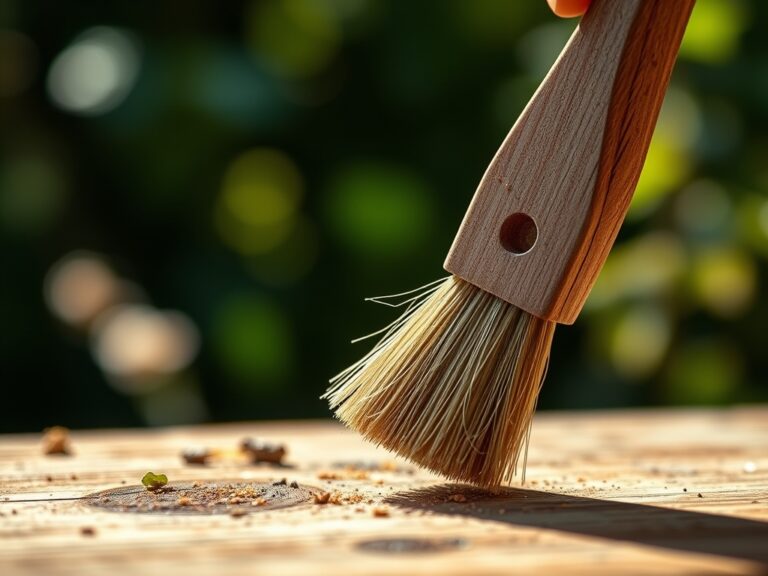
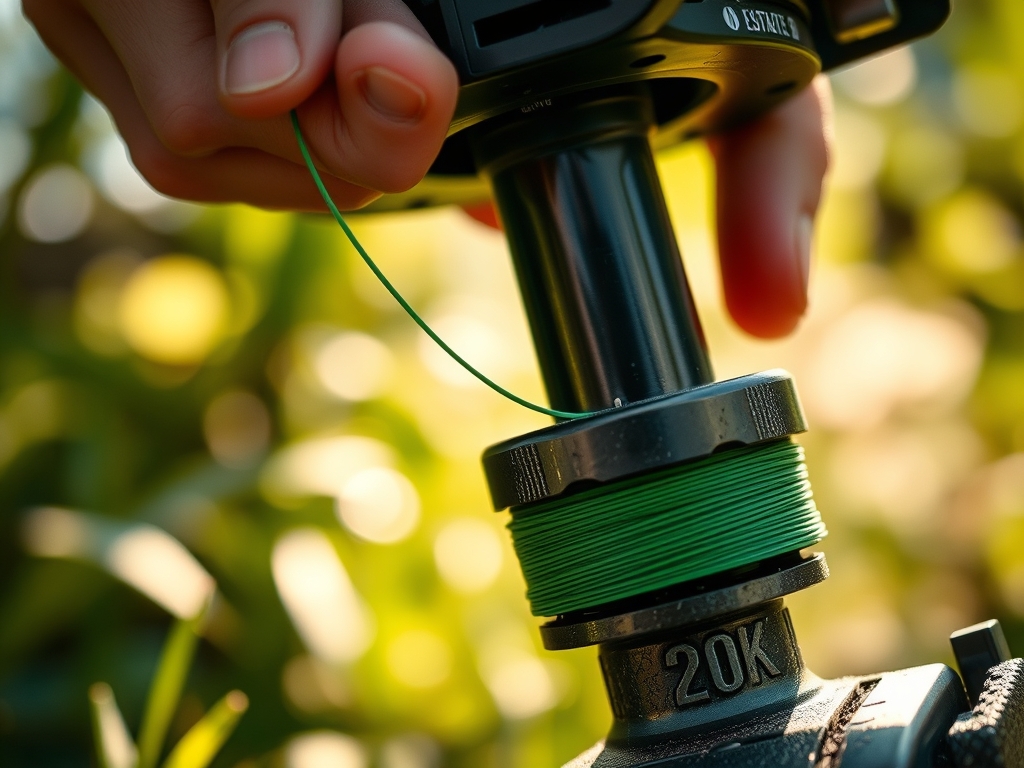
Transplanting the Spool
Remove the spool cap by depressing the lateral tabs. Extract the inner reel and clear any debris or fused line remnants. Locate the starter holes in the center hub. Insert the ends of the line and begin winding in the direction of the arrow embossed on the spool. Maintain constant, firm tension to prevent "line weld," where the friction of the spinning head melts the strands together. Ensure the two strands remain in their respective channels to prevent tangling during the centrifugal feed process.
Pro-Tip: Maintaining tension is critical because of centrifugal force. If the line is wound loosely, the outward pull during operation causes the inner coils to bite into each other, leading to a feed failure that mimics the way constricted vascular bundles inhibit nutrient transport in a girdled tree.
Establishing the Feed
Thread the ends of the line through the metal eyelets of the outer housing. Re-seat the spool into the head and snap the cap back into place. Pull the lines manually to ensure they move freely. Bump the head on a hard surface while the engine is at 50 percent throttle to advance the line to the integrated cut-off blade on the guard. This ensures the line length is perfectly balanced for the specific RPM of your trimmer motor.
Pro-Tip: Proper line length prevents engine "bogging." This is a mechanical parallel to auxin suppression; by maintaining a precise cutting height, you manage the plant's hormonal response, encouraging lateral growth and a denser, more resilient turf canopy.
The Clinic:
Symptom: White, Frayed Grass Tips
Solution: This indicates a dull or rounded trimmer line. When the line loses its sharp edge, it smashes the cell walls rather than slicing them. Replace the line with a square or twisted profile polymer to increase the cutting surface area.
Symptom: Line Fusing Inside Spool
Solution: This is caused by excessive heat. Avoid "feathering" the trigger; run the trimmer at full throttle when cutting. This allows the cooling fins on the engine to move more air and reduces the friction-induced heat transfer from the gear head to the spool.
Symptom: Rapid Line Consumption
Solution: If you are losing line quickly against hardscapes, you are likely "crowding" the work. Only the outer 0.5 inches of the line should make contact. This preserves the line and prevents mechanical stress on the trimmer's clutch assembly.
Fix-It: Nutrient Deficiencies
If the grass appears pale or yellow (Nitrogen chlorosis) despite proper trimming, check the Cation Exchange Capacity (CEC) of your soil. A low CEC means the soil cannot hold onto positively charged nutrients like Ammonium (NH4+). Amend with organic matter to increase the soil's ability to retain the 2 pounds of Nitrogen per 1,000 square feet required for deep green pigmentation.
Maintenance:
To sustain a professional landscape, provide 1.5 inches of water per week delivered at the drip line of ornamental plants or evenly across the turf. Use a soil moisture meter to verify that the water penetrates at least 6 inches deep to encourage downward root geotropism. For precision edging around delicate perennials, use a hori-hori knife to sever encroaching stolons. Periodically inspect the trimmer's air filter; a clogged filter enriches the fuel-to-air ratio, leading to carbon buildup and reduced torque at the cutting head.
The Yield:
A well-maintained edge defines the aesthetic of the horticultural space. By following the steps for replacing a trimmer line on a weed eater, you produce a clean shear that minimizes water loss through the wound site. For those harvesting "mow-in" herbs like clover or dandelion, ensure the cutting height is set to 3 inches to preserve the crown of the plant. Post-harvest, the turf will exhibit a uniform color and texture, provided the cutting frequency does not remove more than one-third of the leaf blade at a single time.
FAQ:
What size line should I use for heavy weeds?
For thick-stemmed vegetation, use a .095-inch or .105-inch line. These diameters provide the mass necessary to overcome the structural lignin in woody plants. Ensure your trimmer's engine displacement is at least 25cc to handle the increased rotational mass.
Why does my trimmer line keep breaking?
Line breakage often results from UV degradation or dehydration of the plastic. Store your trimmer line in a cool, dark environment. If the line becomes brittle, soak it in water to restore the polymer's flexibility and impact resistance.
Can I use a different brand of line?
Yes, provided the diameter matches your spool's specifications. High-quality universal lines often feature multi-sided profiles (square or star-shaped) which offer superior cutting efficiency compared to standard round lines by increasing the number of leading edges.
How often should I replace the spool?
The plastic spool itself should be inspected for grooves or cracks every season. If the eyelets through which the line feeds become notched or sharp, they will shear the line prematurely. Replace the spool assembly if structural wear is visible.