6 Steps to Prepare a Self-Watering Wick System
Learning how to prepare a self-watering wick system transforms indoor and greenhouse cultivation by delivering consistent moisture directly to root zones without daily intervention. The method relies on capillary action, where absorbent wicks draw water upward from a reservoir into the growing medium, maintaining optimal hydration levels while preventing overwatering. This passive irrigation technique supports robust root development and reduces the risk of fungal pathogens that thrive in waterlogged substrates. Understanding how to prepare a self-watering wick system ensures year-round productivity for herbs, vegetables, and ornamental plants.
Materials
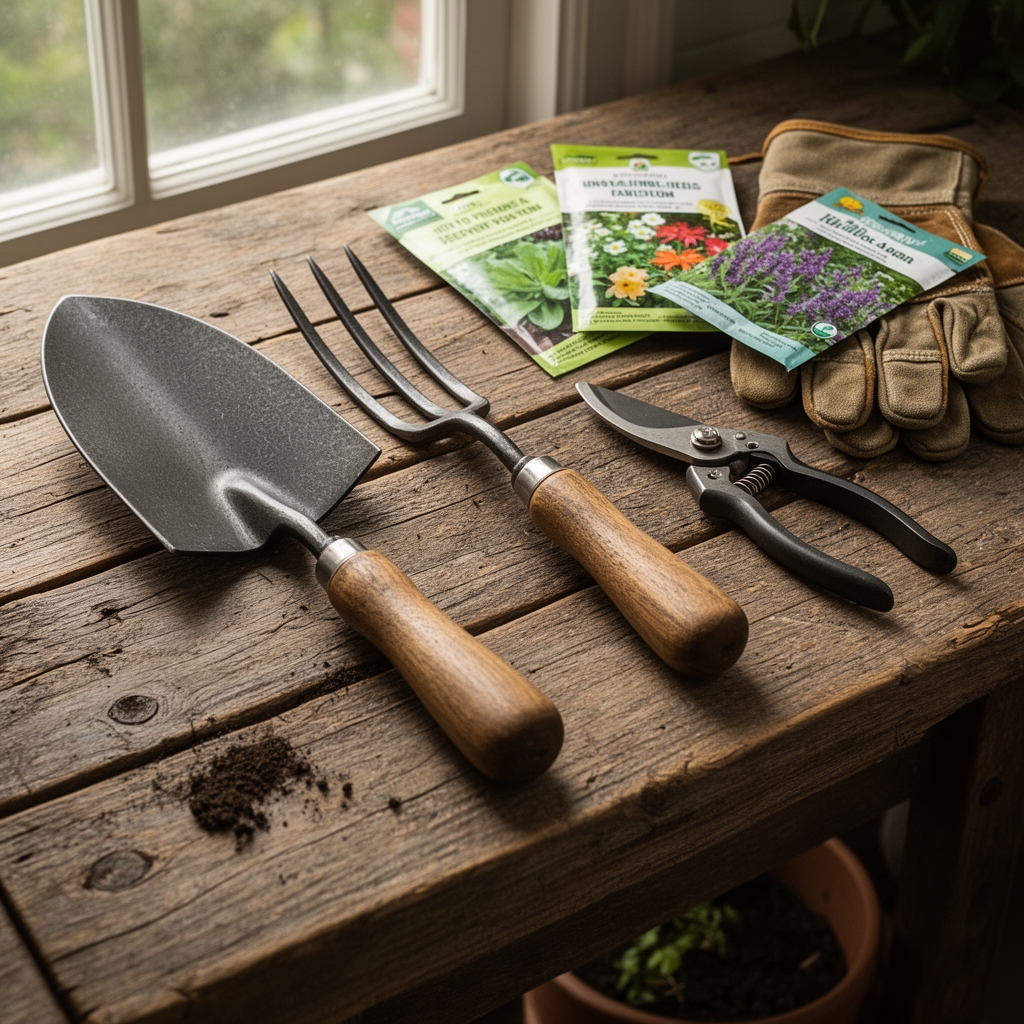
Container Selection
Two food-grade plastic containers work best. The upper container holds the growing medium and must have drainage holes. The lower container serves as the water reservoir. A 5-gallon upper bucket paired with a 3-gallon reservoir provides adequate capacity for mature tomato or pepper plants.
Wicking Material
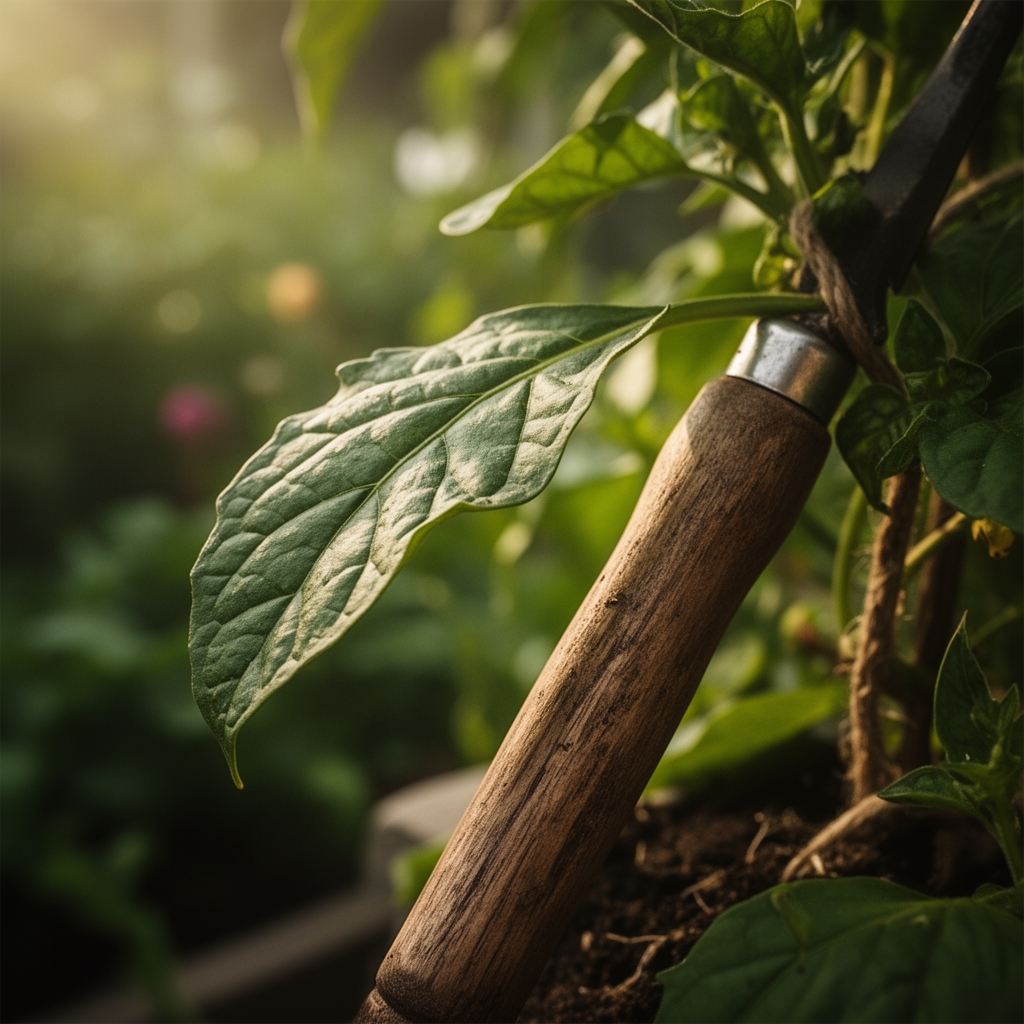
Cotton rope, nylon cord, or specialized acrylic wicks transfer water efficiently. Diameter matters: 3/8-inch wicks suit small herbs, while 3/4-inch wicks support fruiting plants. Synthetic fibers resist decomposition better than natural materials in long-term applications.
Growing Medium
A soilless mix with high cation exchange capacity optimizes nutrient retention. Combine 40% coco coir (pH 5.5-6.5), 30% perlite, 20% vermiculite, and 10% worm castings. This blend provides aeration while maintaining capillary contact with wicks. Add dolomitic lime at 2 tablespoons per gallon to buffer pH to 6.0-6.5.
Fertilizer
Balanced organic amendments like 4-4-4 fish meal or 5-5-5 composted poultry manure supply baseline nutrition. For fruiting crops, supplement with 2-3-4 bone meal during flowering to boost phosphorus availability. Liquid kelp (0-0-1) provides trace minerals and natural auxins that enhance root architecture.
Inoculants
Mycorrhizal fungi colonize root surfaces and extend nutrient uptake by 100-1000 times the root volume. Apply Glomus species at 1 teaspoon per plant during transplanting. Beneficial bacteria like Bacillus subtilis suppress root pathogens and improve nitrogen fixation.
Timing
Hardiness Zones and Scheduling
Indoor wick systems operate year-round in controlled environments. For outdoor or unheated greenhouse applications in Zones 5-7, start seedlings indoors 6-8 weeks before the last frost date (typically mid-April to early May). Transplant to wick systems once nighttime temperatures remain above 50°F.
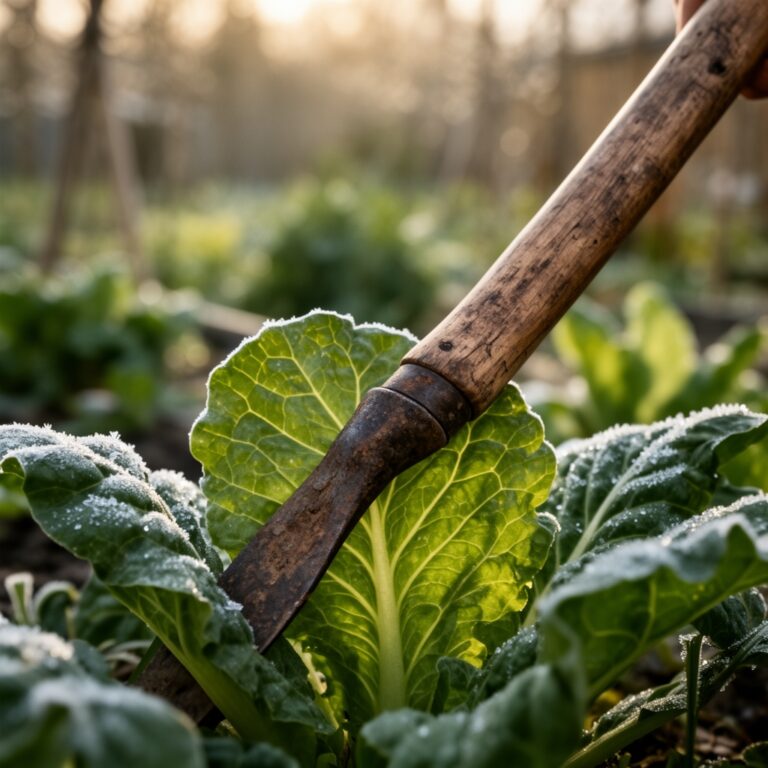
Seasonal Considerations
Spring and fall offer moderate temperatures that reduce reservoir evaporation. Summer systems require larger reservoirs or weekly refills in Zones 8-10 where ambient temperatures exceed 85°F. Winter systems in heated spaces benefit from reduced watering frequency as plant transpiration slows under shorter photoperiods.
Phases
Sowing Phase
Start seeds in 2-inch cells filled with the prepared growing medium. Moisten the medium until water drains freely. Place cells under grow lights providing 200-400 foot-candles for 14-16 hours daily. Maintain ambient temperature at 70-75°F for warm-season crops and 60-65°F for cool-season varieties.
Pro-Tip: Dust seeds with Trichoderma harzianum before sowing. This fungal antagonist colonizes germinating seeds and prevents damping-off diseases caused by Pythium and Rhizoctonia species.
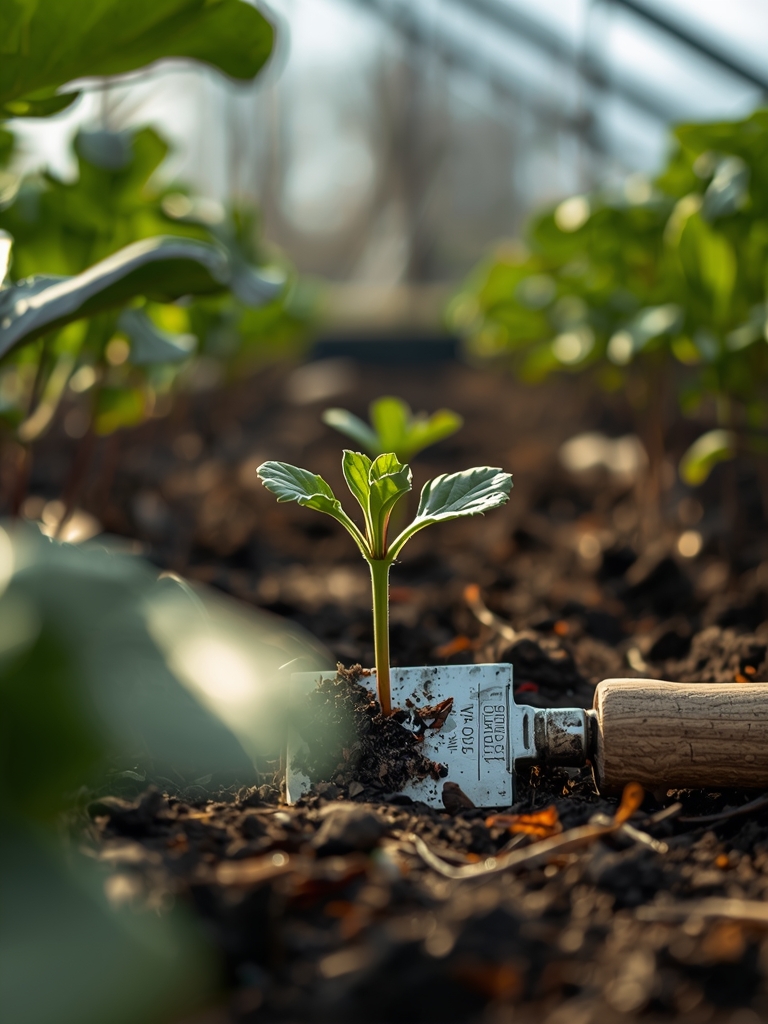
Transplanting Phase
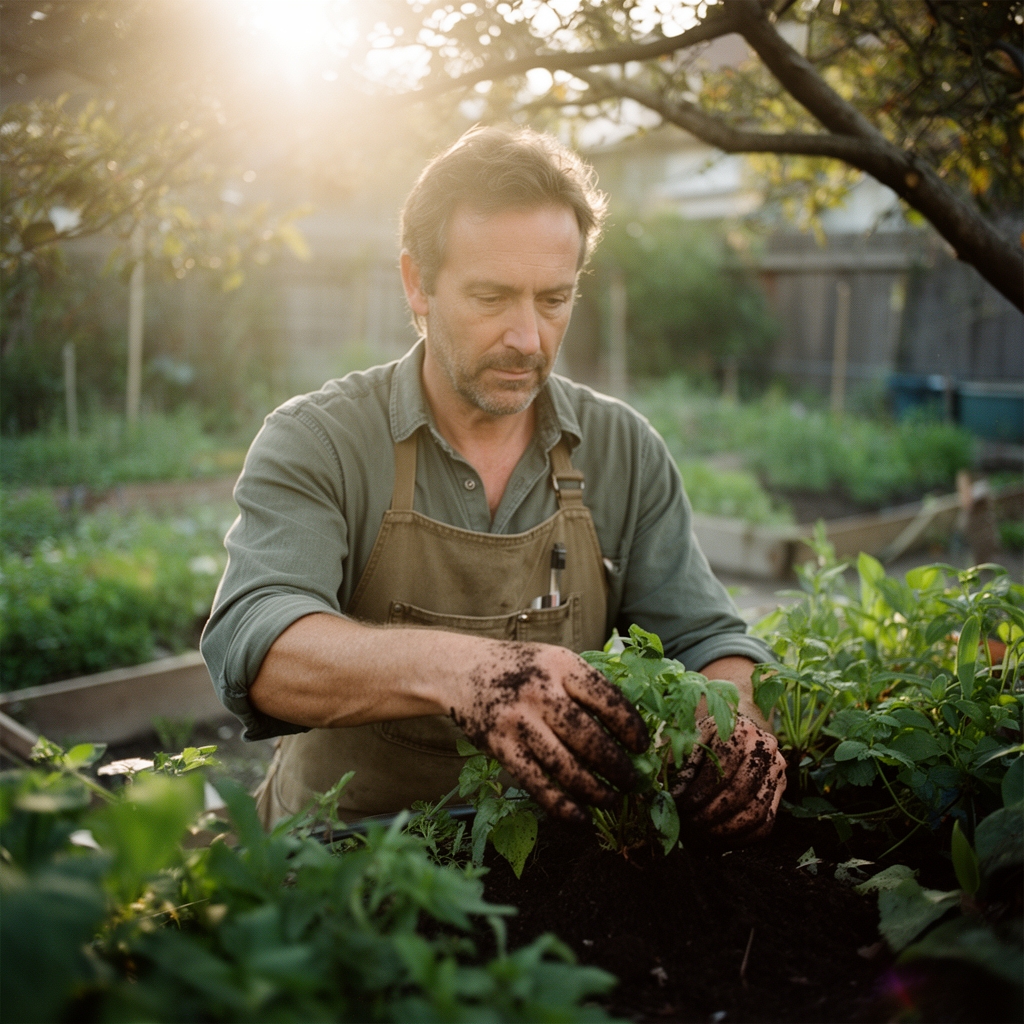
Drill 1/2-inch holes in the bottom of the upper container, spacing them 4 inches apart. Thread wicks through each hole, leaving 8 inches extending into the reservoir and 4 inches in the growing medium. Fill the upper container with moist medium to within 2 inches of the rim. Transplant seedlings when they develop 3-4 true leaves, burying stems up to the cotyledons to encourage adventitious root formation.
Pro-Tip: Prune the lowest two leaves at a 45-degree angle using sterilized shears. This redirects auxin distribution to apical growth and reduces humidity near the soil surface where fungal spores germinate.
Establishing Phase
Fill the reservoir with dechlorinated water. Add liquid fertilizer at half-strength (1-2-1 ratio for vegetative growth). Monitor the medium surface; it should remain damp but not saturated. Wicking typically stabilizes within 72 hours as capillary action equilibrates. Measure moisture at 3-inch depth using a probe; readings should stay between 60-70% saturation.
Pro-Tip: Introduce Steinernema feltiae nematodes to the reservoir at 1 million per gallon. These microscopic predators patrol the root zone and parasitize fungus gnat larvae and thrips pupae before populations establish.
Troubleshooting
Symptom: Wilting despite full reservoir
Solution: Wicks may have air gaps or insufficient contact. Remove plant, rethread wicks ensuring they touch the reservoir bottom, and pack medium firmly around the wick's upper portion to maintain capillary continuity.
Symptom: White crust on medium surface
Solution: Salt accumulation from over-fertilization. Flush the system by top-watering with 2 gallons of plain water per gallon of medium. Reduce fertilizer concentration to one-quarter strength and switch to top watering every fourth irrigation to leach excess salts.
Symptom: Yellowing lower leaves with green veins
Solution: Iron deficiency caused by alkaline pH. Test medium pH using a slurry method. If above 7.0, drench with chelated iron (Fe-DTPA) at 1 teaspoon per gallon and add sulfur at 1/2 teaspoon per gallon to lower pH incrementally.
Symptom: Stunted growth and brown root tips
Solution: Anaerobic conditions from poor aeration. Add 20% more perlite to the medium. Ensure reservoir water level sits 1 inch below the container bottom to create an air gap that promotes oxygen diffusion into the root zone.
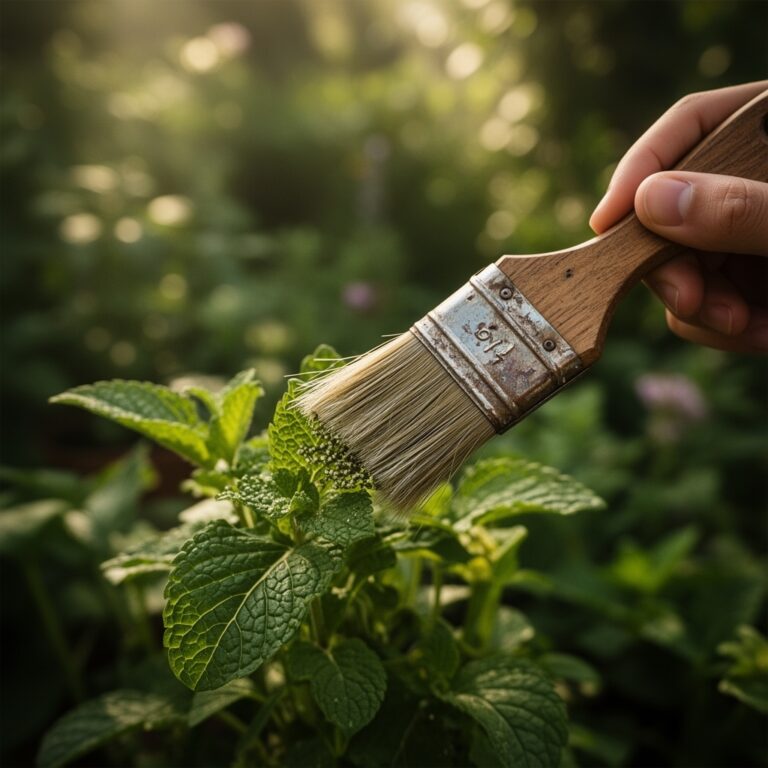
Symptom: Algae growth on medium or wicks
Solution: Excess light exposure. Cover the medium surface with 1 inch of rice hulls or place opaque material over the reservoir lid. Algae competes for nutrients and clogs wick pores, reducing water uptake efficiency.
Maintenance
Reservoir Management
Check water levels every 3-4 days during vegetative growth and every 2 days during fruiting. Refill when the reservoir drops to 25% capacity. Clean reservoirs monthly by removing algae and mineral deposits with a 10% vinegar solution. Rinse thoroughly before refilling.
Fertilizer Application
Apply liquid fertilizer at 1/4 strength with every reservoir refill during vegetative stages. Switch to 1-3-2 formulations when flower buds appear. Reduce nitrogen to 50% of vegetative levels to prevent excessive foliage at the expense of fruit development.
Wick Replacement
Synthetic wicks last 12-18 months before mineral buildup reduces capillary function. Cotton wicks degrade within 6 months. Replace wicks during transplanting or when moisture distribution becomes uneven across the growing medium.
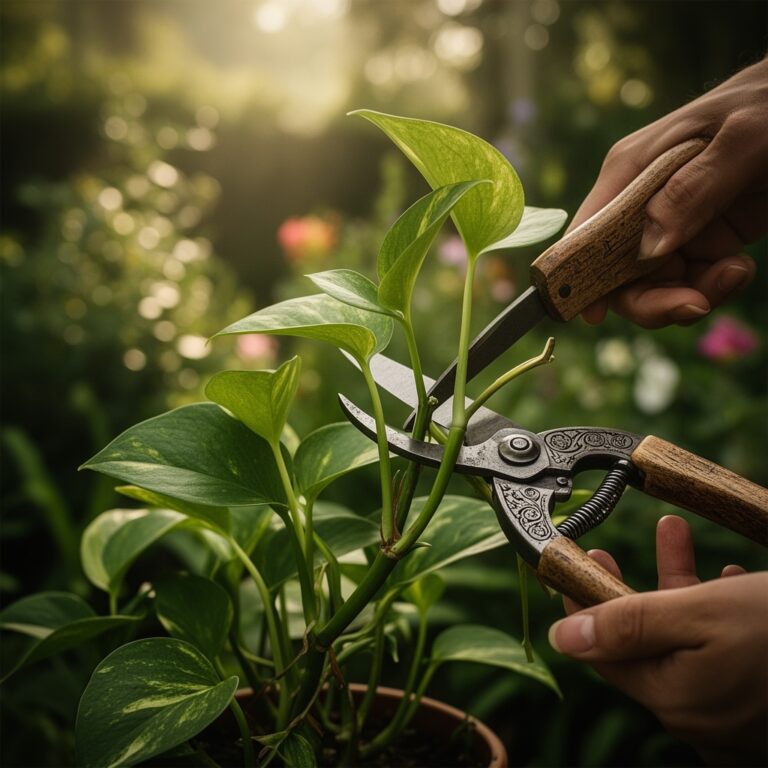
Pruning and Training
Remove lower leaves that touch the medium surface weekly to improve airflow. Prune indeterminate tomatoes to 1-2 main stems by pinching suckers at 1 inch length. This concentrates auxin transport and increases fruit size by 15-20%.
FAQ
How often should I refill the reservoir?
Refill every 3-4 days for mature plants in 5-gallon systems. Small herb containers may require daily checks in low-humidity environments.
Can I use tap water?
Yes, but let it sit for 24 hours to allow chlorine to evaporate. Chlorine concentrations above 2 ppm damage beneficial microbes in the root zone.
What is the best wick thickness?
Use 3/8-inch diameter wicks for containers under 2 gallons and 3/4-inch wicks for 5-gallon systems. Increase wick number rather than diameter for larger plants.
Do wicks work with clay soil?
No. Clay particles block capillary pores. Use soilless mixes with 30% perlite minimum to maintain the porosity required for effective wicking.
How deep should wicks extend into the reservoir?
Position wick ends 1 inch from the reservoir bottom to prevent sediment clogging while ensuring continuous water contact even at low levels.