6 Simple Steps to Plant Cherry Tomatoes
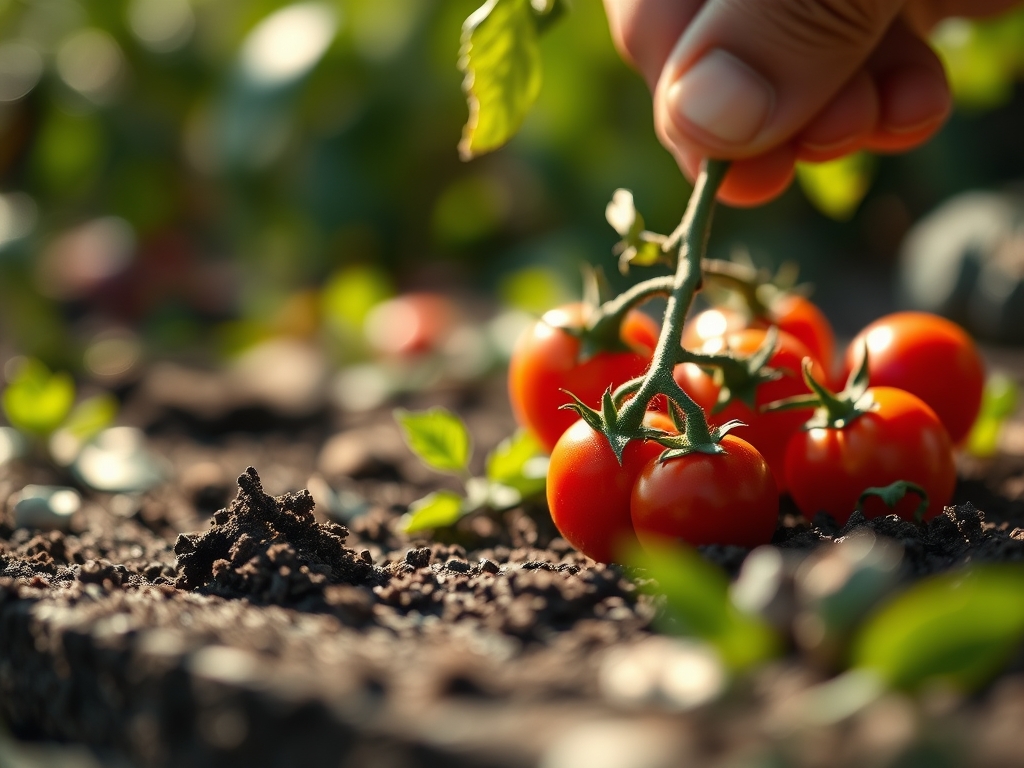
The smell of damp earth combined with the resinous scent of tomato trichomes signals the start of the growing season. Successful cultivation relies on high turgor pressure within the plant cells to maintain structural integrity. Mastering the steps to plant cherry tomatoes requires a technical understanding of soil biology and plant physiology. You must move beyond casual gardening into the realm of precise horticultural management. This process begins with site selection and ends with a high-brix harvest.
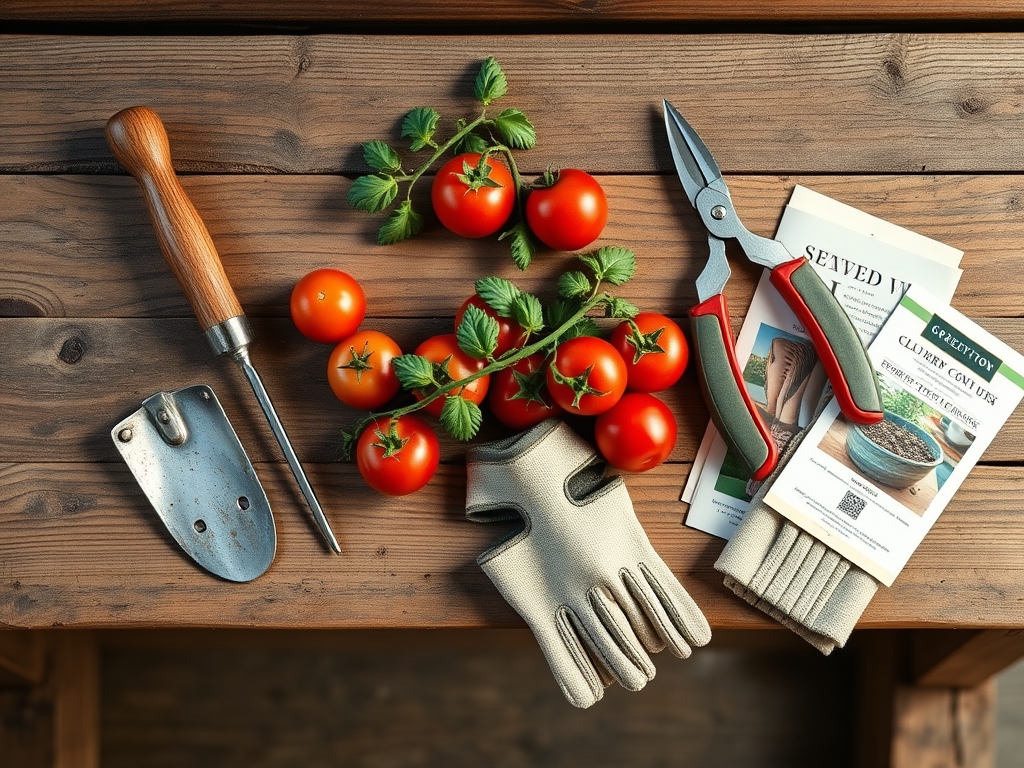
Materials:
The foundation of cherry tomato success is a friable loam substrate with a high Cation Exchange Capacity (CEC). This allows the soil to hold onto essential nutrients like calcium and magnesium. Aim for a soil pH between 6.2 and 6.8. If your soil is too acidic, add pelletized lime; if too alkaline, incorporate elemental sulfur.
For the initial growth phase, use a balanced NPK ratio of 10-10-10 to establish the root system and foliage. Once the plant enters the reproductive stage, shift to a 5-10-10 or 4-18-38 formula. High phosphorus and potassium levels are critical for fruit development and osmotic regulation. Ensure your potting mix or garden bed contains at least 20 percent organic matter to facilitate drainage while maintaining adequate moisture retention.
Timing:
Cherry tomatoes are warm-season annuals that are highly sensitive to frost. In Hardiness Zones 3 through 7, planting typically occurs between May and June. In Zones 8 through 11, you may have two distinct growing windows. Do not transplant until the overnight soil temperature consistently remains above 60 degrees Fahrenheit.
The biological clock of a cherry tomato plant is governed by the transition from the vegetative stage to the reproductive stage. This transition is triggered by the accumulation of Growing Degree Days (GDD) rather than just a photoperiod. Indeterminate varieties will continue this cycle until the first killing frost. Determinate varieties have a genetically programmed senescence that occurs after a single, concentrated fruit set.
Phases:
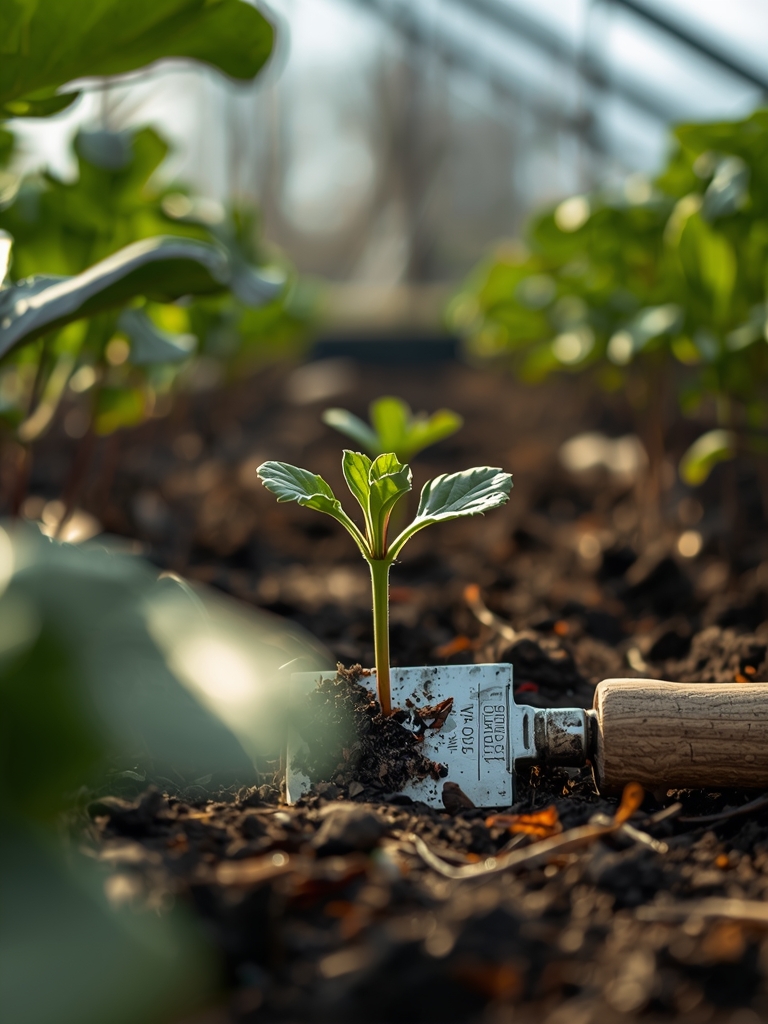
Sowing
Start seeds indoors 6 to 8 weeks before the last frost. Sow seeds 0.25 inches deep in a sterile seed-starting mix. Maintain a constant temperature of 70 to 75 degrees Fahrenheit using a heat mat to ensure rapid germination.
Pro-Tip: Once seedlings emerge, provide intense light to prevent "leggy" growth. This manages auxin suppression; high light levels prevent the elongation of the hypocotyl, resulting in a stockier, more resilient stem.
Transplanting
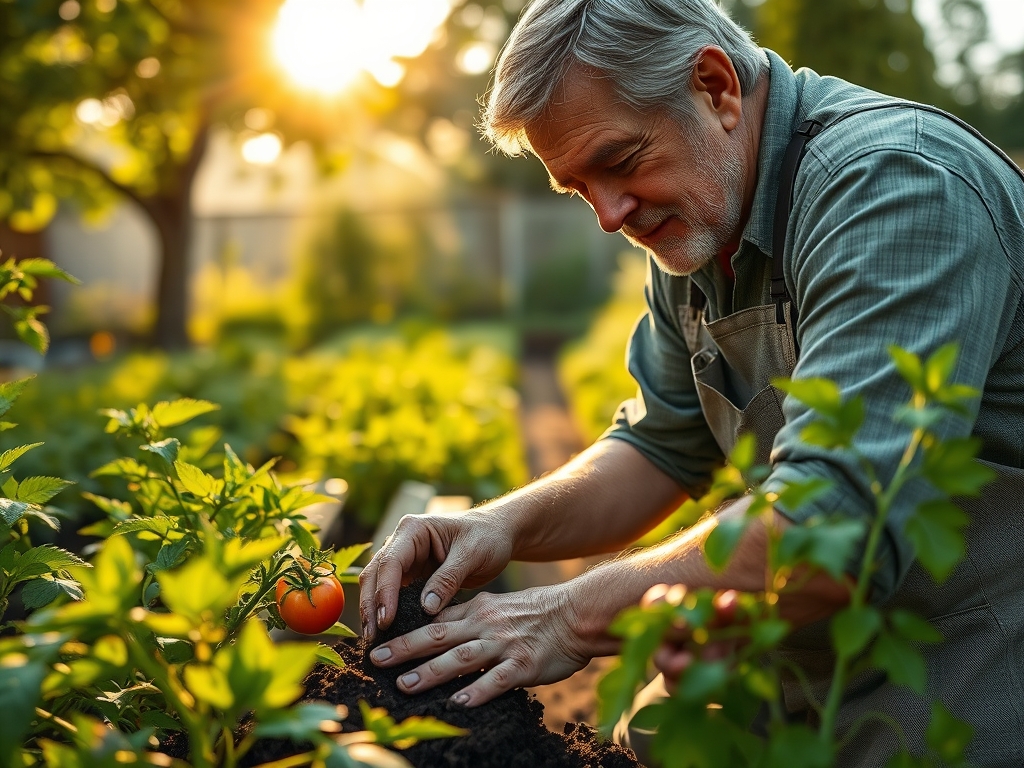
Hardening off is mandatory. Gradually expose seedlings to outdoor conditions over 7 to 10 days. When planting, bury the stem up to the first set of true leaves. This encourages the development of adventitious roots along the buried stem.
Pro-Tip: Inoculate the planting hole with mycorrhizal fungi. This symbiotic relationship expands the root surface area, allowing the plant to scavenge phosphorus and water more efficiently from the rhizosphere.
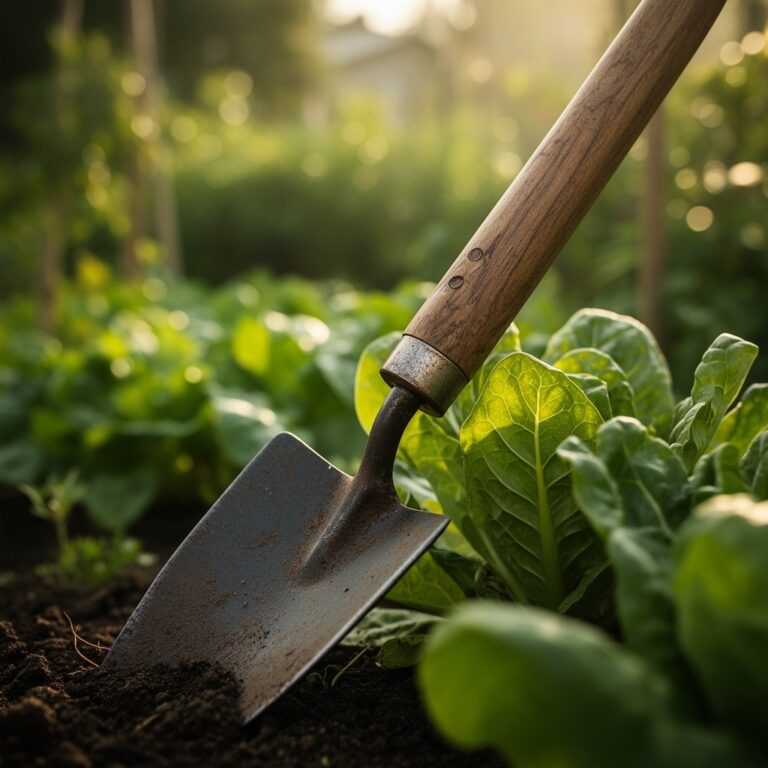
Establishing
Provide a vertical support system immediately after transplanting. Whether using a cage or a trellis, the plant needs a framework to support the weight of the fruit and to facilitate airflow. Space plants 24 to 36 inches apart to minimize the risk of foliar pathogens.
Pro-Tip: Use a hori-hori knife to dig deep, narrow holes. This minimizes soil compaction around the delicate root ball and preserves the existing soil structure.
The Clinic:
Physiological disorders often mimic infectious diseases. Accurate diagnosis is essential for effective intervention.
- Blossom End Rot: This appears as a leathery, sunken spot on the bottom of the fruit. It is caused by a calcium deficiency within the fruit tissue, often triggered by inconsistent watering rather than a lack of calcium in the soil.
- Sunscald: This manifests as white, papery patches on the fruit. It occurs when fruit is suddenly exposed to direct, high-intensity UV radiation. Maintain a healthy leaf canopy to provide natural shade.
- Catfacing: This is a physical deformity at the blossom end of the fruit. It is caused by low temperatures (below 50 degrees Fahrenheit) during flower bud development, which interferes with proper pollination.
Fix-It: Nitrogen Chlorosis
If the older, lower leaves are turning pale yellow while the veins remain green, the plant is likely suffering from nitrogen deficiency. Apply a water-soluble nitrogen fertilizer directly to the root zone to restore chlorophyll production.
Maintenance:
Precision irrigation is the difference between a split fruit and a perfect one. Provide 1.5 inches of water per week at the drip line. Avoid overhead watering to prevent the spread of fungal spores. Use a soil moisture meter to ensure the root zone stays consistently moist but not saturated.
Pruning is required for indeterminate varieties. Use bypass pruners to remove "suckers," which are the shoots that grow in the axil between the main stem and a leaf branch. This redirects energy toward fruit production rather than excessive vegetative mass. Always disinfect your tools with a 10 percent bleach solution between plants to prevent cross-contamination.
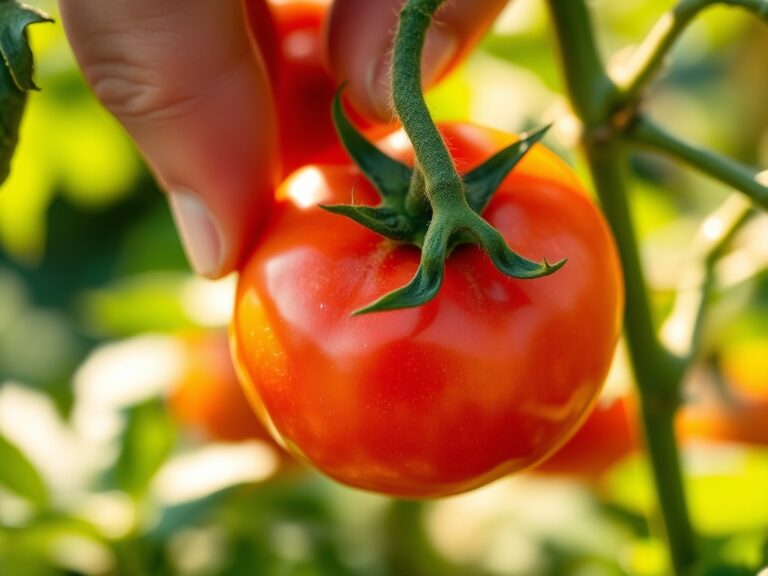
The Yield:
Harvest cherry tomatoes when they reach full color and the skin feels slightly soft to the touch. This indicates that the sugars have fully developed. For the highest quality, harvest in the early morning when the fruit is at peak turgidity.
To maintain "day-one" freshness, do not refrigerate the harvest. Temperatures below 50 degrees Fahrenheit damage the volatile compounds responsible for flavor and cause the texture to become mealy. Store them at room temperature out of direct sunlight. If you must harvest early due to an impending frost, pick "breaker stage" fruits that have just begun to change color; they will ripen effectively on a countertop.
FAQ:
How much sun do cherry tomatoes need?
Cherry tomatoes require a minimum of 6 to 8 hours of direct sunlight daily. Insufficient light leads to reduced photosynthetic activity, resulting in spindly stems, poor fruit set, and lower sugar content in the ripening tomatoes.
Why are my tomato skins cracking?
Cracking is usually caused by fluctuations in soil moisture. Rapid water uptake after a dry spell causes the fruit pulp to expand faster than the skin can grow. Maintain consistent moisture levels and use mulch to regulate evaporation.
Can I grow cherry tomatoes in containers?
Yes. Use a container with at least 5 gallons of volume per plant. Ensure the pot has adequate drainage holes and use a high-quality soilless potting medium to prevent compaction and ensure proper oxygenation of the root system.
What is the best fertilizer for cherry tomatoes?
Start with a balanced 10-10-10 NPK at planting. Switch to a low-nitrogen, high-potassium fertilizer (such as 5-10-15) once flowering begins. This prevents excessive leaf growth and prioritizes the development of flowers and high-quality fruit.