6 Best Hand Cultivators for Breaking Tough Soil Crusts
The first thrust of a hand cultivator into crusted vegetable soil meets immediate resistance. Clay particles have bonded under repeated irrigation cycles, forming a hardpan that blocks oxygen exchange and prevents seedling emergence. The best hand cultivators for breaking vegetable soil crust combine strategic tine geometry with ergonomic leverage, transforming compacted ground into friable planting medium. These tools address the physical challenge of disrupting cemented soil aggregates while preserving beneficial soil structure below the crust layer.
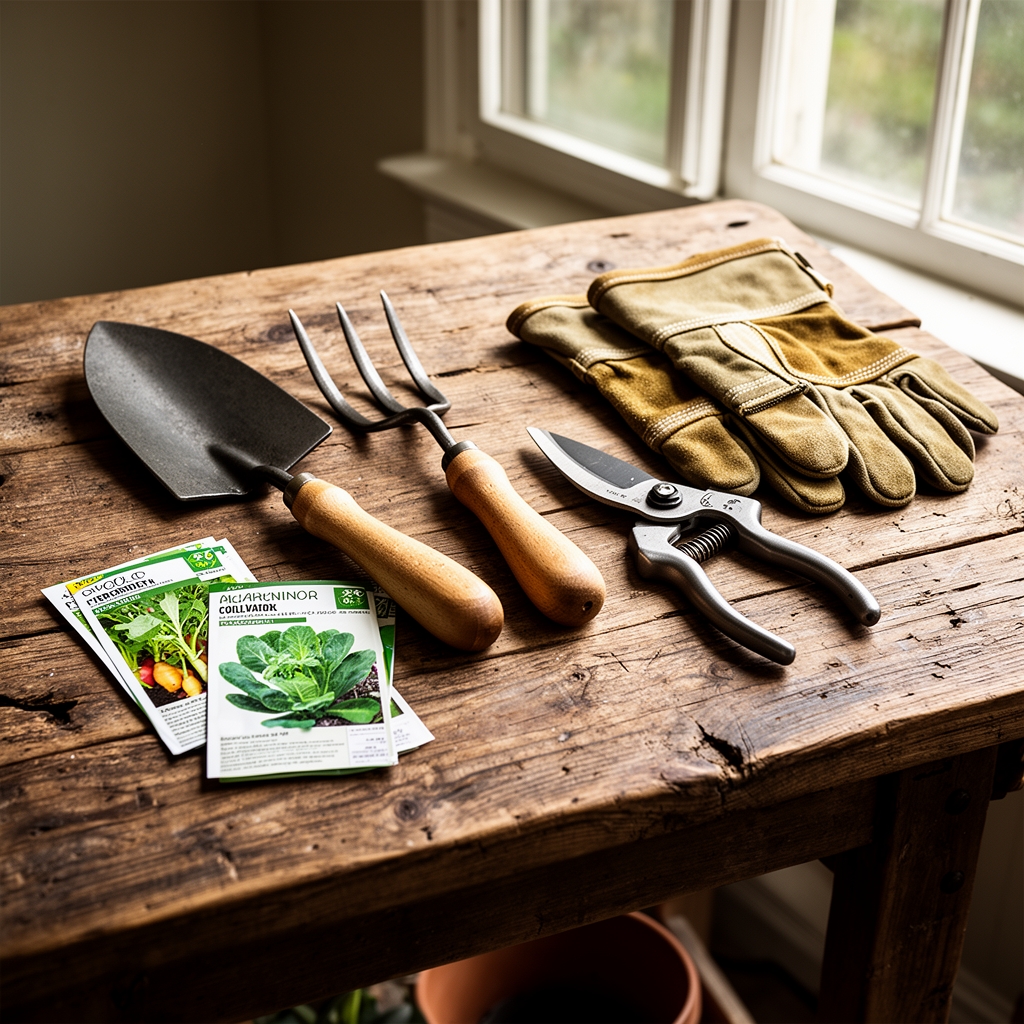
Materials
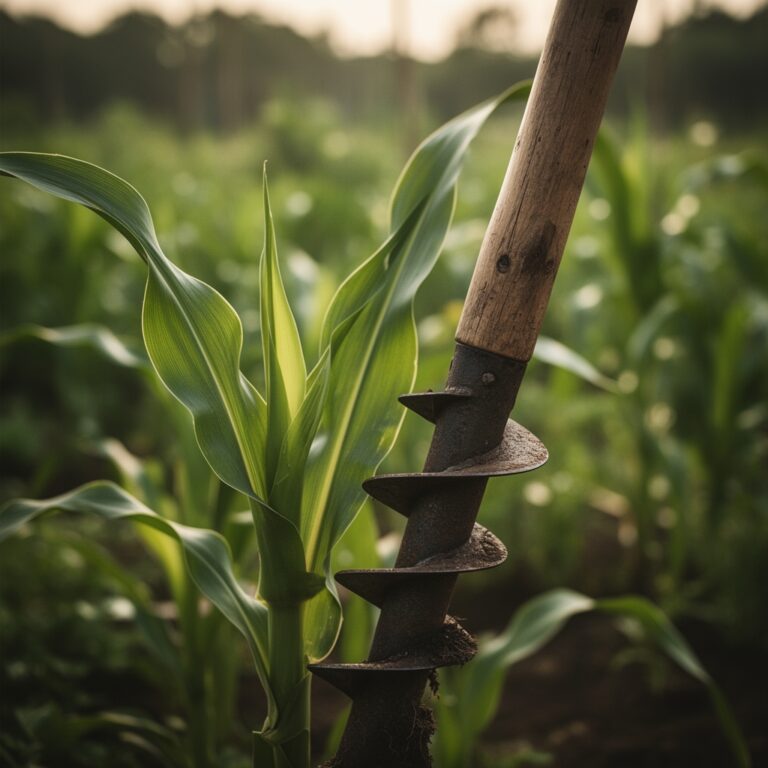
Three-Prong Cultivator with 4-Inch Tines: Carbon steel construction. Works best in soils with pH 6.2-6.8 where crust formation results from sodium accumulation rather than organic matter deficit. Pair with applications of gypsum (calcium sulfate) at 2 pounds per 100 square feet to improve cation exchange capacity.
Five-Tine Rake Cultivator: Stainless steel tines spaced at 1-inch intervals. Ideal for beds amended with 4-4-4 organic meal (blood meal, bone meal, kelp) where crusting occurs in the top 0.5 inches. The narrow spacing prevents damage to shallow feeder roots 2-3 inches below surface.
Winged Weeder Cultivator: Angled blade at 35 degrees. Designed for breaking crusts in high-clay soils (greater than 40% clay content) with pH above 7.5. Apply sulfur at 1 pound per 100 square feet before cultivation to begin pH adjustment over the growing season.
Circle Hoe Cultivator: Sharpened loop design. Effective in soils recently amended with compost at 2-3 inch depth, where crust forms from impact of overhead irrigation. The slicing action preserves mycorrhizal fungi networks in the root zone.
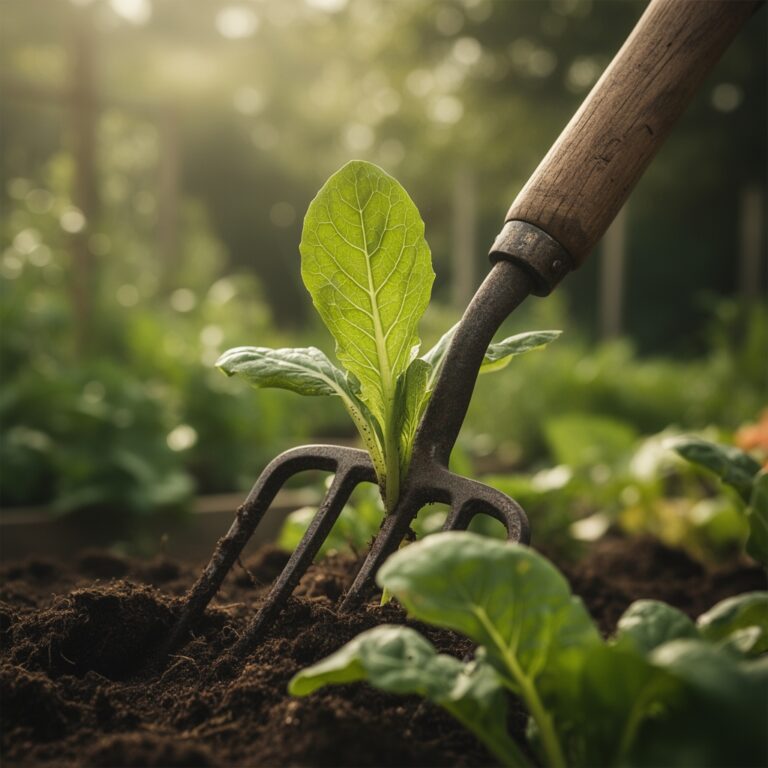
Hand Fork Cultivator: Four flat tines at 2-inch spacing. Best for breaking crusts around established plants where NPK ratios of 5-10-10 have been applied. The wide spacing allows cultivation without severing lateral roots that extend 6-8 inches from plant centers.
Stirrup Hoe with Serrated Edge: Oscillating blade cuts on push and pull strokes. Suited for large vegetable beds where calcium carbonate deposits create surface sealing. Use in conjunction with acidifying fertilizers to maintain soil pH below 7.0.
Timing
Crust-breaking operations align with hardiness zone frost dates and soil temperature thresholds. In zones 3-5, begin cultivation when soil temperature at 2-inch depth reaches 45°F, typically 2-3 weeks before last frost date. The freeze-thaw cycles of early spring create natural fracture lines in crusted soil that hand cultivators can exploit.
Zones 6-8 allow cultivation 4-6 weeks before last frost when soil moisture content drops to 40-50% of field capacity. Working waterlogged soil creates compaction that worsens crusting. Squeeze a handful of soil. It should form a ball that crumbles under light pressure rather than remaining cohesive.
Zones 9-11 require crust management during dry season transitions. Cultivate in early morning when dew softens the top 0.25 inches of crust but underlying soil remains firm enough to provide resistance for effective tine penetration.
Phases
Sowing Phase: Break surface crust 24 hours before direct seeding. Penetrate to 1-inch depth using three-prong cultivator at 45-degree angle to soil surface. This creates capillary channels that draw moisture upward without creating large air pockets that desiccate seeds. Rake cultivator follows to level the seedbed.
Pro-Tip: Inoculate seed rows with Rhizophagus irregularis (formerly Glomus intraradices) at 1 teaspoon per 10 row-feet immediately after cultivation. The fungal hyphae colonize root systems within 7-10 days, improving phosphorus uptake in crust-prone soils with low available P.
Transplanting Phase: Cultivate transplant holes to 6-inch diameter and 8-inch depth. Remove crusted soil entirely from planting zone. Backfill with 2:1 ratio of native soil to finished compost. Circle hoe cultivator creates the proper hole geometry with minimal effort.
Pro-Tip: Apply diluted fish emulsion (3-2-2) at 2 tablespoons per gallon water into each transplant hole. The auxin compounds in fish emulsion accelerate lateral root formation, allowing plants to establish before surface crust reforms.
Establishing Phase: Cultivate weekly around young plants using stirrup hoe in 3-inch radius, avoiding direct contact with stems. Work to 0.5-inch depth only. This interrupts crust reformation without damaging roots entering rapid expansion phase at 2-4 weeks post-transplant.
Pro-Tip: Maintain 2-inch layer of aged hardwood chip mulch pulled back 1 inch from plant stems. The mulch moderates soil temperature fluctuations that drive crust formation while decomposing chips add humic acids that improve soil aggregation over subsequent seasons.
Troubleshooting
Symptom: White salt deposits on soil surface concurrent with crust formation.
Solution: Sodium accumulation from irrigation water with greater than 50 ppm sodium. Apply gypsum at 5 pounds per 100 square feet. Cultivate to 2-inch depth to incorporate. Flush with 1 inch of water to drive sodium below root zone.
Symptom: Crust reforms within 48 hours of cultivation.
Solution: Soil organic matter below 3%. Incorporate alfalfa meal (3-1-2) at 3 pounds per 100 square feet to improve aggregation. The protein fraction decomposes into polysaccharides that bind soil particles in stable crumbs resistant to crusting.
Symptom: Seedlings emerge bent or J-shaped.
Solution: Crust resistance exceeded cotyledon emergence force. Cultivate immediately upon observing first emergence in row. Use hand fork with tines parallel to seed row, working 0.5 inches from emerging seedlings. Remove only top 0.25 inches of crust.
Symptom: Cultivator tines bend during use.
Solution: Soil moisture too low, creating concrete-hard surface. Irrigate with 0.5 inches of water. Wait 6-8 hours until moisture penetrates crust. Cultivation force decreases by 60% in slightly moistened crust versus bone-dry conditions.
Symptom: Yellow halos around cultivation wounds on plant stems.
Solution: Pythium or Rhizoctonia infection through mechanical damage. Maintain 2-inch buffer zone around all stems. Drench affected plants with biological fungicide containing Trichoderma harzianum at label rates.
Maintenance
Inspect vegetable beds every 3-4 days for incipient crust formation. Early-stage crusts break with light pressure from three-prong cultivator, requiring 5 minutes per 100 square feet. Fully hardened crusts demand 20 minutes for the same area using more aggressive tools.
Apply 1 inch of water per week through drip irrigation rather than overhead sprinklers. Overhead irrigation impact energy destroys soil aggregates and accelerates crust formation. Drip systems deliver water at 0.5 gallons per hour per emitter, allowing infiltration without surface disruption.
Incorporate cover crop residue at 2-3 inch depth each fall. Cereal rye (Secale cereale) roots exude organic acids that maintain soil structure through winter, reducing spring crusting by 40-50% compared to bare soil.
Sharpen cultivator tines every 20 hours of use. A file held at 20-degree angle to the tine edge restores cutting ability. Dull tines compress soil rather than fracture it, defeating the purpose of cultivation.
FAQ
Which cultivator works best in heavy clay?
Winged weeder cultivator with angled blade penetrates clay crusts most effectively. The 35-degree angle creates a wedging action that fractures clay bonds. Follow with gypsum application to prevent immediate re-crusting.
How deep should I cultivate around established plants?
Maximum 1-inch depth within 6 inches of plant stems. Vegetable feeder roots concentrate in the top 3 inches of soil. Deeper cultivation severs these roots and reduces nutrient uptake capacity by 30-40% until regeneration occurs.
Can cultivation damage beneficial organisms?
Surface cultivation to 1-inch depth minimally affects populations. Earthworms retreat to deeper horizons during dry conditions when crusts form. Mycorrhizal fungi exist primarily below 2-inch depth where cultivation does not reach.
When is soil too wet to cultivate?
Soil moisture above 60% of field capacity causes smearing and increased compaction. Test by squeezing soil. If water drips from your hand or soil forms a ribbon longer than 2 inches, delay cultivation 24-48 hours.
Should I cultivate after every rain?
Only if crust forms. Soils with organic matter above 5% resist crusting due to stable aggregate structure. Test by pressing thumbnail into dried soil surface. If penetration requires significant force, cultivation is warranted.