10 Easy Steps to Grow Bell Peppers
Crushing a handful of damp, friable loam reveals the earthy scent of geosmin; it is the smell of a healthy rhizosphere ready for production. Successful cultivation depends on the turgor pressure within the plant cells, ensuring the stems remain rigid and the leaves remain expansive for maximum photosynthesis. Mastering the steps to grow bell peppers requires a disciplined approach to soil chemistry and thermal regulation. These plants, members of the Capsicum annuum species, are heavy feeders that demand high solar radiation and precise nutrient management to move from a seedling to a heavy harvest of thick walled fruit.
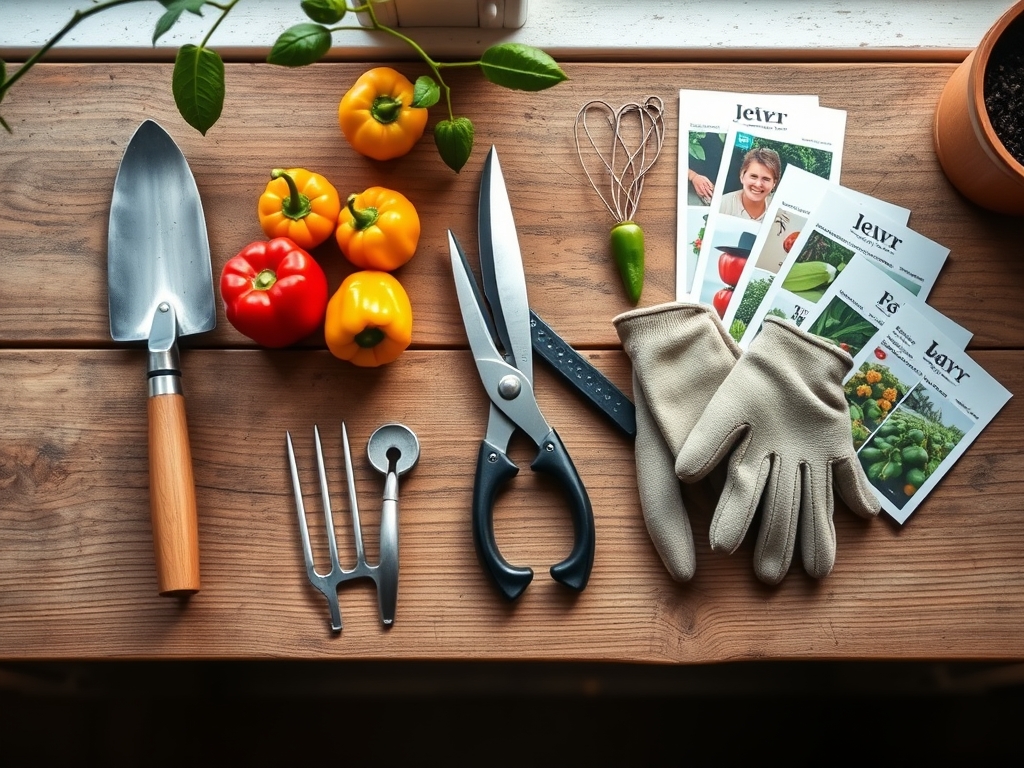
Materials:
Bell peppers require a soil environment with a **pH between 6.2 and 6.8**. This range ensures optimal bioavailability of phosphorus and prevents aluminum toxicity. The substrate must be a friable loam with high organic matter to support a **Cation Exchange Capacity (CEC) above 15**.
For fertilization, prepare three distinct NPK (Nitrogen-Phosphorus-Potassium) ratios for different growth stages:
- Seedling Phase: Use a 10-10-10 balanced starter to establish the root architecture.
- Vegetative Phase: Transition to a 10-5-5 ratio to prioritize leaf canopy and stem girth.
- Reproductive Phase: Shift to a 5-10-15 ratio. High potassium is essential for fruit set and cellular wall strength.
Additional materials include calcium nitrate to prevent physiological disorders and a high quality soil moisture meter to monitor the substrate at a depth of six inches.
Timing:
Bell peppers are sensitive to thermal fluctuations and cannot survive frost. In Hardiness Zones 8 through 10, peppers can be treated as short lived perennials; however, in Zones 3 through 7, they are strictly annuals. The "Biological Clock" of the pepper plant is governed by soil temperature. Do not transplant until the soil consistently registers 65 degrees Fahrenheit (18 degrees Celsius).
The transition from the vegetative stage to the reproductive stage typically occurs 55 to 70 days after germination. This shift is triggered by the photoperiod and the accumulation of Growing Degree Days (GDD). If night temperatures drop below 55 degrees Fahrenheit, the plant may experience blossom drop, halting the reproductive cycle.
Phases:
Sowing
Start seeds indoors 8 to 10 weeks before the last predicted frost. Use a sterile seed starting mix and maintain a constant bottom heat of 80 degrees Fahrenheit using a germination mat. Sow seeds at a depth of 0.25 inches.
Pro-Tip: Maintain high humidity to soften the seed coat. The Biological Why involves the activation of gibberellic acid within the seed, which triggers the production of enzymes that break down the endosperm, providing energy for the emerging radicle.
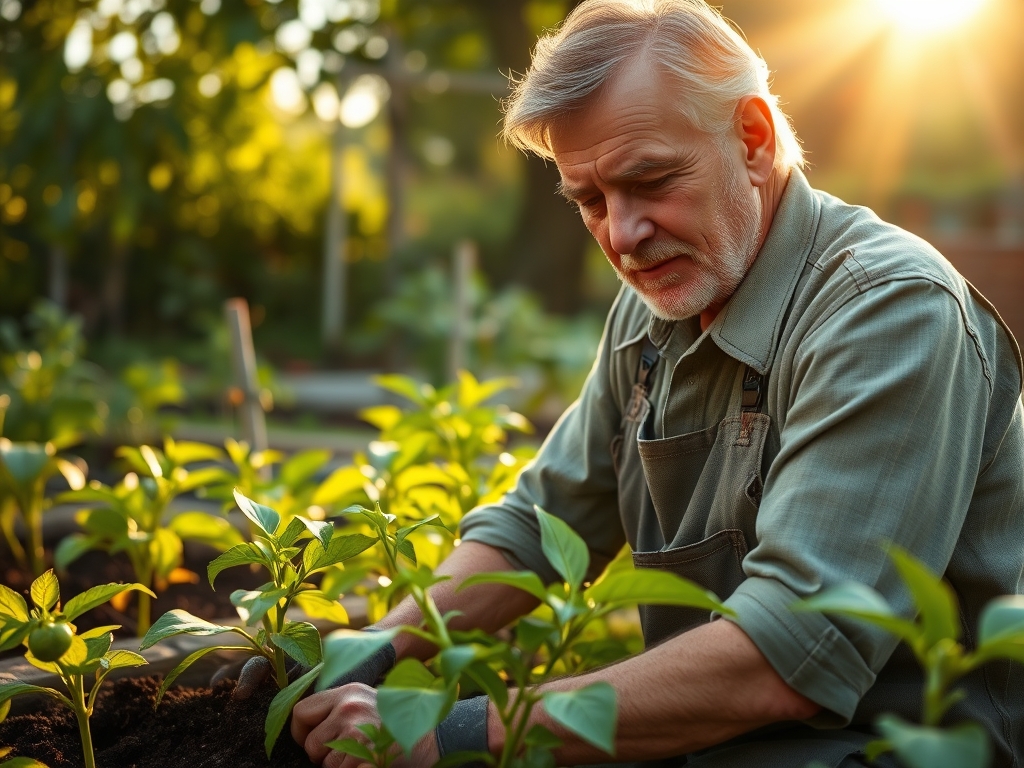
Transplanting
Hardening off is mandatory. Move seedlings outdoors for increasing durations over 7 to 10 days. When planting, space individuals 18 to 24 inches apart in rows separated by 30 inches.
Pro-Tip: Bury the stem slightly deeper than the original soil line. The Biological Why is to encourage the development of adventitious roots. This increases the total surface area of the root system, enhancing the plant's ability to uptake water and minerals through mycorrhizal symbiosis.
Establishing
During the first three weeks post-transplant, focus on root development. Remove any early flower buds to redirect the plant's energy toward biomass production.
Pro-Tip: Use a hori-hori knife to check for soil compaction around the root zone. The Biological Why relates to auxin suppression; by removing early flowers, you prevent the plant from entering a premature reproductive state, allowing for a more robust skeletal structure that can support heavy fruit later.
The Clinic:
Physiological disorders often mimic disease but are usually the result of environmental stress or nutrient imbalances.
- Blossom End Rot: This appears as a dark, leathery spot on the bottom of the fruit. Solution: Maintain consistent soil moisture and ensure adequate calcium uptake. This is rarely a lack of calcium in the soil but rather a failure of the plant to transport it during dry spells.
- Sunscald: White, papery patches on the fruit surface. Solution: Maintain a dense leaf canopy to provide natural shade. Do not over prune.
- Flower Drop: Blossoms fall off without setting fruit. Solution: Check temperatures. This occurs when daytime temps exceed 90 degrees Fahrenheit or nights fall below 55 degrees Fahrenheit.
Fix-It for Nutrient Deficiencies:
- Nitrogen Chlorosis: Older leaves turn uniform pale yellow. Apply a quick release high nitrogen liquid fertilizer.
- Magnesium Deficiency: Interveinal chlorosis (yellowing between green veins) on older leaves. Apply Epsom salts (magnesium sulfate) at a rate of 1 tablespoon per gallon of water.
Maintenance:
Precision irrigation is the cornerstone of pepper health. Provide 1.5 inches of water per week at the drip line. Avoid overhead irrigation to reduce the risk of foliar pathogens. Use a soil moisture meter daily to ensure the root zone remains at 60 to 70 percent field capacity.
Use bypass pruners to remove any "suckers" or non-productive lateral shoots at the base of the plant. This improves airflow and reduces the humidity within the canopy. Apply a 2 inch layer of organic mulch, such as straw or shredded bark, to regulate soil temperature and suppress weed competition.
The Yield:
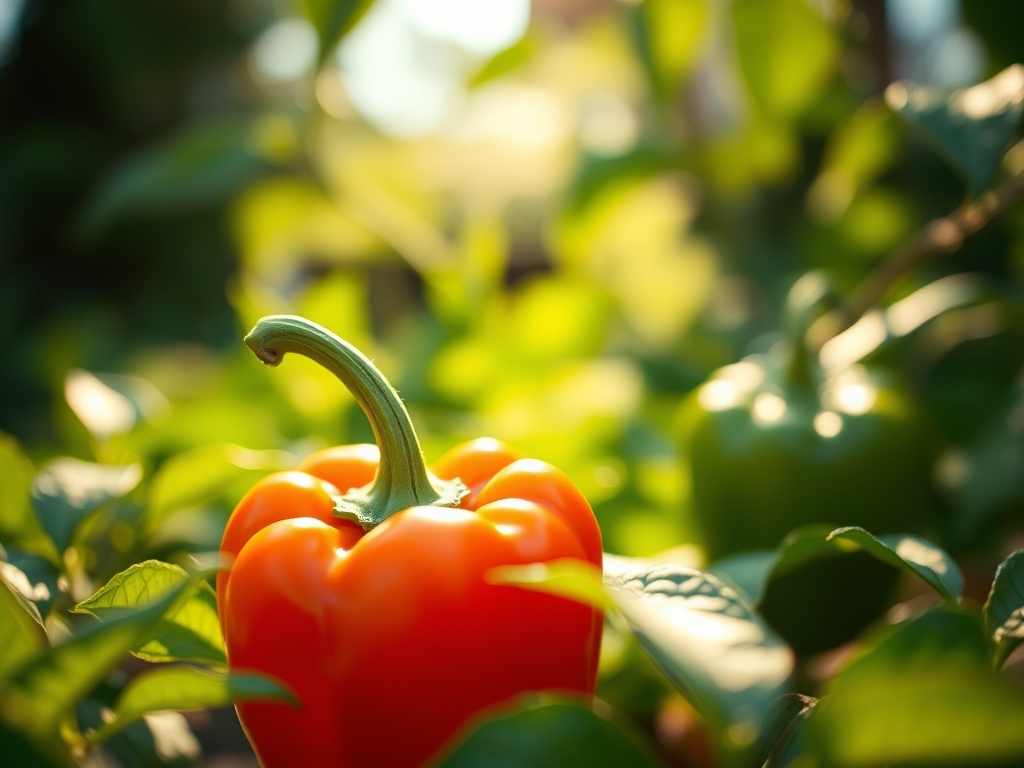
Bell peppers can be harvested at the "green" stage or allowed to reach full physiological maturity (red, yellow, or orange). A mature pepper will have a thick wall and a glossy cuticle. Use sharp snips to cut the pedicel 1 inch above the fruit; never pull the pepper, as this can cause mechanical damage to the brittle stems.
To maintain "day-one" freshness, cool the peppers immediately after harvest to 45 degrees Fahrenheit with a relative humidity of 90 percent. This slows the rate of respiration and prevents shriveling. Under these conditions, peppers will maintain their turgor and nutritional profile for up to 14 days.
FAQ:
Why are my pepper leaves curling upward?
Upward curling, or physiological leaf roll, is usually a defense mechanism against excessive transpiration. It occurs during high heat or low humidity to reduce the surface area exposed to the sun. Ensure consistent irrigation to maintain cellular turgor.
How do I get my bell peppers to turn red faster?
Peppers change color as they reach physiological maturity and chlorophyll breaks down. This process is temperature dependent. To accelerate ripening, reduce nitrogen applications and ensure the plant receives at least 8 hours of direct sunlight daily.
What is the best fertilizer for bell peppers?
Use a balanced 10-10-10 NPK ratio at planting. Switch to a low nitrogen, high potassium formula like 5-10-15 once flowers appear. This prevents excessive foliage growth and prioritizes the development of large, thick walled fruit.
Do bell peppers need cages or stakes?
Yes. Bell pepper branches are brittle and can snap under the weight of heavy fruit or high winds. Use a sturdy stake or a small tomato cage at the time of transplanting to provide structural support without disturbing the root system later.
Why are my peppers small and thin-walled?
Small, thin-walled fruit often results from insufficient water or a lack of potassium. Ensure the plant receives 1.5 inches of water weekly and use a potassium-rich fertilizer during the fruiting stage to build cellular wall density.